Using the Outlook API to Send Messages in Python
Introduction to Outlook API for Sending Emails
The Outlook API, part of the Microsoft Graph suite, provides developers with powerful tools to interact with Outlook's email services. It allows seamless integration with Microsoft 365, enabling applications to send, receive, and manage emails programmatically.
Developers might want to connect with the Outlook API to automate email workflows, enhance productivity, and integrate email functionalities into their applications. For example, a developer could use the Outlook API to send automated notifications or newsletters to a list of subscribers, streamlining communication processes.
This article will guide you through using Python to send emails via the Outlook API, providing step-by-step instructions to authenticate and make API calls effectively.
Setting Up Your Outlook API Test Account
Before you can start sending emails using the Outlook API, you'll need to set up a test or sandbox account. This involves creating an application in the Microsoft Entra admin center and configuring it to use OAuth for authentication. Follow these steps to get started:
Create a Microsoft Entra Account
If you don't already have a Microsoft Entra account, you'll need to create one. Visit the Azure website to sign up for a free account. Once your account is set up, log in to the Microsoft Entra admin center.
Register Your Application in Microsoft Entra
- Navigate to the Microsoft Entra admin center and select Identity > Applications > App registrations.
- Click on New registration to create a new application.
- Enter a name for your application and select the appropriate Supported account types based on your needs.
- Click Register to complete the registration process.
Configure Authentication for Your Outlook API App
- In the app registration page, navigate to Authentication under the Manage section.
- Click on Add a platform and select Web.
- Enter a Redirect URI, which is the URL where your app will receive responses from the Microsoft identity platform.
- Ensure the Implicit grant and hybrid flows options are checked for ID tokens and Access tokens.
- Click Configure to save your settings.
Generate Client Secret for OAuth Authentication
- Go to Certificates & secrets under the Manage section.
- Click on New client secret and provide a description.
- Select an expiration period for the client secret and click Add.
- Copy the client secret value immediately, as it will not be displayed again.
Assign Permissions for Outlook API Access
- Navigate to API permissions in your app registration.
- Click on Add a permission and select Microsoft Graph.
- Choose Delegated permissions and search for Mail.Send.
- Select the Mail.Send permission and click Add permissions.
- Ensure you grant admin consent for the permissions by clicking Grant admin consent.
With these steps completed, your application is now set up to interact with the Outlook API using OAuth authentication. You can proceed to make API calls to send emails programmatically.
sbb-itb-96038d7
Making the Outlook API Call to Send Emails Using Python
To send emails using the Outlook API in Python, you'll need to set up your development environment and write the necessary code to make API calls. This section will guide you through the process, including setting up Python, installing dependencies, and writing the code to send an email via the Outlook API.
Setting Up Your Python Environment for Outlook API Integration
Before making API calls, ensure you have Python installed on your machine. This tutorial uses Python 3.11.1. You will also need the requests library to handle HTTP requests.
- Verify your Python installation by running the following command in your terminal or command prompt:
- Install the
requestslibrary using pip:
python3 --versionpip3 install requestsWriting Python Code to Send Emails via Outlook API
Now that your environment is set up, you can write the Python code to send an email using the Outlook API. Follow these steps:
- Create a new Python file named
send_outlook_email.pyand open it in your preferred code editor. - Add the following code to the file:
- Replace
Your_Access_Tokenwith the access token obtained during the OAuth authentication setup. - Run the script using the following command:
import requests
# Set the API endpoint and headers
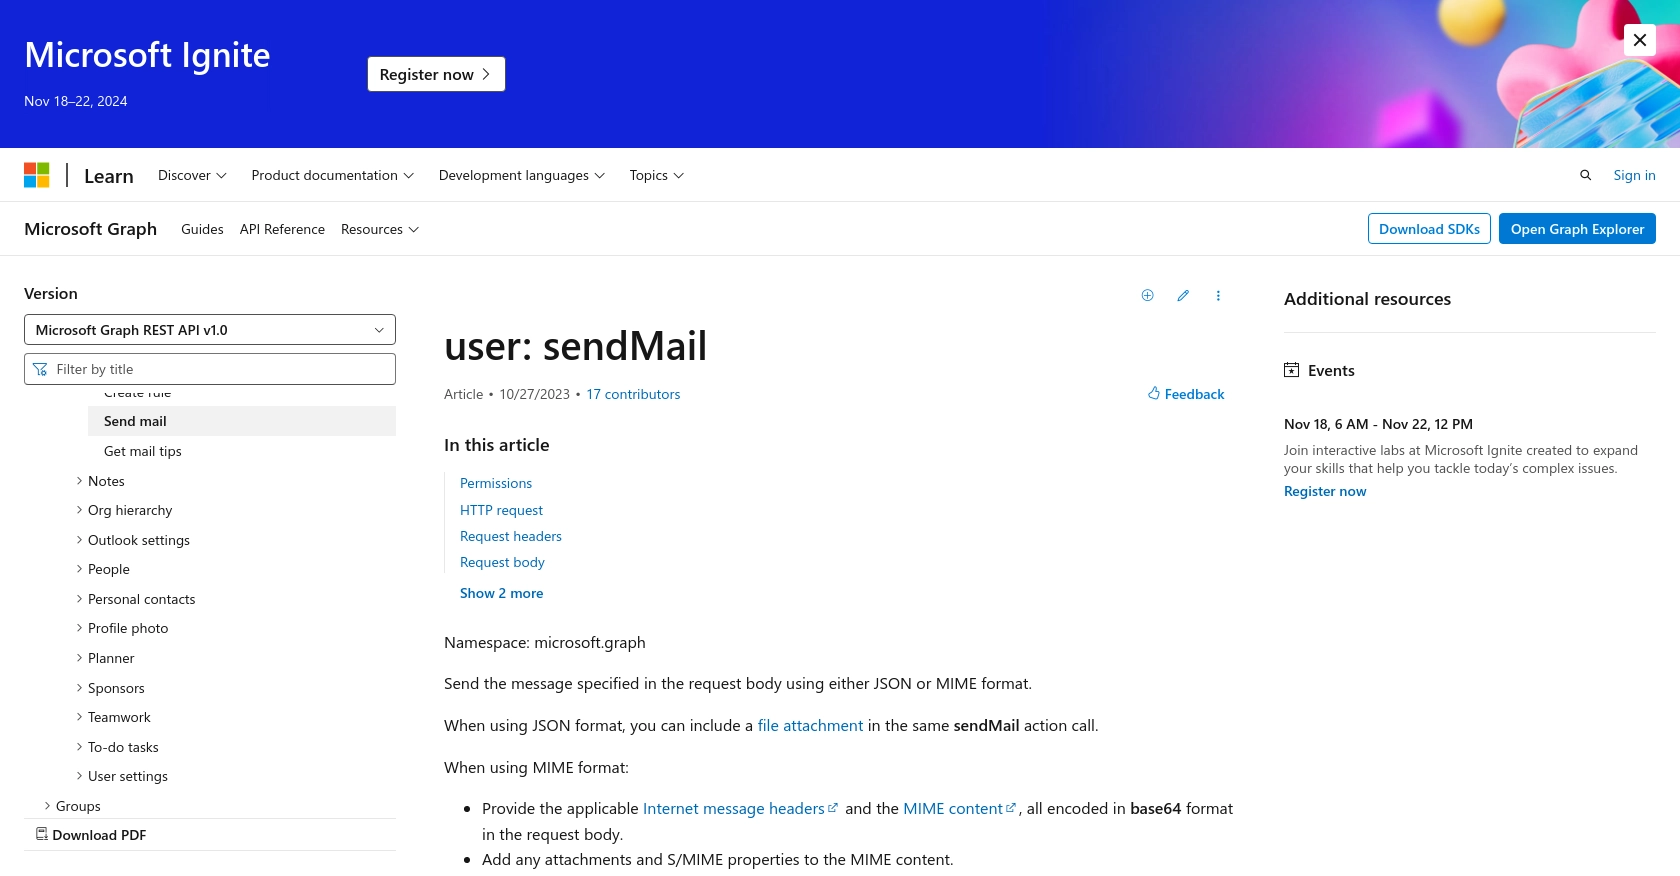
endpoint = "https://graph.microsoft.com/v1.0/me/sendMail"
headers = {
"Authorization": "Bearer Your_Access_Token",
"Content-Type": "application/json"
}
# Define the email content
email_data = {
"message": {
"subject": "Hello from Python",
"body": {
"contentType": "Text",
"content": "This is a test email sent from Python using the Outlook API."
},
"toRecipients": [
{
"emailAddress": {
"address": "recipient@example.com"
}
}
]
},
"saveToSentItems": "true"
}
# Make a POST request to send the email
response = requests.post(endpoint, headers=headers, json=email_data)
# Check if the request was successful
if response.status_code == 202:
print("Email sent successfully!")
else:
print(f"Failed to send email. Status code: {response.status_code}, Error: {response.text}")
python3 send_outlook_email.pyVerifying the Email Sent via Outlook API
After running the script, check the recipient's inbox to verify that the email was sent successfully. Additionally, you can log into your Outlook account to see the email in the Sent Items folder, confirming that the API call was successful.
Handling Errors and Troubleshooting Outlook API Calls
If the API call fails, the response will include an error message. Common error codes include:
- 401 Unauthorized: Ensure your access token is valid and not expired.
- 403 Forbidden: Verify that your app has the necessary permissions to send emails.
- 400 Bad Request: Check the email data format and ensure all required fields are included.
For more detailed error descriptions, refer to the Microsoft Graph API documentation.
Conclusion and Best Practices for Using the Outlook API in Python
Integrating the Outlook API into your Python applications can significantly enhance your ability to automate and manage email communications. By following the steps outlined in this guide, you can efficiently send emails programmatically, leveraging the power of Microsoft Graph and Outlook's robust email services.
Best Practices for Storing User Credentials Securely
When working with OAuth tokens and user credentials, it's crucial to store them securely. Consider using environment variables or secure vaults to keep sensitive information safe. Avoid hardcoding credentials directly into your codebase.
Handling Outlook API Rate Limiting
Be mindful of the API rate limits imposed by Microsoft Graph. Implement retry logic and exponential backoff strategies to handle rate limiting gracefully. This ensures your application remains responsive and avoids unnecessary API call failures.
Transforming and Standardizing Data Fields in Outlook API
When sending emails, ensure that your data fields are correctly formatted and standardized. This includes validating email addresses and ensuring the content type is specified correctly. Proper data handling minimizes errors and improves the reliability of your API interactions.
Enhance Your Integration Experience with Endgrate
For developers looking to streamline their integration processes further, consider using Endgrate. With Endgrate, you can save time and resources by outsourcing integrations, allowing you to focus on your core product. Build once for each use case and enjoy an intuitive integration experience for your customers. Explore more at Endgrate.
Read More
- https://endgrate.com/provider/outlook
- https://docs.microsoft.com/en-us/graph/overview
- https://learn.microsoft.com/en-us/graph/auth/auth-concepts
- https://learn.microsoft.com/en-us/graph/auth-register-app-v2
- https://learn.microsoft.com/en-us/graph/auth-v2-user?tabs=http
- https://learn.microsoft.com/en-us/graph/api/user-sendmail?view=graph-rest-1.0&tabs=http

Ready to get started?
