Using the Quickbooks API to Create Or Update Customers in Javascript
Introduction to QuickBooks API Integration
QuickBooks is a widely-used accounting software that offers comprehensive tools for managing finances, invoicing, payroll, and more. It is a preferred choice for businesses looking to streamline their financial operations and maintain accurate records.
Integrating with the QuickBooks API allows developers to automate and enhance financial processes, such as creating or updating customer records. For example, a developer might use the QuickBooks API to automatically update customer information from an e-commerce platform, ensuring that the accounting records are always up-to-date and accurate.
Setting Up Your QuickBooks Sandbox Account for API Integration
Before you can start integrating with the QuickBooks API, you need to set up a sandbox account. This allows you to test your application without affecting real data. QuickBooks provides a sandbox environment that mimics the live environment, enabling you to safely develop and test your integrations.
Creating a QuickBooks Developer Account
To begin, you need to create a QuickBooks Developer account. Follow these steps:
- Visit the QuickBooks Developer Portal.
- Click on "Sign Up" and fill in the required information to create your developer account.
- Once registered, log in to your account to access the developer dashboard.
Setting Up a QuickBooks Sandbox Company
After creating your developer account, you need to set up a sandbox company:
- Navigate to the "Sandbox" section in the developer dashboard.
- Click on "Add Sandbox" to create a new sandbox company.
- Choose the type of company you want to simulate (e.g., product-based or service-based).
- Once created, you will have access to a sandbox environment with sample data.
Creating a QuickBooks App for OAuth Authentication
QuickBooks uses OAuth 2.0 for authentication. You need to create an app to obtain the necessary credentials:
- Go to the "My Apps" section in the developer dashboard.
- Click on "Create an App" and select "QuickBooks Online and Payments" as the platform.
- Fill in the required details, such as app name and description.
- After creating the app, navigate to the "Keys & OAuth" section.
- Here, you will find your Client ID and Client Secret, which are essential for OAuth authentication.
For more details on obtaining your Client ID and Client Secret, refer to the QuickBooks documentation.
Configuring OAuth Redirect URIs
Ensure that you configure the redirect URIs for OAuth:
- In the "Keys & OAuth" section, scroll down to "Redirect URIs".
- Add the URIs where you want QuickBooks to redirect after authentication.
- Make sure these URIs match the ones used in your application.
With these steps completed, you are now ready to start making API calls to QuickBooks using your sandbox account. This setup ensures that you can develop and test your integration without impacting live data.
sbb-itb-96038d7
Making API Calls to QuickBooks for Customer Management Using JavaScript
To interact with the QuickBooks API for creating or updating customer records, you need to use JavaScript to make HTTP requests. This section will guide you through the process of setting up your environment, writing the necessary code, and handling responses and errors effectively.
Setting Up Your JavaScript Environment for QuickBooks API Integration
Before making API calls, ensure you have the following prerequisites:
- Node.js installed on your machine. You can download it from the official Node.js website.
- A package manager like npm (comes with Node.js) to install dependencies.
Once you have Node.js and npm installed, create a new project directory and initialize it:
mkdir quickbooks-api-integration
cd quickbooks-api-integration
npm init -y
Installing Required Libraries for QuickBooks API Calls
To make HTTP requests, you'll need the axios library. Install it using npm:
npm install axios
Writing JavaScript Code to Create or Update Customers in QuickBooks
Create a new file named manageCustomers.js and add the following code:
const axios = require('axios');

// Set the API endpoint and headers
const endpoint = 'https://sandbox-quickbooks.api.intuit.com/v3/company/YOUR_COMPANY_ID/customer';
const headers = {
    'Authorization': 'Bearer YOUR_ACCESS_TOKEN',
    'Content-Type': 'application/json',
    'Accept': 'application/json'
};

// Define the customer data
const customerData = {
    "DisplayName": "John Doe",
    "PrimaryEmailAddr": {
        "Address": "johndoe@example.com"
    }
};

// Function to create or update a customer
async function manageCustomer() {
    try {
        const response = await axios.post(endpoint, customerData, { headers });
        console.log('Customer created/updated successfully:', response.data);
    } catch (error) {
        console.error('Error creating/updating customer:', error.response ? error.response.data : error.message);
    }
}

// Execute the function
manageCustomer();
Replace YOUR_COMPANY_ID and YOUR_ACCESS_TOKEN with your actual QuickBooks company ID and OAuth access token.
Running the JavaScript Code and Verifying Results
Execute the script using Node.js:
node manageCustomers.js
Upon successful execution, you should see a confirmation message with the customer details. Verify the customer creation or update in your QuickBooks sandbox account to ensure the API call was successful.
Handling Errors and QuickBooks API Error Codes
When making API calls, it's crucial to handle potential errors. The QuickBooks API may return various error codes, such as:
- 400 Bad Request: The request was invalid or cannot be served.
- 401 Unauthorized: Authentication failed or user does not have permissions.
- 403 Forbidden: The request is understood, but it has been refused.
- 404 Not Found: The requested resource could not be found.
Ensure your application gracefully handles these errors by checking the response status and providing meaningful feedback to the user.
For more detailed information on error codes, refer to the QuickBooks API documentation.
Best Practices for QuickBooks API Integration and Error Handling
When integrating with the QuickBooks API, it's essential to follow best practices to ensure a smooth and efficient process. Here are some recommendations:
- Securely Store Credentials: Always store your OAuth credentials, such as the Client ID and Client Secret, securely. Use environment variables or secure vaults to keep them safe from unauthorized access.
- Handle Rate Limiting: QuickBooks API has rate limits to prevent abuse. Monitor the response headers for rate limit information and implement exponential backoff strategies to handle rate limit errors gracefully.
- Standardize Data Fields: Ensure that data fields are consistent and standardized across your application to avoid discrepancies when creating or updating customer records.
- Implement Robust Error Handling: Always check the response status and handle errors appropriately. Provide meaningful feedback to users and log errors for further analysis.
Streamline Your Integration Process with Endgrate
Building and maintaining integrations with multiple platforms can be time-consuming and complex. Endgrate simplifies this process by offering a unified API endpoint that connects to various platforms, including QuickBooks.
With Endgrate, you can:
- Save time and resources by outsourcing integrations and focusing on your core product.
- Build once for each use case instead of multiple times for different integrations.
- Provide an easy, intuitive integration experience for your customers.
Explore how Endgrate can enhance your integration capabilities by visiting Endgrate's website.
Read More
- https://endgrate.com/provider/quickbooks
- https://developer.intuit.com/app/developer/qbo/docs/get-started/start-developing-your-app
- https://developer.intuit.com/app/developer/qbo/docs/get-started/get-client-id-and-client-secret
- https://developer.intuit.com/app/developer/qbo/docs/get-started/app-settings
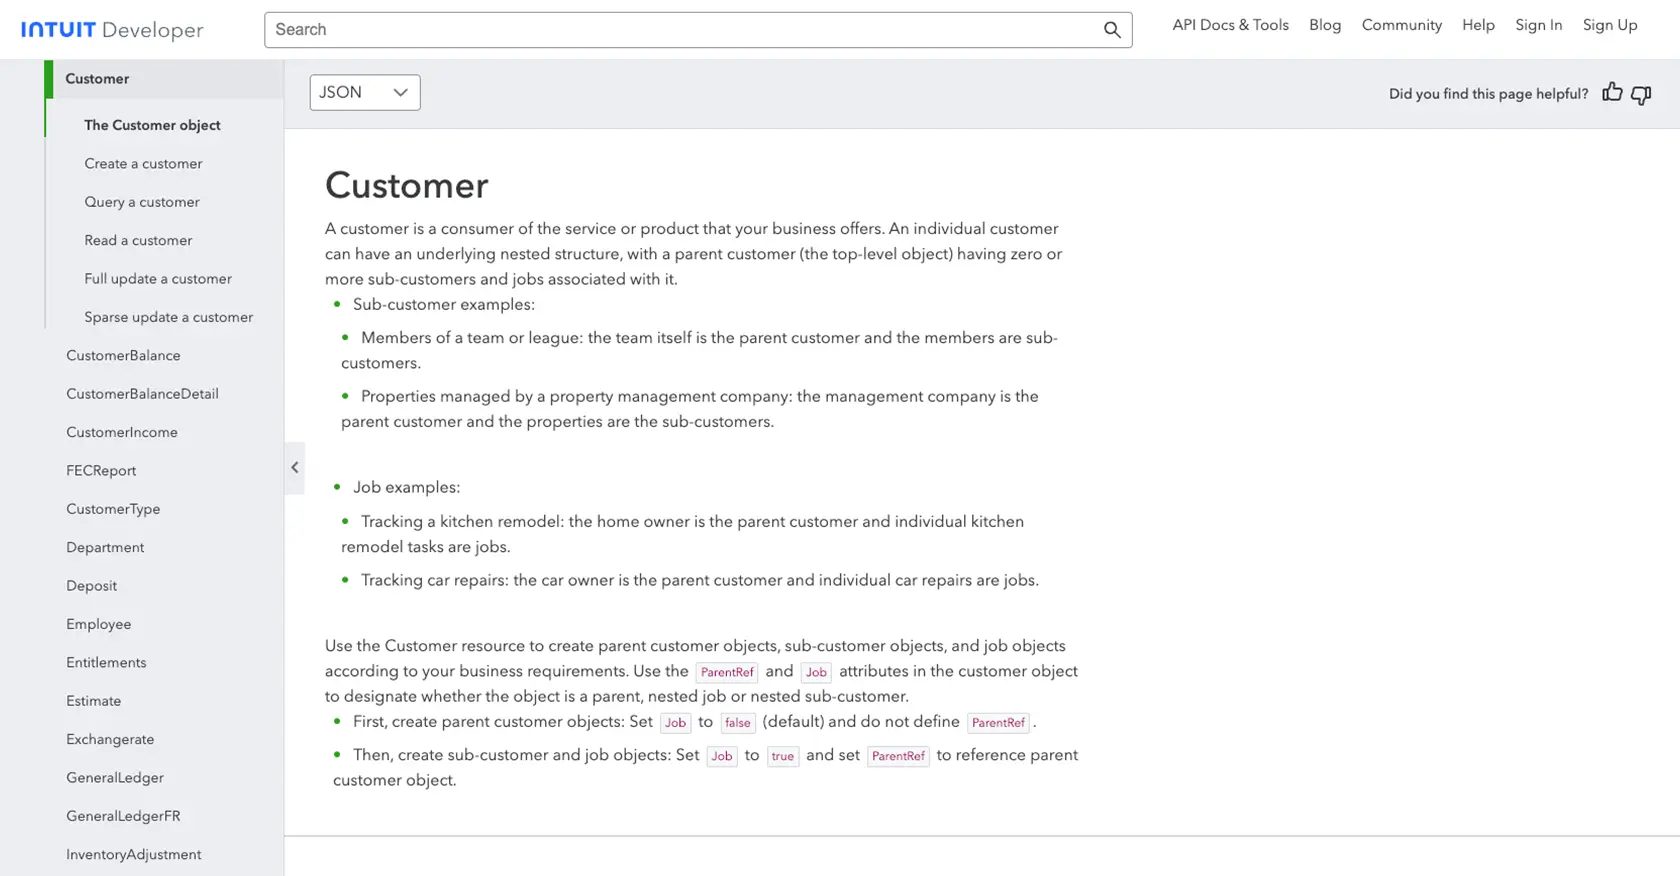
- https://developer.intuit.com/app/developer/qbo/docs/api/accounting/all-entities/customer

Ready to get started?
