Using the Quickbooks API to Create Or Update Purchase Orders in Javascript

Introduction to QuickBooks API for Purchase Orders
QuickBooks is a widely-used accounting software that offers a comprehensive suite of tools to manage financial operations for businesses of all sizes. Its robust platform provides features for invoicing, expense tracking, payroll, and more, making it a popular choice among businesses looking to streamline their accounting processes.
Developers may want to integrate with QuickBooks to automate financial tasks, such as creating or updating purchase orders. By leveraging the QuickBooks API, developers can efficiently manage purchase orders, ensuring that inventory levels are maintained and supplier relationships are optimized. For example, a developer could use the QuickBooks API to automatically generate purchase orders when stock levels fall below a certain threshold, thereby reducing manual intervention and improving operational efficiency.
Setting Up Your QuickBooks Sandbox Account for API Integration
Before you can start creating or updating purchase orders using the QuickBooks API, you need to set up a sandbox account. This environment allows you to test your integration without affecting real data, ensuring a smooth development process.
Creating a QuickBooks Developer Account
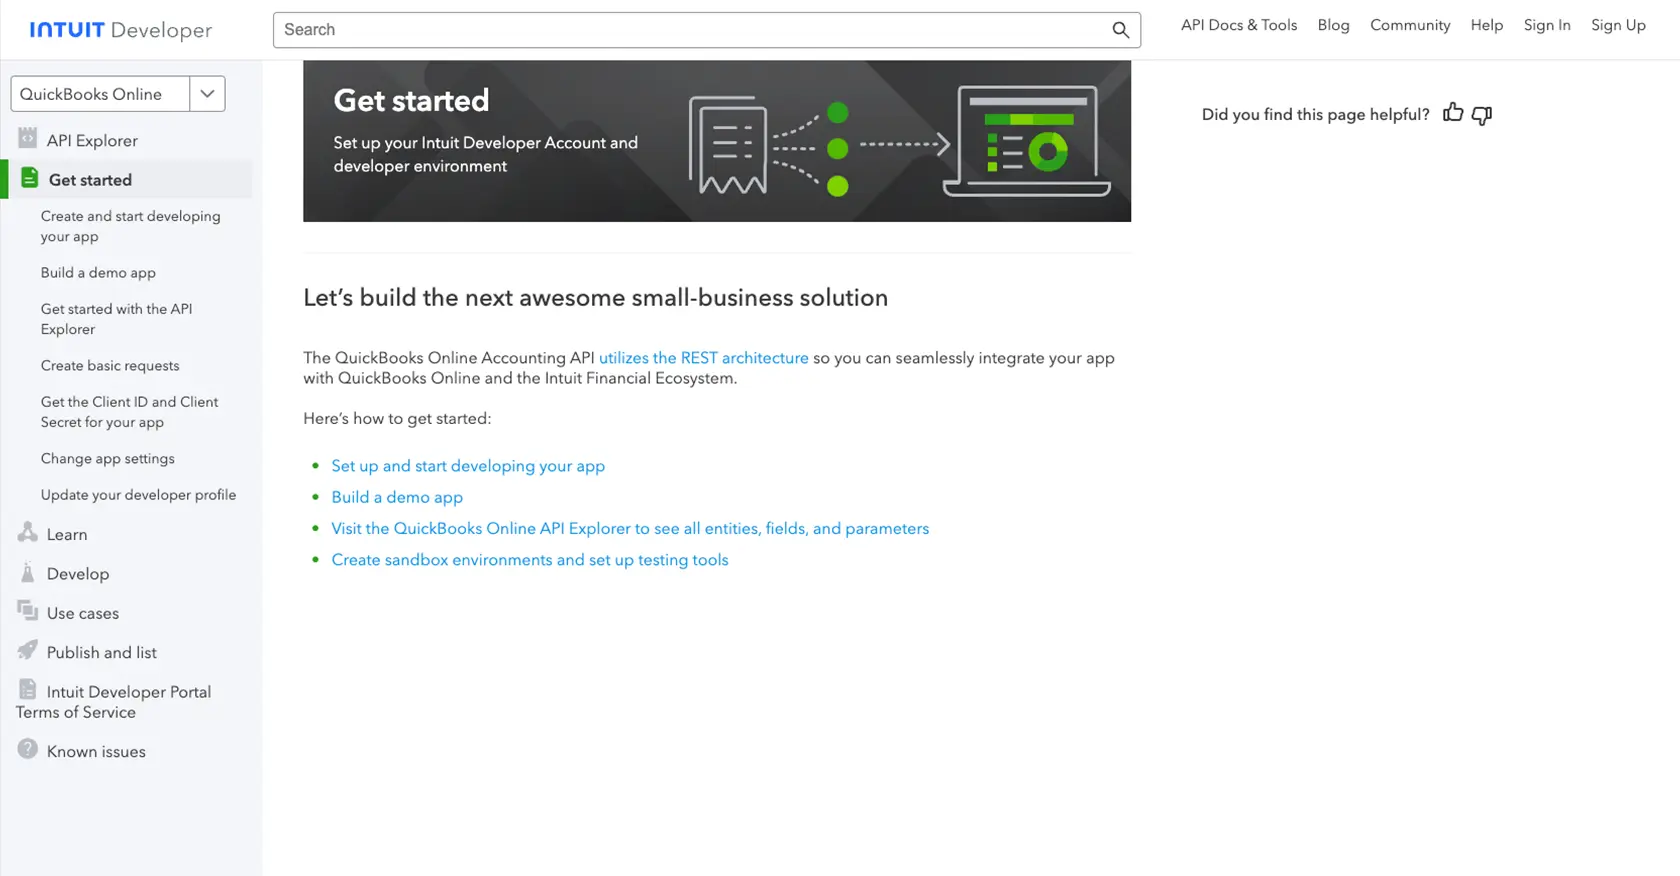
To begin, you'll need a QuickBooks Developer account. If you don't have one, follow these steps:
- Visit the QuickBooks Developer Portal.
- Click on "Sign Up" and fill in the required information to create your account.
- Once registered, log in to your developer account.
Setting Up a QuickBooks Sandbox Company
After creating your developer account, set up a sandbox company to test your API interactions:
- Navigate to the "Sandbox" section in your QuickBooks Developer Dashboard.
- Click on "Add Sandbox" to create a new sandbox company.
- Choose the type of company you want to simulate and complete the setup process.
Creating an App for OAuth Authentication
QuickBooks API uses OAuth for authentication. To interact with the API, you need to create an app to obtain the necessary credentials:
- Go to the "My Apps" section in your QuickBooks Developer Dashboard.
- Click on "Create an App" and select "QuickBooks Online and Payments."
- Fill in the app details and save your app.
- Navigate to the "Keys & OAuth" section to find your Client ID and Client Secret.
- Ensure you configure the redirect URI as required for OAuth authentication.
For more detailed instructions, refer to the QuickBooks OAuth Setup Guide.
Generating OAuth Tokens
With your app created, you can now generate OAuth tokens to authenticate API requests:
- Use the Client ID and Client Secret to request an OAuth token.
- Follow the OAuth 2.0 flow to obtain access and refresh tokens.
- Store these tokens securely, as they will be used to authorize API calls.
With your QuickBooks sandbox account and app set up, you're ready to start integrating with the QuickBooks API to manage purchase orders in your JavaScript application.
sbb-itb-96038d7
Making API Calls to QuickBooks for Purchase Orders in JavaScript
To interact with the QuickBooks API for creating or updating purchase orders, you'll need to use JavaScript. This section will guide you through the process, including setting up your environment, writing the code, and handling responses and errors effectively.
Setting Up Your JavaScript Environment for QuickBooks API Integration
Before making API calls, ensure you have the following prerequisites:
- Node.js installed on your machine.
- A package manager like npm or yarn.
Install the necessary dependencies by running:
npm install axiosThe axios library will help you make HTTP requests to the QuickBooks API.
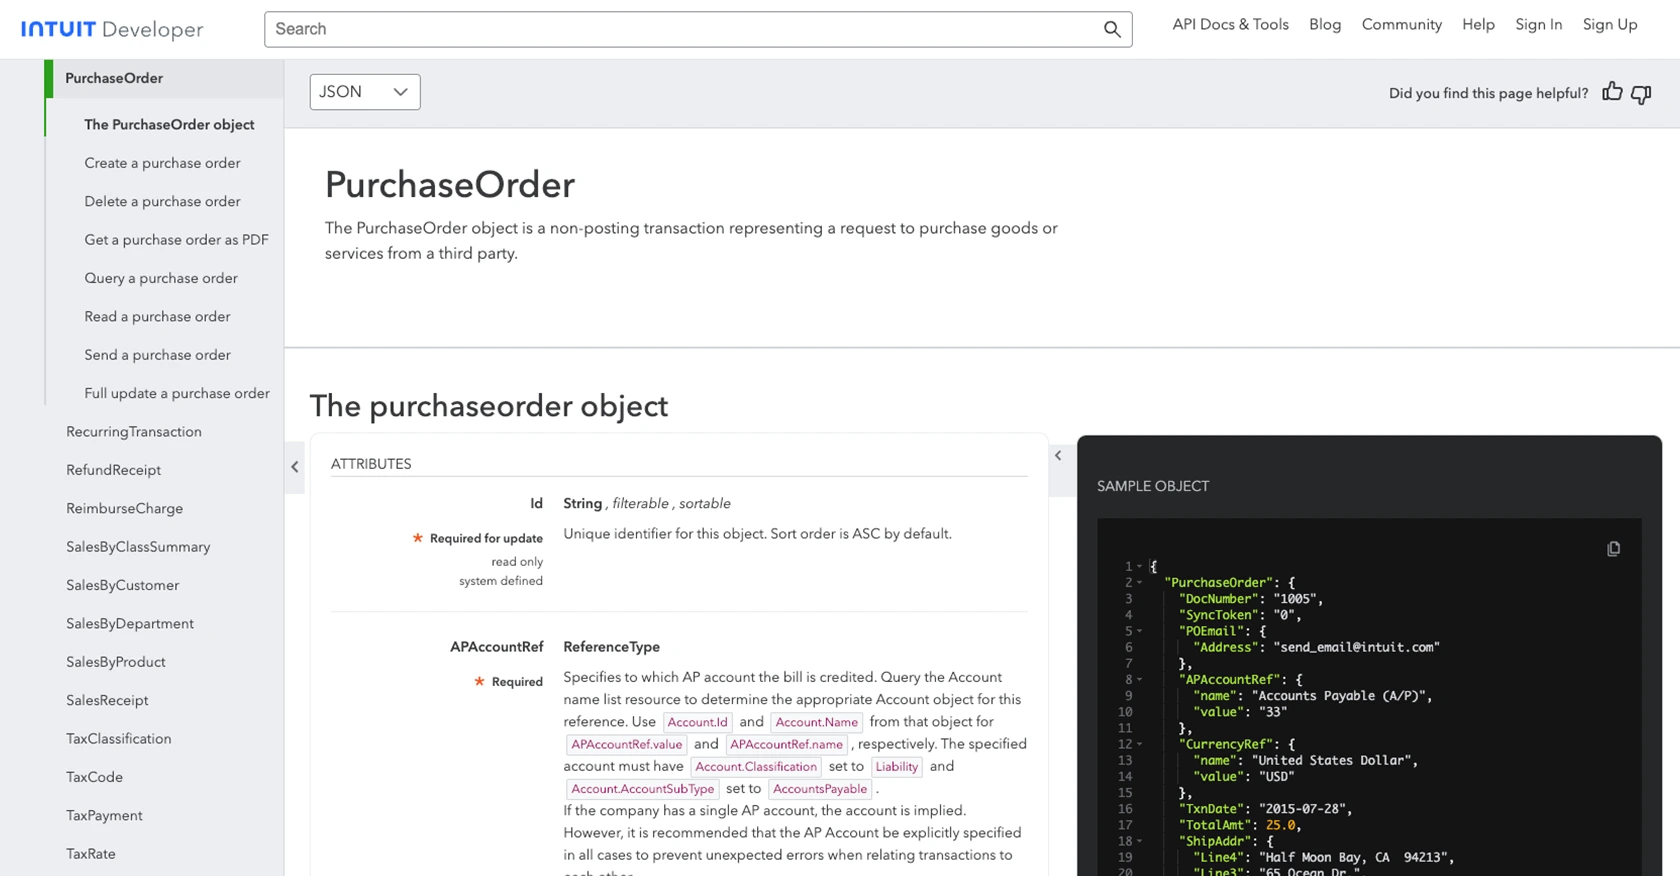
Creating or Updating Purchase Orders with QuickBooks API
Now, let's write the JavaScript code to create or update purchase orders using the QuickBooks API.
const axios = require('axios');

// Set the API endpoint and headers
const endpoint = 'https://quickbooks.api.intuit.com/v3/company/{companyId}/purchaseorder';
const headers = {
    'Authorization': 'Bearer Your_Access_Token',
    'Content-Type': 'application/json',
    'Accept': 'application/json'
};

// Define the purchase order data
const purchaseOrderData = {
    "Line": [
        {
            "Amount": 100.00,
            "DetailType": "ItemBasedExpenseLineDetail",
            "ItemBasedExpenseLineDetail": {
                "ItemRef": {
                    "value": "1",
                    "name": "Item Name"
                }
            }
        }
    ],
    "VendorRef": {
        "value": "1"
    }
};

// Function to create or update a purchase order
async function createOrUpdatePurchaseOrder() {
    try {
        const response = await axios.post(endpoint, purchaseOrderData, { headers });
        console.log('Purchase Order Created/Updated Successfully:', response.data);
    } catch (error) {
        console.error('Error Creating/Updating Purchase Order:', error.response ? error.response.data : error.message);
    }
}

// Call the function
createOrUpdatePurchaseOrder();
Replace Your_Access_Token with the OAuth token obtained during authentication, and {companyId} with your QuickBooks company ID.
Verifying API Call Success and Handling Errors
After running the code, verify the success of your API call by checking the response data. If successful, the purchase order should appear in your QuickBooks sandbox account.
Handle errors by checking the response status and error messages. Common error codes include:
- 400: Bad Request - Check your request syntax and data.
- 401: Unauthorized - Verify your OAuth token.
- 404: Not Found - Ensure the endpoint URL and company ID are correct.
For more detailed error handling, refer to the QuickBooks API documentation.
Conclusion and Best Practices for QuickBooks API Integration
Integrating with the QuickBooks API to create or update purchase orders in JavaScript can significantly enhance your business's financial operations by automating and streamlining processes. By following the steps outlined in this guide, you can effectively manage purchase orders, ensuring accuracy and efficiency in your accounting workflows.
Best Practices for Secure and Efficient QuickBooks API Usage
- Secure Storage of OAuth Tokens: Store your OAuth tokens securely, using environment variables or a secure vault, to prevent unauthorized access.
- Handle Rate Limiting: QuickBooks API may have rate limits. Implement retry logic and exponential backoff to handle rate limit errors gracefully. Refer to the QuickBooks API documentation for specific rate limit details.
- Data Standardization: Ensure that the data you send to QuickBooks is standardized and validated to prevent errors and maintain data integrity.
- Error Logging and Monitoring: Implement robust error logging and monitoring to quickly identify and resolve any issues that arise during API interactions.
Streamline Your Integration Process with Endgrate
While integrating with QuickBooks API can be highly beneficial, managing multiple integrations can become complex and time-consuming. Endgrate offers a solution by providing a unified API endpoint that connects to various platforms, including QuickBooks. This allows you to build once for each use case and focus on your core product, saving time and resources.
Explore how Endgrate can simplify your integration process and provide an intuitive experience for your customers by visiting Endgrate.
Read More
- https://endgrate.com/provider/quickbooks
- https://developer.intuit.com/app/developer/qbo/docs/get-started/start-developing-your-app
- https://developer.intuit.com/app/developer/qbo/docs/get-started/get-client-id-and-client-secret
- https://developer.intuit.com/app/developer/qbo/docs/get-started/app-settings
- https://developer.intuit.com/app/developer/qbo/docs/api/accounting/all-entities/purchaseorder

Ready to get started?
