Using the Re:amaze API to Create Contacts (with PHP examples)
Introduction to Re:amaze API Integration
Re:amaze is a versatile customer support platform that offers a unified inbox for managing customer interactions across various channels. It provides tools for live chat, automated messaging, and customer engagement, making it an essential solution for businesses aiming to enhance their customer service experience.
Integrating with the Re:amaze API allows developers to programmatically manage customer data and interactions. For example, you can automate the creation of new customer contacts directly from your web application, ensuring that your support team has immediate access to the latest customer information.
Setting Up Your Re:amaze Test Account for API Integration
Before you begin integrating with the Re:amaze API, you'll need to set up a test account. This will allow you to safely experiment with API calls without affecting your live data. Re:amaze offers a straightforward process to get started with their API.
Creating a Free Re:amaze Account
To access the Re:amaze API, you'll first need to create a free account:
- Visit the Re:amaze website and click on "Sign Up".
- Follow the on-screen instructions to complete the registration process using your email, Google, or Microsoft account.
- Once registered, log in to your Re:amaze account.
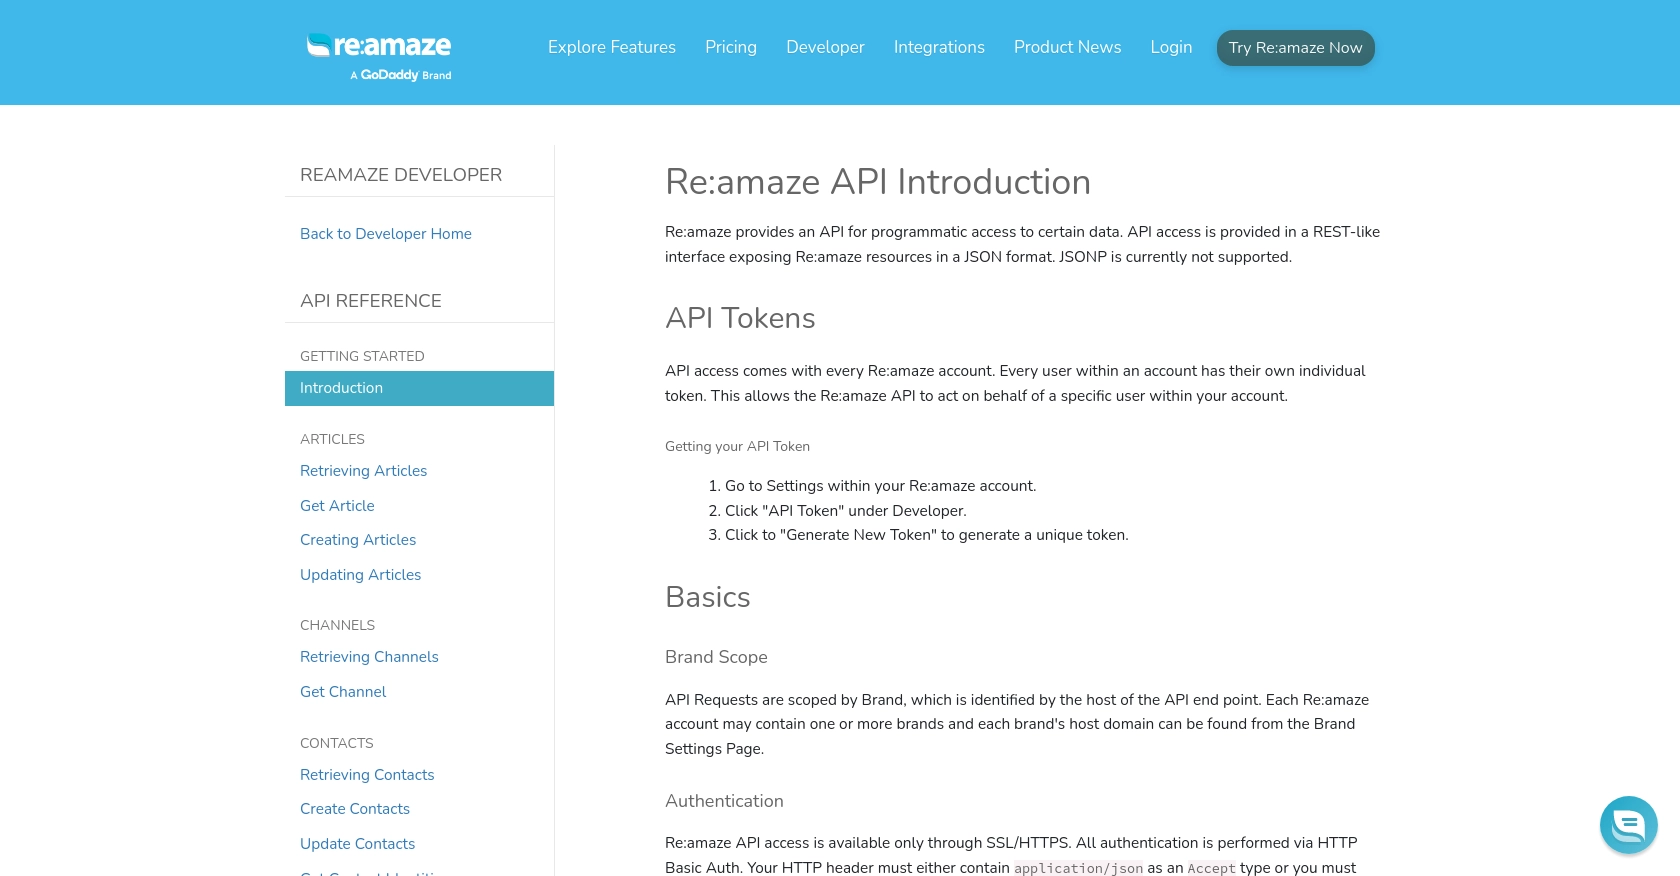
Generating Your Re:amaze API Token
Re:amaze uses API tokens for authentication, allowing the API to act on behalf of a specific user. Follow these steps to generate your API token:
- Navigate to the "Settings" section within your Re:amaze account.
- Under the "Developer" menu, click on "API Token".
- Click "Generate New Token" to create a unique token for your account.
- Copy and securely store your API token, as you'll need it to authenticate your API requests.
Understanding Re:amaze API Authentication
The Re:amaze API requires HTTP Basic Auth for authentication. Ensure your HTTP header includes application/json as an Accept type, or append .json to the resource URL. All API access is conducted over SSL/HTTPS for security.
With your test account and API token ready, you can now proceed to make API calls to Re:amaze, such as creating new contacts programmatically. This setup ensures a secure and efficient integration process.
sbb-itb-96038d7
Making API Calls to Re:amaze for Contact Creation Using PHP
Now that you have your Re:amaze test account and API token set up, it's time to dive into making API calls to create contacts. This section will guide you through the process using PHP, a popular server-side scripting language known for its ease of use and flexibility in web development.
Setting Up Your PHP Environment for Re:amaze API Integration
Before making API calls, ensure your PHP environment is ready:
- Ensure you have PHP 7.4 or later installed on your server or local machine.
- Install the
cURLextension, which is necessary for making HTTP requests in PHP.
Creating a PHP Script to Make a POST Request to Re:amaze API
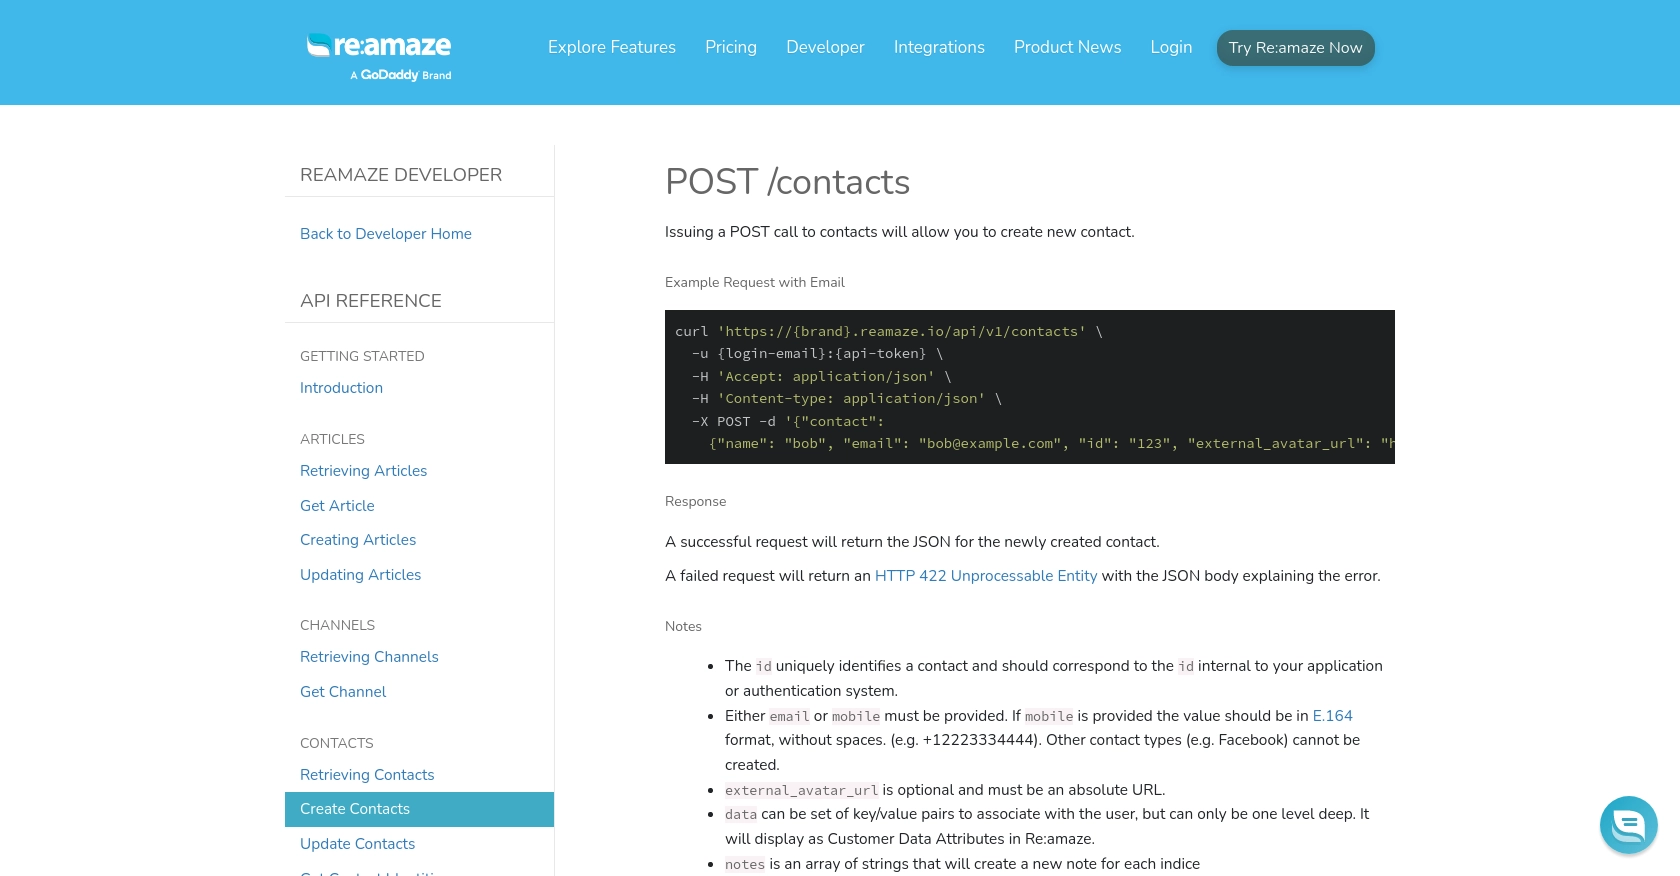
To create a new contact in Re:amaze, you'll need to make a POST request to the Re:amaze API. Below is a PHP example demonstrating how to achieve this:
<?php
// Define your Re:amaze brand and API token
$brand = 'your_brand';
$apiToken = 'your_api_token';

// Set the API endpoint URL
$url = "https://{$brand}.reamaze.io/api/v1/contacts";

// Prepare the contact data
$data = [
    'contact' => [
        'name' => 'John Doe',
        'email' => 'john.doe@example.com',
        'id' => '123',
        'external_avatar_url' => 'https://www.example.com/avatar.png',
        'notes' => ['First note', 'Second note'],
        'data' => ['custom_attribute' => 'custom data']
    ]
];

// Initialize cURL session
$ch = curl_init($url);

// Set cURL options
curl_setopt($ch, CURLOPT_RETURNTRANSFER, true);
curl_setopt($ch, CURLOPT_HTTPAUTH, CURLAUTH_BASIC);
curl_setopt($ch, CURLOPT_USERPWD, "your_email:{$apiToken}");
curl_setopt($ch, CURLOPT_HTTPHEADER, [
    'Accept: application/json',
    'Content-Type: application/json'
]);
curl_setopt($ch, CURLOPT_POST, true);
curl_setopt($ch, CURLOPT_POSTFIELDS, json_encode($data));

// Execute the request
$response = curl_exec($ch);

// Check for errors
if (curl_errno($ch)) {
    echo 'Request Error:' . curl_error($ch);
} else {
    // Parse and display the response
    $responseData = json_decode($response, true);
    if (isset($responseData['contact'])) {
        echo 'Contact Created Successfully: ' . $responseData['contact']['name'];
    } else {
        echo 'Failed to Create Contact: ' . $response;
    }
}

// Close cURL session
curl_close($ch);
?>
Verifying the Contact Creation in Re:amaze
After running the PHP script, you should verify that the contact was successfully created in your Re:amaze account:
- Log in to your Re:amaze account.
- Navigate to the "Contacts" section to see the newly created contact.
Handling Errors and Understanding HTTP Response Codes
When making API calls, it's crucial to handle potential errors. The Re:amaze API will return an HTTP 422 Unprocessable Entity if the request fails, along with a JSON body explaining the error. Ensure your script checks for these errors and handles them appropriately to maintain a smooth integration process.
By following these steps, you can efficiently create contacts in Re:amaze using PHP, enhancing your application's ability to manage customer interactions programmatically.
Conclusion and Best Practices for Re:amaze API Integration Using PHP
Integrating with the Re:amaze API using PHP allows developers to efficiently manage customer interactions and data, enhancing the overall customer service experience. By following the steps outlined in this guide, you can automate the creation of contacts, ensuring your support team has access to up-to-date customer information.
Best Practices for Secure and Efficient API Usage
- Securely Store API Credentials: Always store your API tokens securely, using environment variables or secure vaults, to prevent unauthorized access.
- Handle Rate Limiting: Be mindful of Re:amaze's rate limits to avoid HTTP 429 errors. Implement retry logic with exponential backoff to handle rate limit responses gracefully.
- Validate API Responses: Always check for HTTP response codes and handle errors appropriately. This ensures your application can respond to issues without crashing.
- Standardize Data Fields: Ensure that data fields are consistent across your application to avoid discrepancies and maintain data integrity.
Enhancing Integration Capabilities with Endgrate
While integrating with Re:amaze directly is beneficial, using a tool like Endgrate can further streamline the process. Endgrate offers a unified API endpoint that connects to multiple platforms, allowing you to manage integrations more efficiently. By leveraging Endgrate, you can focus on your core product while outsourcing the complexities of integration management.
Explore how Endgrate can simplify your integration needs and provide an intuitive experience for your customers by visiting Endgrate.
Read More

Ready to get started?
