Using the Re:amaze API to Create Contacts in Javascript
Introduction to Re:amaze API Integration
Re:amaze is a comprehensive customer support platform that offers a suite of tools to manage customer interactions across various channels. With features like shared inboxes, live chat, and automated messaging, Re:amaze is designed to enhance customer engagement and streamline support operations for businesses.
Developers may want to integrate with the Re:amaze API to automate customer data management tasks, such as creating and updating contact information. For example, by using the Re:amaze API, a developer can programmatically add new customer contacts from an external source, ensuring that the support team has up-to-date information without manual entry.
Setting Up Your Re:amaze Test Account for API Integration
Before diving into the Re:amaze API integration, you'll need to set up a test account. This will allow you to safely experiment with API calls without affecting live data. Re:amaze offers a straightforward process to get started with their API using a free account.
Creating a Free Re:amaze Account
To begin, you'll need to create a free Re:amaze account. Follow these steps:
- Visit the Re:amaze website and click on "Sign Up".
- Choose to sign up with your email, Google, or Microsoft account.
- Follow the on-screen instructions to complete the registration process.
Once your account is set up, you can access the Re:amaze dashboard and explore its features.
Generating Your Re:amaze API Token
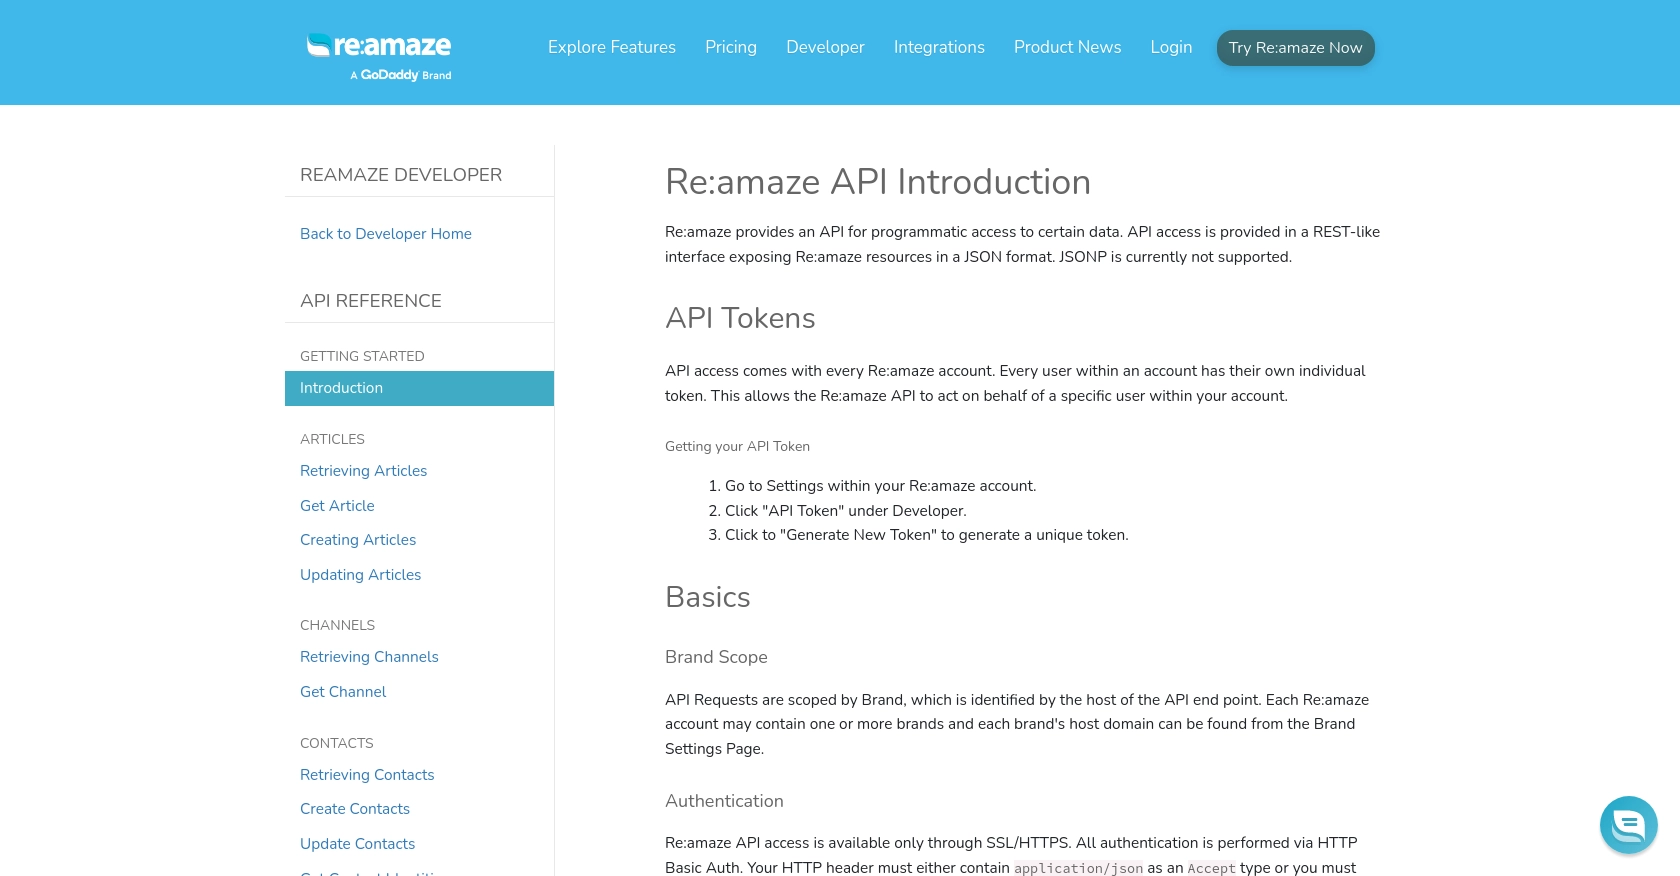
To interact with the Re:amaze API, you'll need an API token. This token authenticates your requests and allows the API to act on behalf of your account. Here's how to generate it:
- Log in to your Re:amaze account and navigate to the "Settings" section.
- Under the "Developer" menu, click on "API Token".
- Select "Generate New Token" to create a unique API token for your account.
Make sure to store this token securely, as it will be required for authenticating your API requests.
Understanding Re:amaze API Authentication
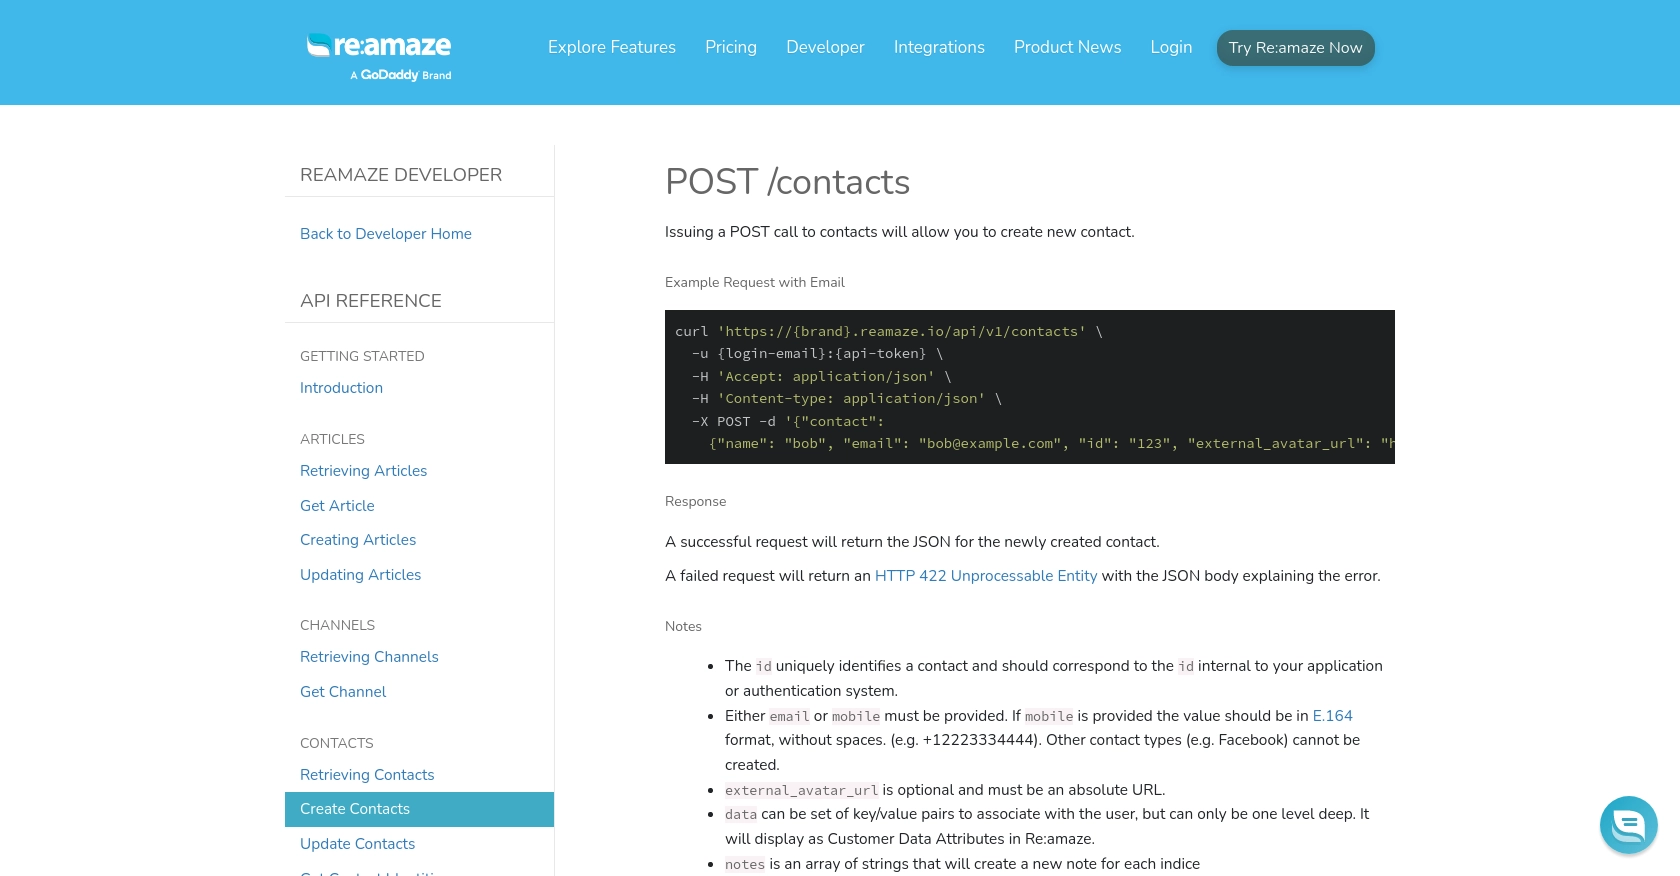
The Re:amaze API uses HTTP Basic Auth for authentication. All API requests must be made over SSL/HTTPS to ensure security. When making requests, include your login email and API token in the HTTP header.
curl 'https://{brand}.reamaze.io/api/v1/contacts' \
-u {login-email}:{api-token} \
-H 'Accept: application/json' \
-H 'Content-type: application/json' \
-X POST -d '{"contact": {"name": "John Doe", "email": "john.doe@example.com"}}'
Replace {brand}, {login-email}, and {api-token} with your specific details.
With your test account and API token ready, you're all set to start integrating with the Re:amaze API. In the next section, we'll explore how to make API calls to create contacts using JavaScript.
sbb-itb-96038d7
Making API Calls to Create Contacts with Re:amaze in JavaScript
Now that you have your Re:amaze test account and API token ready, it's time to dive into making API calls to create contacts using JavaScript. This section will guide you through the necessary steps, including setting up your environment, writing the code, and handling potential errors.
Setting Up Your JavaScript Environment for Re:amaze API Integration
To interact with the Re:amaze API using JavaScript, you'll need to ensure your development environment is properly configured. Make sure you have Node.js installed, as it provides a runtime for executing JavaScript code outside of a browser.
- Download and install Node.js if you haven't already.
- Initialize a new Node.js project by running
npm init -yin your terminal. - Install the
axioslibrary for making HTTP requests by runningnpm install axios.
Writing JavaScript Code to Create Contacts in Re:amaze
With your environment set up, you can now write the JavaScript code to create a contact in Re:amaze. The following example demonstrates how to use the axios library to make a POST request to the Re:amaze API.
const axios = require('axios');

// Define your Re:amaze brand, login email, and API token
const brand = 'your-brand';
const loginEmail = 'your-email@example.com';
const apiToken = 'your-api-token';

// Set the API endpoint and headers
const endpoint = `https://${brand}.reamaze.io/api/v1/contacts`;
const auth = Buffer.from(`${loginEmail}:${apiToken}`).toString('base64');
const headers = {
    'Accept': 'application/json',
    'Content-Type': 'application/json',
    'Authorization': `Basic ${auth}`
};

// Define the contact data
const contactData = {
    contact: {
        name: 'John Doe',
        email: 'john.doe@example.com',
        id: '123',
        external_avatar_url: 'https://www.example.com/avatar.png',
        notes: ['Note 1', 'Note 2'],
        data: { custom_attribute: 'custom data' }
    }
};

// Make the POST request to create a contact
axios.post(endpoint, contactData, { headers })
    .then(response => {
        console.log('Contact Created Successfully:', response.data);
    })
    .catch(error => {
        if (error.response && error.response.status === 422) {
            console.error('Failed to Create Contact:', error.response.data);
        } else {
            console.error('Error:', error.message);
        }
    });
Replace your-brand, your-email@example.com, and your-api-token with your specific Re:amaze details. This code sets up the necessary headers for authentication and sends a POST request to create a new contact.
Verifying Successful API Requests and Handling Errors
After running the code, you should see a success message in your console if the contact is created successfully. You can verify this by checking your Re:amaze dashboard for the new contact entry.
If the request fails, the code handles errors by checking for a 422 Unprocessable Entity status, which indicates issues with the request data. Ensure that either an email or mobile number is provided, as required by Re:amaze.
By following these steps, you can efficiently create contacts in Re:amaze using JavaScript, streamlining your customer data management processes.
Conclusion and Best Practices for Re:amaze API Integration
Integrating with the Re:amaze API using JavaScript allows developers to automate and streamline customer data management tasks efficiently. By following the steps outlined in this guide, you can create contacts programmatically, ensuring your support team always has the most up-to-date information.
Best Practices for Secure and Efficient Re:amaze API Usage
- Secure Storage of API Credentials: Always store your API tokens securely. Consider using environment variables or secure vaults to prevent unauthorized access.
- Handling Rate Limits: Be mindful of Re:amaze's rate limits to avoid HTTP 429 errors. Implement retry logic with exponential backoff to handle rate limiting gracefully.
- Data Validation: Ensure that the data you send to the API is valid and meets Re:amaze's requirements, such as providing either an email or mobile number for contacts.
- Error Handling: Implement robust error handling to manage different response codes and provide meaningful feedback to users or logs for debugging.
Enhancing Your Integration Strategy with Endgrate
While integrating with Re:amaze is a powerful way to manage customer interactions, maintaining multiple integrations can be complex and time-consuming. Endgrate offers a unified API solution that simplifies the integration process across various platforms, including Re:amaze.
By leveraging Endgrate, you can:
- Save time and resources by outsourcing integration tasks and focusing on your core product development.
- Build once for each use case, reducing the need for multiple integration efforts.
- Provide an intuitive integration experience for your customers, enhancing satisfaction and engagement.
Explore how Endgrate can streamline your integration efforts by visiting Endgrate today.
Read More

Ready to get started?
