Using the Re:amaze API to Get Contacts (with Javascript examples)
Introduction to Re:amaze API Integration
Re:amaze is a versatile customer support platform that offers a unified inbox for managing customer interactions across various channels. It provides features like live chat, chatbots, and push campaigns, making it a popular choice for businesses aiming to enhance customer engagement and support.
Developers might want to integrate with the Re:amaze API to streamline customer data management. For example, retrieving contacts using the Re:amaze API can help automate customer relationship management tasks, such as syncing contact information with other CRM systems or personalizing customer interactions based on their previous interactions.
Setting Up Your Re:amaze Test Account for API Integration
Before diving into the Re:amaze API, you need to set up a test account to experiment with API calls safely. This will allow you to explore the API's capabilities without affecting your live data.
Creating a Free Re:amaze Account
To get started, you'll need a Re:amaze account. Follow these steps to create one:
- Visit the Re:amaze website and click on "Sign Up" to create a free account.
- Fill in the required details, such as your email address and password, or use Google or Microsoft to sign up quickly.
- Once registered, log in to your Re:amaze dashboard.
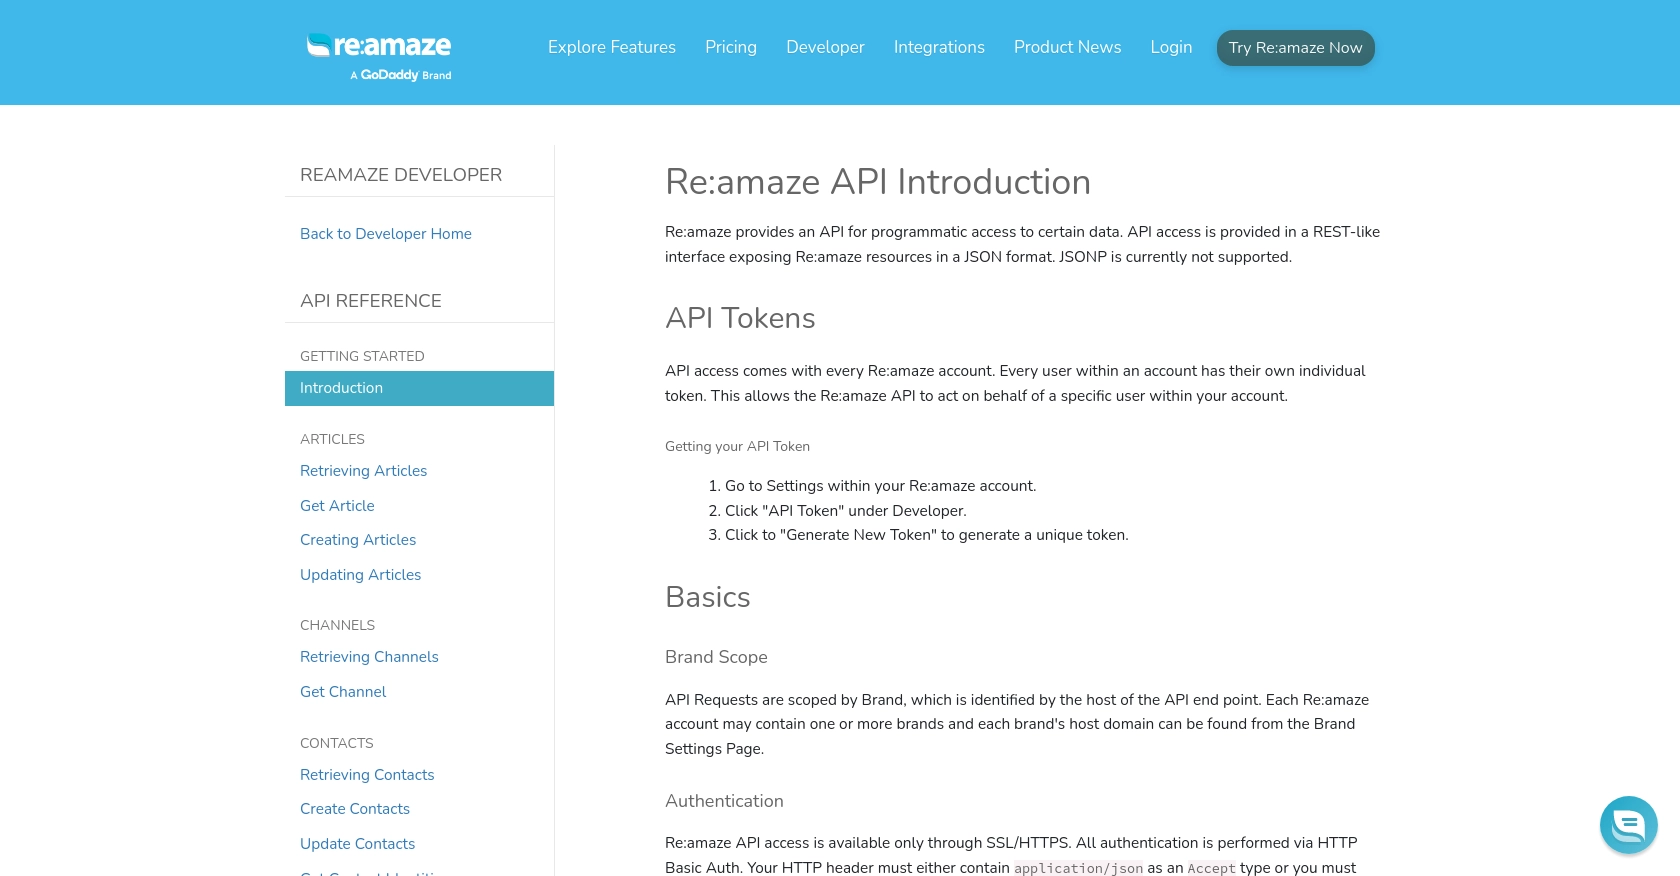
Generating Your Re:amaze API Token
To authenticate API requests, you'll need an API token. Here's how to generate one:
- Navigate to the "Settings" section in your Re:amaze dashboard.
- Under the "Developer" tab, click on "API Token."
- Select "Generate New Token" to create a unique API token for your account.
- Make sure to copy and store this token securely, as it will be used for API authentication.
Understanding Re:amaze API Authentication
The Re:amaze API uses HTTP Basic Auth for authentication. You'll need to include your login email and API token in the request headers. Ensure all requests are made over HTTPS for security.
Here's an example of how to set up a request using curl:
curl 'https://{brand}.reamaze.io/api/v1/contacts' \
-u {login-email}:{api-token} \
-H 'Accept: application/json'
Replace {brand}, {login-email}, and {api-token} with your specific details.
With your Re:amaze test account and API token ready, you're all set to start making API calls and exploring the platform's capabilities.
sbb-itb-96038d7
Making API Calls to Retrieve Contacts from Re:amaze Using JavaScript
To interact with the Re:amaze API and retrieve contacts, you'll need to use JavaScript to make HTTP requests. This section will guide you through the process of setting up your environment and executing API calls effectively.
Setting Up Your JavaScript Environment for Re:amaze API Integration
Before making API calls, ensure you have a modern JavaScript environment set up. You can use Node.js or any browser-based JavaScript environment. For this tutorial, we'll use Node.js.
- Ensure you have Node.js installed. You can download it from the official Node.js website.
- Create a new project directory and navigate to it in your terminal.
- Initialize a new Node.js project by running
npm init -y. - Install the Axios library for making HTTP requests by running
npm install axios.
Executing a GET Request to Fetch Contacts from Re:amaze
With your environment set up, you can now write a script to fetch contacts from Re:amaze. We'll use Axios to simplify the HTTP request process.
const axios = require('axios');

// Define your Re:amaze API endpoint and authentication details
const brand = 'your-brand';
const loginEmail = 'your-login-email';
const apiToken = 'your-api-token';
const endpoint = `https://${brand}.reamaze.io/api/v1/contacts`;

// Set up the request headers
const headers = {
    'Accept': 'application/json',
    'Authorization': `Basic ${Buffer.from(`${loginEmail}:${apiToken}`).toString('base64')}`
};

// Function to fetch contacts
async function getContacts() {
    try {
        const response = await axios.get(endpoint, { headers });
        console.log('Contacts retrieved successfully:', response.data.contacts);
    } catch (error) {
        console.error('Error fetching contacts:', error.response ? error.response.data : error.message);
    }
}

// Execute the function
getContacts();
Replace your-brand, your-login-email, and your-api-token with your specific Re:amaze details.
Understanding the Re:amaze API Response and Error Handling
Upon executing the script, you should see a list of contacts printed to the console. The response includes details such as name, email, and any associated notes.
It's crucial to handle errors gracefully. The script checks for errors and logs a message if the request fails. Re:amaze may return a 429 Too Many Requests error if you exceed the rate limit, so ensure your application handles this by implementing retry logic or reducing request frequency.
For more details on the Re:amaze API, refer to the official documentation.

Best Practices for Using the Re:amaze API in JavaScript Applications
When integrating with the Re:amaze API, it's essential to follow best practices to ensure a secure and efficient implementation. Here are some key considerations:
- Securely Store API Credentials: Always store your API tokens and login credentials securely. Avoid hardcoding them in your source code. Consider using environment variables or secure vaults to manage sensitive information.
- Implement Rate Limiting: Be mindful of the Re:amaze API rate limits. Implement logic to handle HTTP 429 errors by retrying requests after a delay or reducing the frequency of requests.
- Data Transformation and Standardization: When retrieving contacts, ensure that the data is transformed and standardized to match your application's requirements. This can help maintain consistency across different systems.
Enhancing Integration Efficiency with Endgrate
Building and maintaining multiple integrations can be time-consuming and resource-intensive. Endgrate offers a streamlined solution by providing a unified API endpoint that connects to various platforms, including Re:amaze.
With Endgrate, you can:
- Save Time and Resources: Focus on your core product by outsourcing integration development and maintenance to Endgrate.
- Build Once, Deploy Everywhere: Create a single integration for each use case and deploy it across multiple platforms effortlessly.
- Enhance Customer Experience: Provide an intuitive and seamless integration experience for your customers, reducing friction and improving satisfaction.
Explore how Endgrate can simplify your integration processes by visiting Endgrate's website and discover the benefits of a unified integration strategy.
Read More

Ready to get started?
