Using the Sage 100 API to Create or Update Invoices (with Javascript examples)

Introduction to Sage 100 API for Invoice Management
Sage 100 is a comprehensive ERP solution tailored for small to medium-sized businesses, offering robust features for accounting, inventory management, and customer relationship management. Its flexibility and scalability make it a preferred choice for businesses looking to streamline their operations.
Integrating with the Sage 100 API allows developers to automate and enhance business processes, such as creating or updating invoices. For example, a developer can use the Sage 100 API to automatically generate invoices from sales data, reducing manual entry and minimizing errors.
This article will guide you through using JavaScript to interact with the Sage 100 API, focusing on creating and updating invoices efficiently.
Setting Up a Sage 100 Test or Sandbox Account for API Integration
Before you can start creating or updating invoices using the Sage 100 API, it's essential to set up a test or sandbox account. This environment allows developers to safely experiment with API calls without affecting live data.
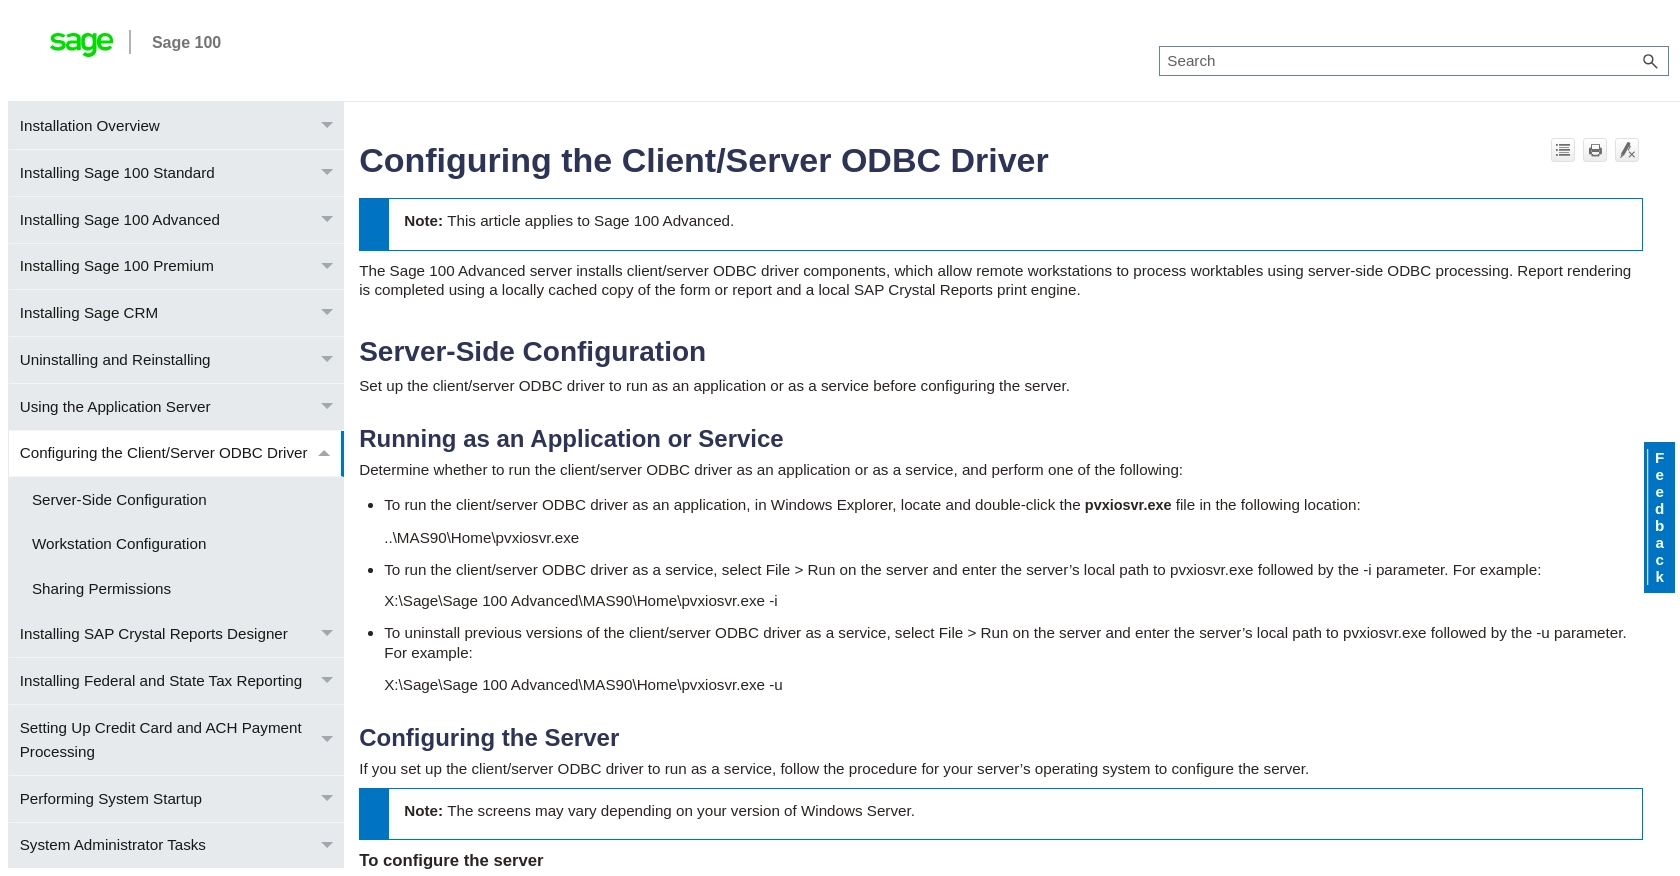
Installing and Configuring the Sage 100 ODBC Driver
To interact with the Sage 100 API, you need to ensure that the Sage 100 ODBC driver is installed and properly configured on your system. Follow these steps:
- Access the ODBC Data Source Administrator on your system.
- Create a Data Source Name (DSN) that connects to the Sage 100 ERP system using the correct server, database, and authentication settings.
- Ensure the Sage 100 ODBC driver is running as an application or service. For detailed instructions, refer to the Sage 100 ODBC Driver Configuration Guide.
Creating a Sage 100 Sandbox Account
To create a sandbox account, follow these steps:
- Contact Sage 100 support or your account representative to request access to a sandbox environment.
- Once access is granted, log in to the Sage 100 sandbox using the credentials provided.
- Ensure that you have the necessary permissions to create and manage invoices within the sandbox environment.
Configuring OAuth Authentication for Sage 100 API
Sage 100 uses a custom authentication method. Here's how to set it up:
- Navigate to the Sage 100 API settings within your sandbox account.
- Create an application to obtain the client ID and client secret.
- Use these credentials to authenticate API requests by generating an access token.
Testing the ODBC Connection
After setting up the DSN, test the connection to ensure it works correctly:
- Open the ODBC Data Source Administrator.
- Select the DSN you created and click on "Test Connection."
- If the connection is successful, you are ready to proceed with API calls.
With your Sage 100 sandbox account and ODBC driver configured, you can now begin integrating with the Sage 100 API to create or update invoices using JavaScript.
sbb-itb-96038d7
Making API Calls to Sage 100 for Invoice Management Using JavaScript
To interact with the Sage 100 API for creating or updating invoices, you'll need to use JavaScript to send requests through the configured ODBC connection. This section will guide you through the necessary steps, including setting up your environment and executing the API calls.
Setting Up Your JavaScript Environment for Sage 100 API Integration
Before making API calls, ensure your development environment is ready. You'll need Node.js installed to run JavaScript outside the browser, along with necessary packages for handling HTTP requests.
- Ensure Node.js is installed on your system. You can download it from the official Node.js website.
- Initialize a new Node.js project by running
npm init -yin your project directory. - Install the
odbcpackage to interact with the ODBC driver:npm install odbc.
Creating and Updating Invoices with Sage 100 API Using JavaScript
With your environment set up, you can now write JavaScript code to create or update invoices in Sage 100. Below is an example of how to perform these operations.
const odbc = require('odbc');
async function createOrUpdateInvoice() {
try {
// Establish a connection to the Sage 100 database
const connection = await odbc.connect('DSN=Sage100DSN;UID=your_username;PWD=your_password');
// SQL query to create or update an invoice
const sql = `
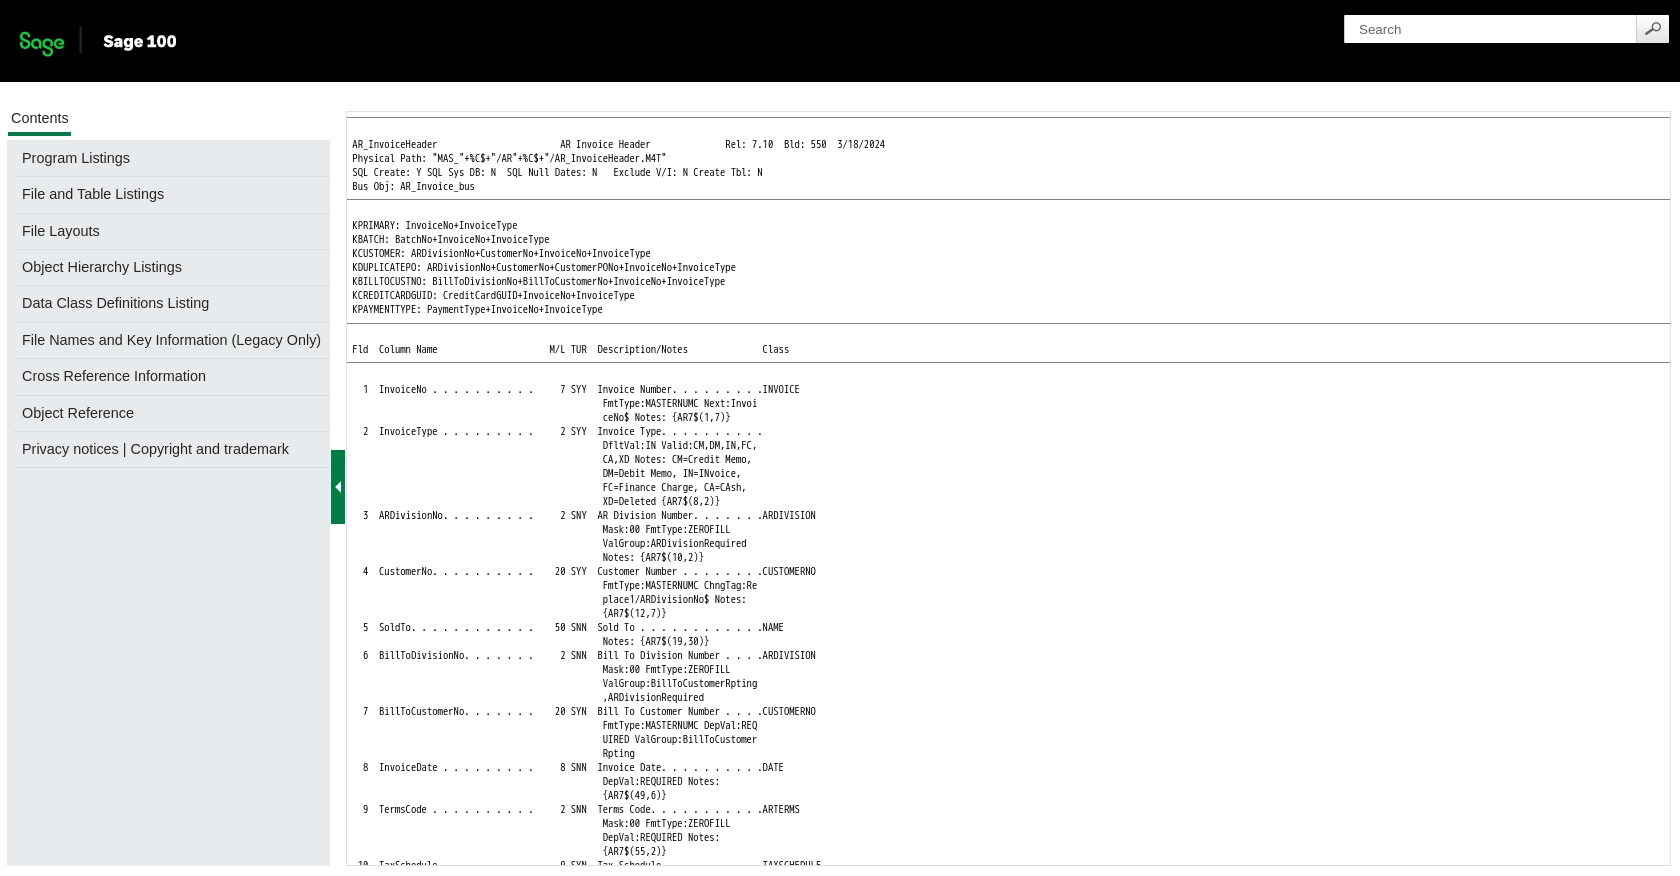
INSERT INTO AR_InvoiceHeader (InvoiceNo, CustomerNo, InvoiceDate, Amount)
VALUES ('INV12345', 'CUST001', '2023-10-01', 1000.00)
ON DUPLICATE KEY UPDATE Amount = 1000.00;
`;
// Execute the query
const result = await connection.query(sql);
console.log('Invoice created or updated successfully:', result);
// Close the connection
await connection.close();
} catch (error) {
console.error('Error creating or updating invoice:', error);
}
}
createOrUpdateInvoice();
In this example, we use the odbc package to connect to the Sage 100 database. The SQL query inserts a new invoice or updates an existing one if the invoice number already exists. Adjust the SQL query as needed to match your specific requirements.
Verifying API Call Success in Sage 100 Sandbox
After executing the API call, verify the success of the operation by checking the Sage 100 sandbox environment:
- Log in to your Sage 100 sandbox account.
- Navigate to the invoice management section and search for the invoice number used in your API call.
- Ensure the invoice details match the data sent in the API request.
Handling Errors and Troubleshooting Sage 100 API Calls
When working with the Sage 100 API, it's crucial to handle potential errors gracefully. Use try-catch blocks in your JavaScript code to catch exceptions and log error messages for troubleshooting. Common issues may include connection failures, SQL syntax errors, or authentication problems.
For detailed error codes and troubleshooting tips, refer to the Sage 100 API documentation.
Conclusion and Best Practices for Sage 100 API Integration
Integrating with the Sage 100 API for invoice management using JavaScript can significantly enhance your business processes by automating invoice creation and updates. By following the steps outlined in this guide, you can efficiently set up your environment, execute API calls, and verify the results within the Sage 100 sandbox.
Best Practices for Secure and Efficient Sage 100 API Usage
- Secure Credentials: Always store your API credentials securely. Use environment variables or secure vaults to manage sensitive information like client IDs and secrets.
- Handle Rate Limiting: Be aware of any rate limits imposed by the Sage 100 API. Implement retry logic and exponential backoff strategies to handle rate limit errors gracefully.
- Data Standardization: Ensure that the data you send and receive is standardized to maintain consistency across your systems. This includes formatting dates, numbers, and other fields according to your business requirements.
- Error Handling: Implement robust error handling in your JavaScript code to manage exceptions and log errors for troubleshooting. This will help you quickly identify and resolve issues.
Streamline Your Integrations with Endgrate
While integrating with Sage 100 API can be a powerful tool for your business, managing multiple integrations can become complex and time-consuming. Endgrate offers a solution by providing a unified API endpoint that connects to various platforms, including Sage 100. This allows you to focus on your core product while outsourcing integration management.
With Endgrate, you can build once for each use case instead of multiple times for different integrations, saving time and resources. Take advantage of an intuitive integration experience and streamline your business processes efficiently.
Visit Endgrate to learn more about how you can simplify your integration needs.
Read More
- https://endgrate.com/provider/sage100
- https://help-sage100.na.sage.com/InstallGuide/2022/Content/InstallGuide/Config_ODBC_Driver.htm
- https://help-sage100.na.sage.com/2022/FLOR/index.htm#File_Layouts/Accounts_Receivable/AR_InvoiceHeader.htm?Highlight=AR_InvoiceHeader
- https://help-sage100.na.sage.com/2022/FLOR/index.htm#File_Layouts/Accounts_Receivable/AR_InvoiceDetail.htm?Highlight=AR_InvoiceDetail

Ready to get started?
