Using the Sage 100 API to Create or Update Purchase Orders in Javascript

Introduction to Sage 100 API Integration
Sage 100 is a comprehensive enterprise resource planning (ERP) solution tailored for small to medium-sized businesses. It offers robust features for accounting, inventory management, and business operations, making it a popular choice for companies looking to streamline their processes.
Integrating with the Sage 100 API allows developers to automate and enhance business workflows, such as managing purchase orders. For example, a developer can use the Sage 100 API to create or update purchase orders directly from a custom application, ensuring seamless data synchronization and reducing manual entry errors.
Setting Up a Sage 100 Test/Sandbox Account for API Integration
Before you can start integrating with the Sage 100 API to create or update purchase orders, you need to set up a test or sandbox account. This environment allows you to safely test your API calls without affecting live data.
Installing and Configuring the Sage 100 ODBC Driver
To interact with the Sage 100 API, you must first ensure that the Sage 100 ODBC driver is installed and properly configured on your system. Follow these steps to set up the ODBC driver:
- Access the ODBC Data Source Administrator on your system.
- Create a Data Source Name (DSN) that connects to the Sage 100 ERP system using the correct server, database, and authentication settings.
- Ensure that the DSN is configured correctly to allow access to the Sage 100 database.
For detailed instructions, refer to the Sage 100 ODBC Driver Configuration Guide.
Creating a Sage 100 Sandbox Environment
Once the ODBC driver is set up, you need to create a sandbox environment within Sage 100:
- Log in to your Sage 100 account and navigate to the system configuration settings.
- Set up a new company or use an existing test company to act as your sandbox environment.
- Ensure that this environment is isolated from your production data to prevent any accidental changes.
Configuring Authentication for Sage 100 API Access
The Sage 100 API requires proper authentication to access its resources. Follow these steps to configure authentication:
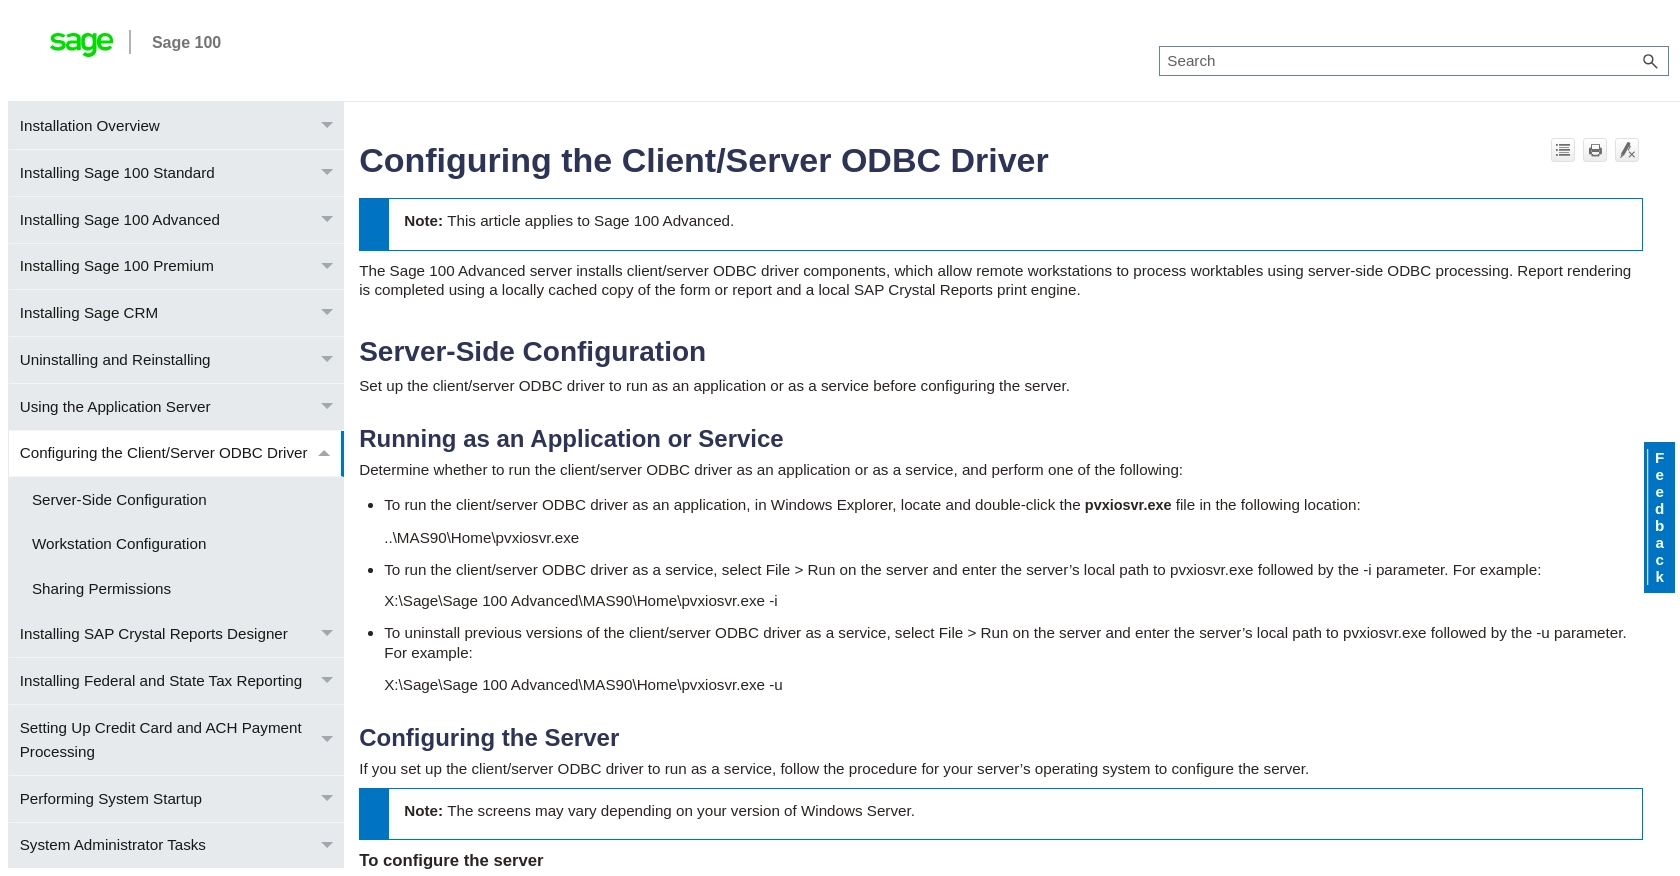
- In the Sage 100 system, navigate to the Library Master System Configuration task.
- Enable the Client/Server ODBC Driver by selecting the appropriate options under the ODBC Driver tab.
- Enter the server name or IP address where the client/server ODBC application or service is running.
- Test the connection to ensure that the ODBC service is running correctly.
For more information on setting up authentication, refer to the Sage 100 Authentication Documentation.
sbb-itb-96038d7
Making API Calls to Sage 100 for Purchase Orders Using JavaScript
To interact with the Sage 100 API for creating or updating purchase orders, you'll need to use JavaScript to make HTTP requests. This section will guide you through the necessary steps, including setting up your environment, writing the code, and handling responses.
Setting Up Your JavaScript Environment
Before making API calls, ensure you have Node.js installed on your system. Node.js provides a runtime environment for executing JavaScript code outside a browser.
- Download and install Node.js from the official website.
- Initialize a new Node.js project by running
npm init -yin your project directory. - Install the
axioslibrary for making HTTP requests by runningnpm install axios.
Writing JavaScript Code to Create or Update Purchase Orders
With your environment set up, you can now write JavaScript code to interact with the Sage 100 API. Below is an example of how to create or update purchase orders using the axios library.
const axios = require('axios');

// Set the API endpoint and headers
const endpoint = 'https://your-sage100-api-endpoint.com/purchase-orders';
const headers = {
    'Content-Type': 'application/json',
    'Authorization': 'Bearer Your_Access_Token'
};

// Define the purchase order data
const purchaseOrderData = {
    orderNumber: 'PO12345',
    vendor: 'VendorName',
    items: [
        { itemCode: 'Item001', quantity: 10, price: 50 },
        { itemCode: 'Item002', quantity: 5, price: 30 }
    ]
};

// Function to create or update a purchase order
async function createOrUpdatePurchaseOrder() {
    try {
        const response = await axios.post(endpoint, purchaseOrderData, { headers });
        console.log('Purchase Order Created/Updated Successfully:', response.data);
    } catch (error) {
        console.error('Error Creating/Updating Purchase Order:', error.response ? error.response.data : error.message);
    }
}

// Execute the function
createOrUpdatePurchaseOrder();
Replace Your_Access_Token with the token obtained during the authentication setup. The code above sends a POST request to the Sage 100 API to create or update a purchase order with specified details.
Verifying API Call Success in Sage 100
After executing the API call, verify the success of the operation by checking the response data. A successful response will typically include confirmation details of the created or updated purchase order.
- Log in to your Sage 100 sandbox environment.
- Navigate to the purchase orders section to confirm the presence of the new or updated order.
Handling Errors and Troubleshooting
When making API calls, it's crucial to handle potential errors gracefully. Common issues include network errors, authentication failures, or invalid data formats.
- Use try-catch blocks to catch and log errors.
- Check the error response for specific error codes and messages to diagnose issues.
- Refer to the Sage 100 API documentation for detailed error code explanations.
Conclusion and Best Practices for Sage 100 API Integration
Integrating with the Sage 100 API to create or update purchase orders using JavaScript can significantly enhance your business operations by automating workflows and reducing manual errors. By following the steps outlined in this guide, you can efficiently set up your environment, authenticate your API requests, and handle potential errors.
Best Practices for Secure and Efficient Sage 100 API Usage
- Securely Store Credentials: Always store your API credentials, such as access tokens, in a secure manner. Consider using environment variables or secure vaults to prevent unauthorized access.
- Handle Rate Limiting: Be mindful of any rate limits imposed by the Sage 100 API. Implement retry logic with exponential backoff to handle rate limit errors gracefully.
- Data Transformation and Standardization: Ensure that data sent to and received from the API is properly transformed and standardized to match your application's requirements.
- Comprehensive Error Handling: Implement robust error handling to manage network issues, authentication failures, and data validation errors effectively.
Streamlining Integrations with Endgrate
While integrating with Sage 100 API can be a powerful tool for your business, managing multiple integrations can become complex and time-consuming. This is where Endgrate can help.
Endgrate offers a unified API endpoint that simplifies the integration process across various platforms, including Sage 100. By using Endgrate, you can save time and resources, allowing your team to focus on core product development while ensuring a seamless integration experience for your customers.
Explore how Endgrate can transform your integration strategy by visiting Endgrate's website and discover the benefits of a streamlined, efficient integration solution.
Read More
- https://endgrate.com/provider/sage100
- https://help-sage100.na.sage.com/InstallGuide/2022/Content/InstallGuide/Config_ODBC_Driver.htm
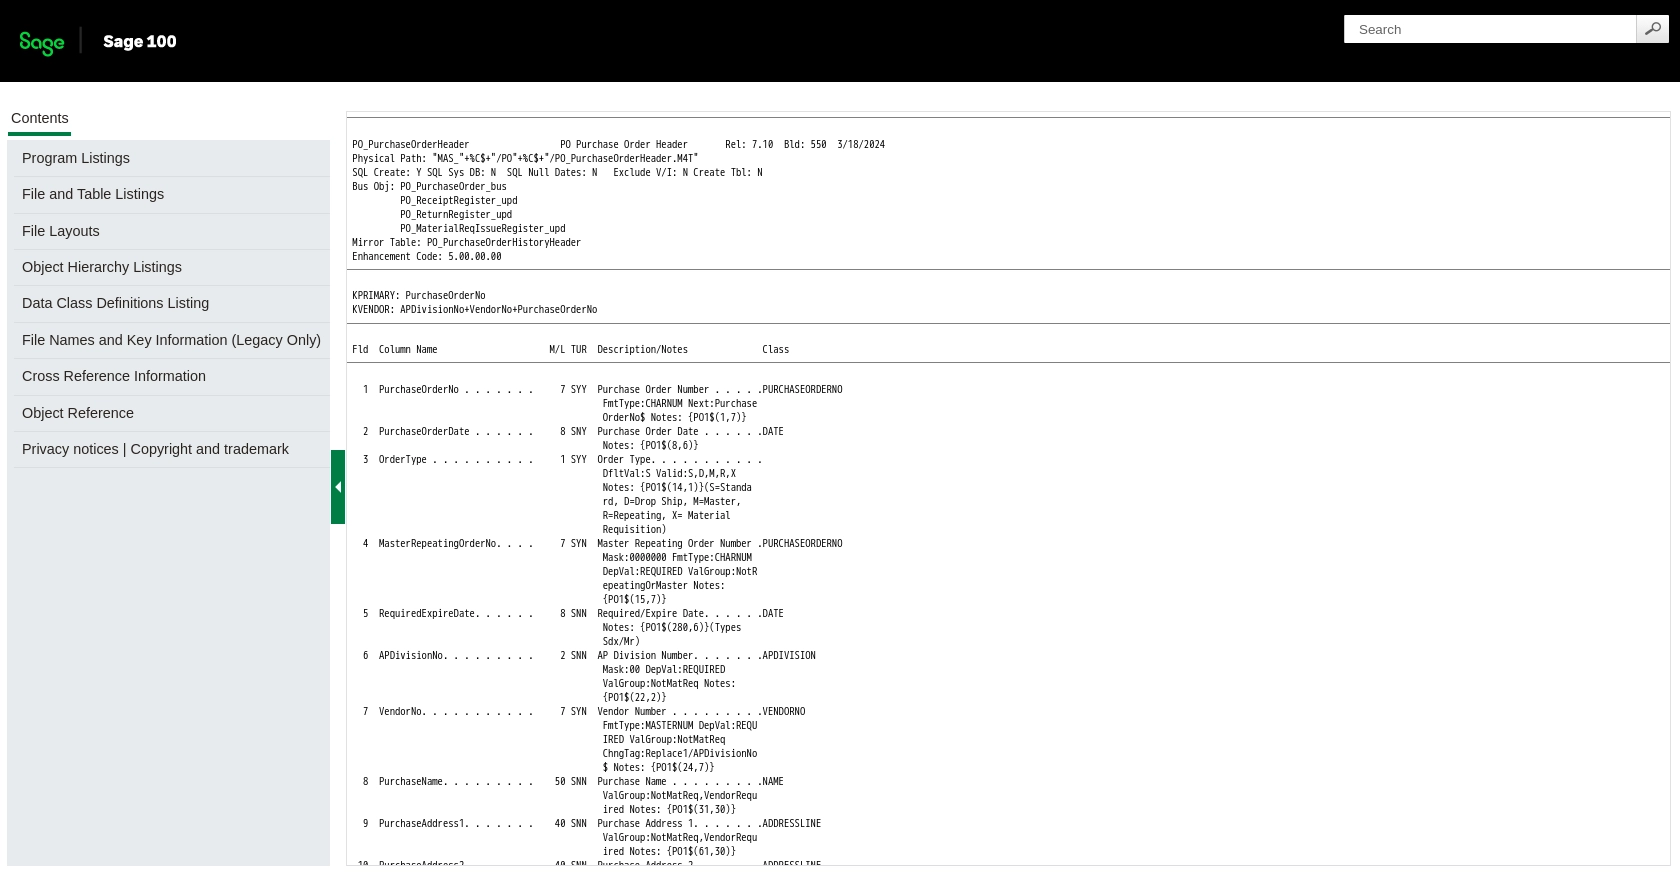
- https://help-sage100.na.sage.com/2022/FLOR/index.htm#File_Layouts/Purchase_Order/PO_PurchaseOrderHeader.htm?Highlight=PO_PurchaseOrderHeader
- https://help-sage100.na.sage.com/2022/FLOR/index.htm#File_Layouts/Purchase_Order/PO_PurchaseOrderDetail.htm?Highlight=PO_PurchaseOrderDetail

Ready to get started?
