Using the Sage 100 API to Create or Update Vendors in Javascript

Introduction to Sage 100 API for Vendor Management
Sage 100 is a robust enterprise resource planning (ERP) solution that offers comprehensive tools for managing various business processes, including accounting, inventory, and vendor management. It is widely used by businesses seeking to streamline their operations and improve efficiency.
Integrating with the Sage 100 API allows developers to automate and enhance vendor management processes. For example, you can create or update vendor records programmatically, ensuring that your vendor data is always up-to-date and accurate. This can be particularly useful for businesses that need to manage a large number of vendors and want to reduce manual data entry.
Setting Up Your Sage 100 Test/Sandbox Account for API Integration
Before you can start integrating with the Sage 100 API to manage vendors, you need to set up a test or sandbox account. This will allow you to safely experiment with API calls without affecting your production data.
Installing and Configuring the Sage 100 ODBC Driver
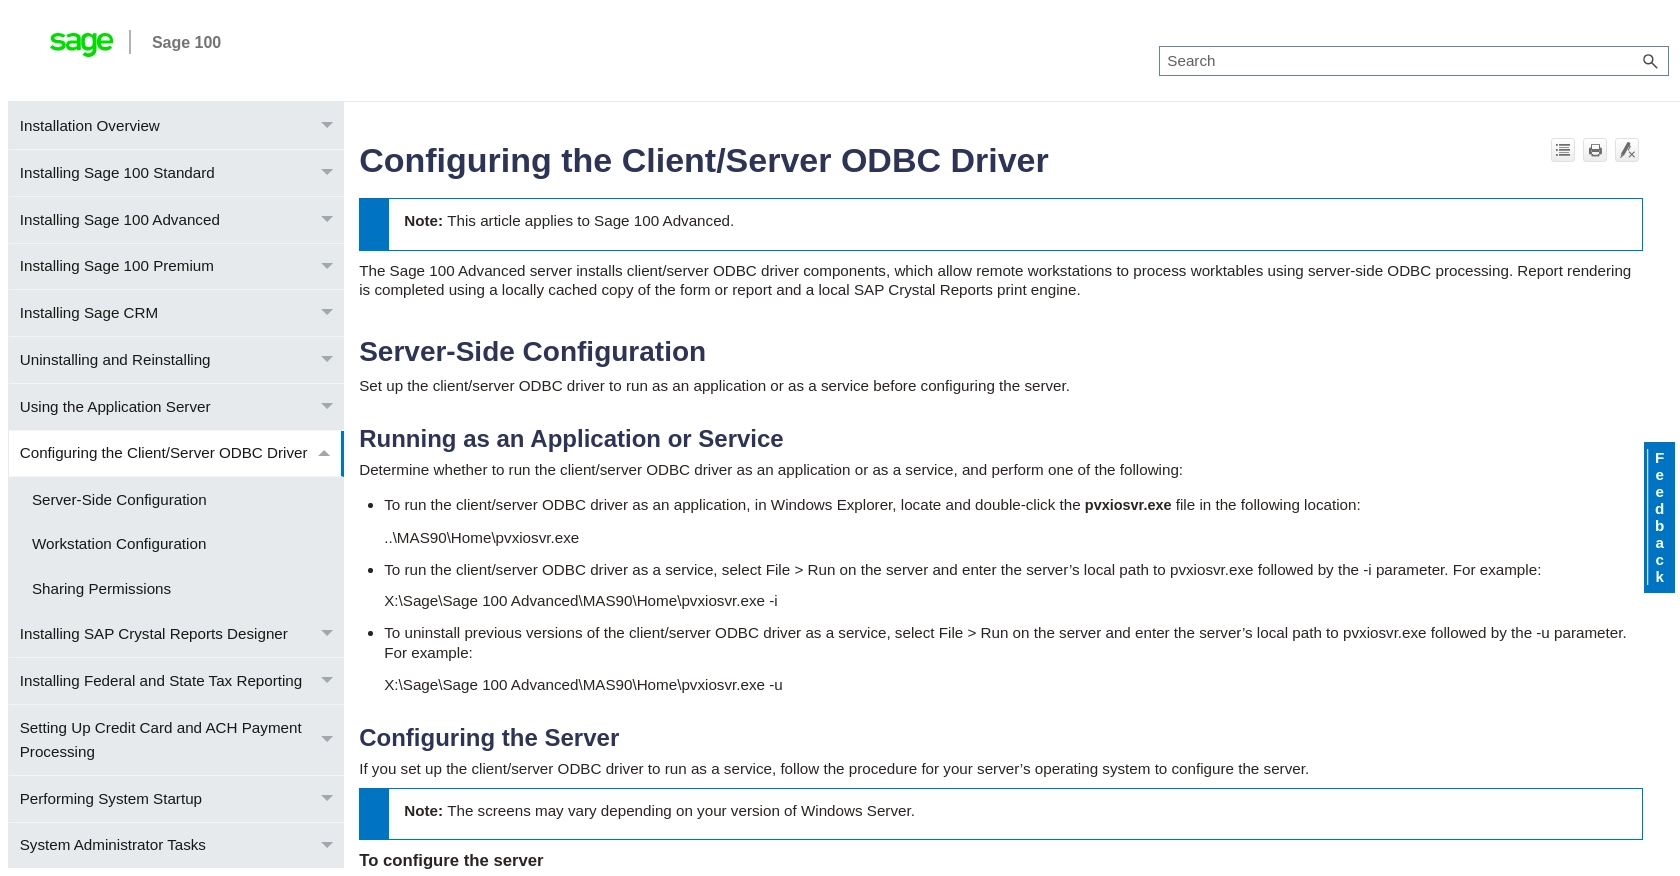
To interact with the Sage 100 API, you must first ensure that the Sage 100 ODBC driver is installed and properly configured on your system. Follow these steps to set up the driver:
- Access the ODBC Data Source Administrator on your system.
- Create a Data Source Name (DSN) that connects to the Sage 100 ERP system using the correct server, database, and authentication settings.
- Ensure the client/server ODBC driver is set up to run as an application or service. For detailed instructions, refer to the Sage 100 ODBC Driver Configuration Guide.
Creating a Sage 100 Test Account
If you don't already have a Sage 100 account, you may need to contact Sage support to request access to a test or sandbox environment. This environment will allow you to test API interactions without impacting live data.
Configuring Authentication for Sage 100 API Access
Sage 100 uses a custom authentication method for API access. Follow these steps to configure authentication:
- Ensure your DSN is correctly set up with the necessary server and database credentials.
- Use the
System.Data.Odbcnamespace in your JavaScript code to establish a connection to the Sage 100 database. - Create an
OdbcConnectionobject, providing the DSN name in the connection string, and open the connection usingOdbcConnection.Open().
Properly handling authentication is crucial for secure and successful API interactions. Make sure to store your credentials securely and follow best practices for managing sensitive information.
sbb-itb-96038d7
Making API Calls to Sage 100 for Vendor Management Using JavaScript
To interact with the Sage 100 API for creating or updating vendor records, you'll need to use JavaScript to establish a connection and perform the necessary operations. This section will guide you through the process of making API calls using JavaScript, ensuring you have the right setup and code to manage vendor data effectively.
Setting Up Your JavaScript Environment for Sage 100 API Integration
Before making API calls, ensure your development environment is ready. You'll need Node.js installed on your system to run JavaScript outside the browser. Additionally, you'll need to install the odbc package to interact with the Sage 100 ODBC driver.
- Install Node.js from the official website if you haven't already.
- Use npm (Node Package Manager) to install the
odbcpackage by running the following command in your terminal:
npm install odbcCreating a Connection to Sage 100 Using JavaScript
Once your environment is set up, you can create a connection to the Sage 100 database using the ODBC driver. Here's how you can establish a connection:
const odbc = require('odbc');

async function connectToSage100() {
    try {
        const connection = await odbc.connect('DSN=Your_Sage100_DSN');
        console.log('Connection to Sage 100 established successfully');
        return connection;
    } catch (error) {
        console.error('Error connecting to Sage 100:', error);
    }
}

connectToSage100();
Replace Your_Sage100_DSN with the actual Data Source Name configured in your ODBC settings. This code establishes a connection and logs a success message if the connection is successful.
Creating or Updating Vendors in Sage 100 Using JavaScript
With the connection established, you can now create or update vendor records. Here's an example of how to perform these operations:
async function createOrUpdateVendor(connection, vendorData) {
try {
const query = `
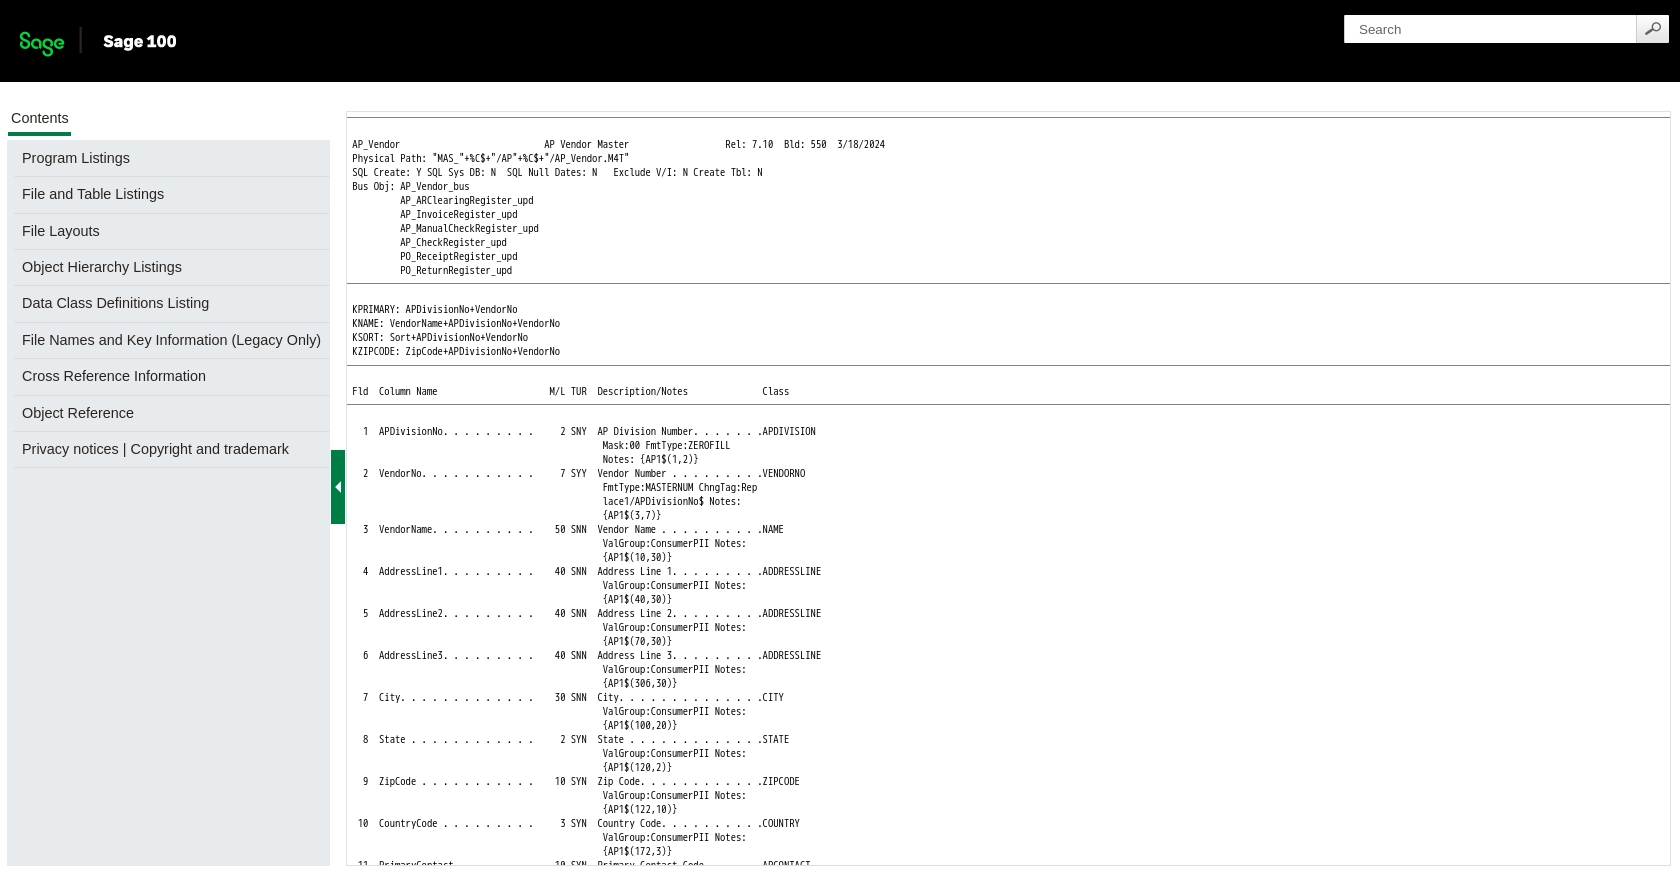
INSERT INTO AP_Vendor (VendorNo, VendorName, Address)
VALUES (?, ?, ?)
ON DUPLICATE KEY UPDATE
VendorName = VALUES(VendorName),
Address = VALUES(Address)
`;
const result = await connection.query(query, [vendorData.vendorNo, vendorData.vendorName, vendorData.address]);
console.log('Vendor record created or updated:', result);
} catch (error) {
console.error('Error creating or updating vendor:', error);
}
}
const vendorData = {
vendorNo: 'V123',
vendorName: 'New Vendor',
address: '123 Vendor St'
};
connectToSage100().then(connection => {
createOrUpdateVendor(connection, vendorData);
});This code snippet demonstrates how to insert or update a vendor record in the Sage 100 database. The query uses placeholders for vendor data, which are replaced with actual values from the vendorData object.
Handling Errors and Verifying API Call Success
It's crucial to handle errors gracefully and verify the success of your API calls. Use try-catch blocks to manage exceptions and log any errors encountered during the process. Additionally, you can verify the changes by querying the database and checking the updated records.
For more detailed information on Sage 100 API interactions, refer to the Sage 100 API Documentation.
Conclusion and Best Practices for Sage 100 API Integration
Integrating with the Sage 100 API using JavaScript allows businesses to automate vendor management processes, reducing manual data entry and ensuring data accuracy. By following the steps outlined in this guide, developers can efficiently create or update vendor records within the Sage 100 ERP system.
Best Practices for Secure and Efficient Sage 100 API Usage
- Secure Credential Storage: Always store your DSN and authentication credentials securely. Consider using environment variables or secure vaults to manage sensitive information.
- Error Handling: Implement robust error handling using try-catch blocks to manage exceptions and ensure smooth API interactions.
- Rate Limiting Awareness: Be mindful of any rate limits imposed by the Sage 100 API to avoid throttling. Although specific rate limits are not mentioned in the documentation, it's a good practice to implement retry logic and exponential backoff strategies.
- Data Validation: Validate vendor data before making API calls to prevent errors and ensure data integrity.
Streamlining Integrations with Endgrate
While integrating with Sage 100 directly can be powerful, it may also be complex and time-consuming. Endgrate offers a unified API solution that simplifies the integration process across multiple platforms, including Sage 100. By using Endgrate, developers can focus on their core product while outsourcing the complexities of integration management.
Explore how Endgrate can enhance your integration capabilities and provide a seamless experience for your customers by visiting Endgrate.
Read More

Ready to get started?
