Using the Salesforce API to Get Records in Javascript
Introduction to Salesforce API Integration
Salesforce is a leading customer relationship management (CRM) platform that empowers businesses to manage their customer interactions and data efficiently. With its robust suite of tools, Salesforce enables organizations to streamline sales, service, marketing, and more, providing a comprehensive solution for managing customer relationships.
Developers often seek to integrate with Salesforce's API to access and manipulate data within the platform, enhancing their applications with Salesforce's powerful features. For example, a developer might use the Salesforce API to retrieve customer records and display them in a custom dashboard, providing real-time insights into customer interactions and sales performance.
This article will guide you through using JavaScript to interact with the Salesforce API, specifically focusing on retrieving records. By following this tutorial, you'll learn how to efficiently access and manage Salesforce data, enabling you to build more dynamic and data-driven applications.
Setting Up Your Salesforce Developer Account for API Integration
Before you can start interacting with the Salesforce API using JavaScript, you'll need to set up a Salesforce Developer account. This account will provide you with access to a sandbox environment where you can safely test your API calls without affecting live data.
Step-by-Step Guide to Creating a Salesforce Developer Account
-
Sign Up for a Salesforce Developer Edition:
Visit the Salesforce Developer Signup Page and fill out the registration form. Once completed, you'll receive an email to verify your account.
-
Verify Your Email:
Check your inbox for a verification email from Salesforce. Click the verification link to activate your Developer Edition account.
-
Log In to Salesforce:
Use your credentials to log in to the Salesforce Developer portal. This will give you access to the Salesforce dashboard where you can manage your applications and data.
Creating a Connected App for OAuth Authentication
To interact with the Salesforce API, you'll need to create a Connected App. This app will allow you to authenticate using OAuth 2.0, providing secure access to Salesforce data.
-
Navigate to Setup:
In the Salesforce dashboard, click on the gear icon in the top right corner and select "Setup."
-
Create a New Connected App:
In the Quick Find box, type "App Manager" and select it. Click "New Connected App" in the top right corner.
-
Configure Your Connected App:
- Enter a name for your app and provide a contact email.
- Enable OAuth Settings by checking "Enable OAuth Settings."
- Set the callback URL to a valid URL where Salesforce can redirect after authentication.
- Select the OAuth scopes you need, such as "Access and manage your data (api)" and "Perform requests on your behalf at any time (refresh_token, offline_access)."
-
Save Your Connected App:
Click "Save" to create your Connected App. Note that it may take a few minutes for the app to be available.
Obtaining Your Client ID and Client Secret
Once your Connected App is created, you'll need to obtain the Client ID and Client Secret, which are essential for OAuth authentication.
-
Access Your Connected App Details:
In the App Manager, find your newly created app and click "View" in the dropdown menu next to it.
-
Retrieve Your Credentials:
Under the "API (Enable OAuth Settings)" section, you'll find your Consumer Key (Client ID) and Consumer Secret (Client Secret). Copy these credentials and store them securely, as you'll need them for API authentication.
With your Salesforce Developer account and Connected App set up, you're now ready to start making API calls using JavaScript. In the next section, we'll explore how to authenticate and retrieve records from Salesforce.
sbb-itb-96038d7
Making API Calls to Salesforce Using JavaScript
Now that you have set up your Salesforce Developer account and created a Connected App, it's time to dive into making API calls using JavaScript. This section will guide you through the process of authenticating and retrieving records from Salesforce, ensuring a seamless integration with your application.
Prerequisites for Salesforce API Integration with JavaScript
Before proceeding, ensure you have the following:
- Node.js installed on your machine.
- A text editor or IDE for writing JavaScript code.
- The
axioslibrary for making HTTP requests. You can install it using the following command:
npm install axiosAuthenticating with Salesforce API Using OAuth 2.0
To interact with the Salesforce API, you need to authenticate using OAuth 2.0. This involves obtaining an access token using your Client ID and Client Secret. Here's how you can do it:
const axios = require('axios');

async function authenticate() {
    const tokenUrl = 'https://login.salesforce.com/services/oauth2/token';
    const params = new URLSearchParams();
    params.append('grant_type', 'password');
    params.append('client_id', 'Your_Client_ID');
    params.append('client_secret', 'Your_Client_Secret');
    params.append('username', 'Your_Salesforce_Username');
    params.append('password', 'Your_Salesforce_Password');

    try {
        const response = await axios.post(tokenUrl, params);
        return response.data.access_token;
    } catch (error) {
        console.error('Error authenticating:', error);
    }
}
Replace Your_Client_ID, Your_Client_Secret, Your_Salesforce_Username, and Your_Salesforce_Password with your actual Salesforce credentials. This function will return an access token that you can use for subsequent API calls.
Retrieving Records from Salesforce Using JavaScript
Once authenticated, you can retrieve records from Salesforce. Here's an example of how to fetch account records:
async function getSalesforceRecords() {
    const accessToken = await authenticate();
    const instanceUrl = 'https://your_instance.salesforce.com';
    const recordsUrl = `${instanceUrl}/services/data/v52.0/query?q=SELECT+Name+FROM+Account`;

    try {
        const response = await axios.get(recordsUrl, {
            headers: {
                'Authorization': `Bearer ${accessToken}`
            }
        });
        console.log('Records:', response.data.records);
    } catch (error) {
        console.error('Error fetching records:', error);
    }
}

getSalesforceRecords();
Replace your_instance with your Salesforce instance URL. This code will fetch account names from Salesforce and log them to the console.
Handling Errors and Verifying API Call Success
It's crucial to handle errors gracefully and verify the success of your API calls. Check the response status and handle different error codes appropriately. For example, if you receive a 401 error, it indicates an authentication issue, and you may need to refresh your access token.
Verify the retrieved data by comparing it with the records in your Salesforce sandbox environment. This ensures that your API calls are functioning correctly and returning the expected results.
By following these steps, you can efficiently interact with the Salesforce API using JavaScript, enabling you to build powerful, data-driven applications.
Conclusion and Best Practices for Salesforce API Integration Using JavaScript
Integrating with the Salesforce API using JavaScript provides developers with the ability to harness Salesforce's robust CRM capabilities within their applications. By following the steps outlined in this guide, you can effectively authenticate and retrieve records, enabling dynamic data interactions and insights.
Best Practices for Secure and Efficient Salesforce API Integration
- Securely Store Credentials: Always store your Client ID, Client Secret, and access tokens securely. Consider using environment variables or secure vaults to prevent unauthorized access.
- Handle Rate Limiting: Salesforce imposes API rate limits. Monitor your API usage and implement retry logic or backoff strategies to handle rate limit errors gracefully. For more details, refer to the Salesforce documentation.
- Standardize Data Fields: Ensure consistent data formats when retrieving and displaying Salesforce records. This helps maintain data integrity across different systems.
- Implement Error Handling: Use try-catch blocks to manage exceptions and log errors for troubleshooting. Handle specific error codes, such as 401 for authentication issues, to improve reliability.
Enhance Your Integration Strategy with Endgrate
While integrating with Salesforce is powerful, managing multiple integrations can be complex and time-consuming. Endgrate simplifies this process by offering a unified API endpoint that connects to various platforms, including Salesforce. By leveraging Endgrate, you can focus on your core product development while ensuring seamless integration experiences for your customers.
Explore how Endgrate can streamline your integration efforts and save valuable development resources by visiting Endgrate's website. Build once and deploy across multiple platforms effortlessly, enhancing your application's capabilities and user experience.
Read More
- https://endgrate.com/provider/salesforce
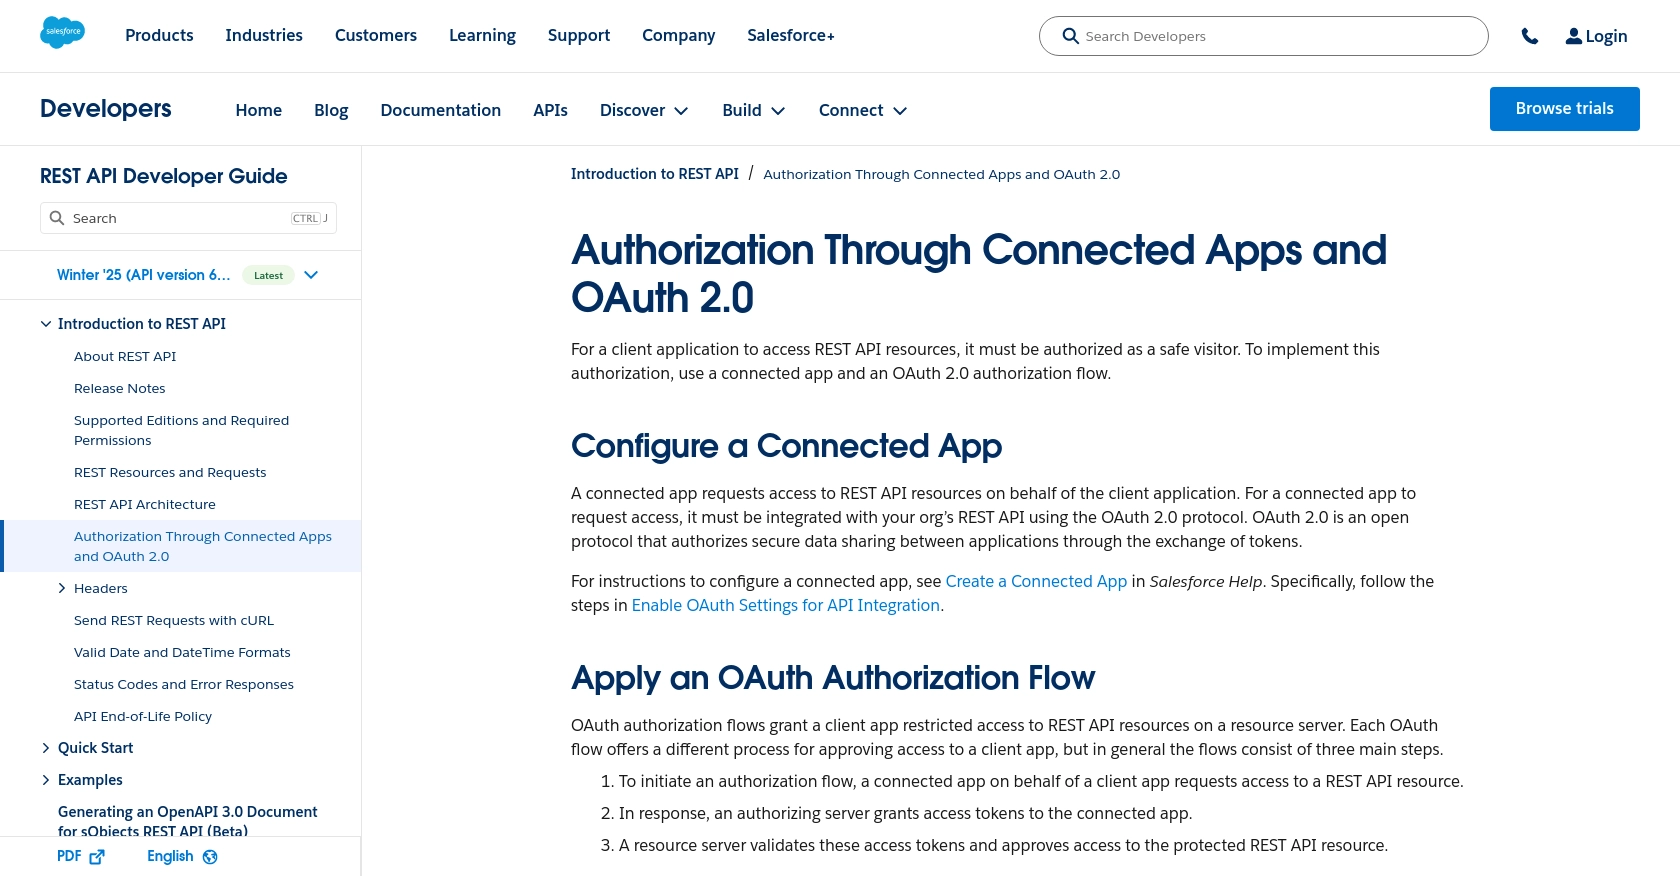
- https://developer.salesforce.com/docs/atlas.en-us.api_rest.meta/api_rest/intro_oauth_and_connected_apps.htm
- https://developer.salesforce.com/docs/atlas.en-us.api_rest.meta/api_rest/quickstart_dev_org.htm
- https://developer.salesforce.com/docs/atlas.en-us.api_rest.meta/api_rest/resources_list.htm

Ready to get started?
