Using the Salesforce Sandbox API to Create or Update Records (with Javascript examples)

Introduction to Salesforce Sandbox API
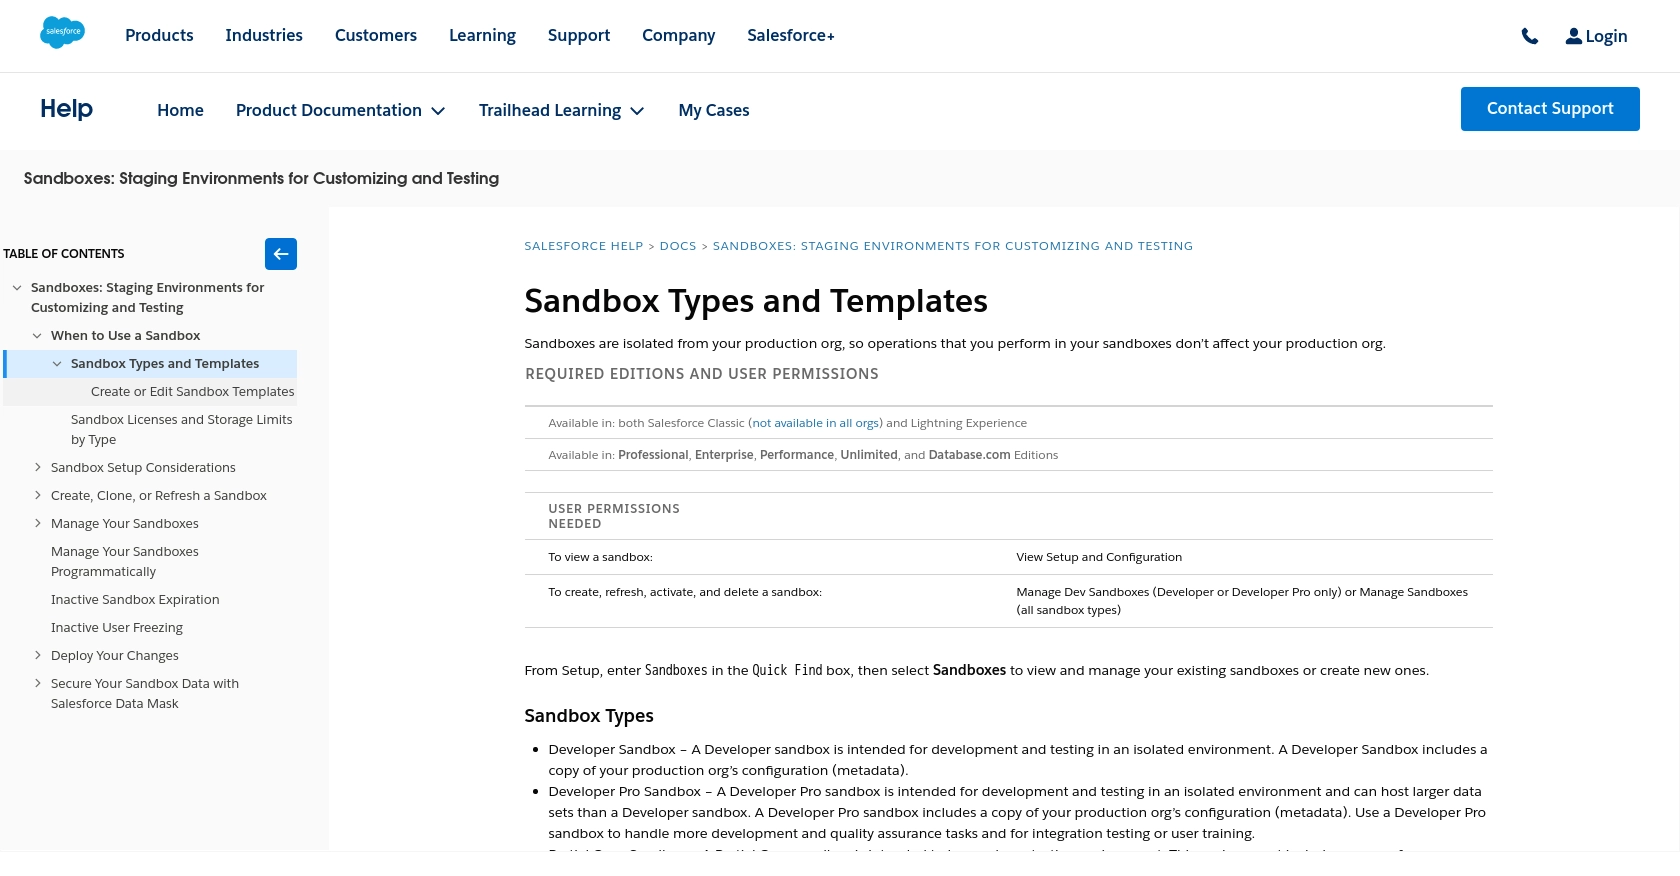
Salesforce Sandbox is a powerful tool that allows developers to create and test applications in a secure environment that mirrors their production instance. It provides a safe space to experiment with new features, integrations, and customizations without affecting live data.
Integrating with the Salesforce Sandbox API enables developers to create or update records programmatically, streamlining workflows and enhancing productivity. For example, a developer might use the API to automatically update customer records with new information from an external system, ensuring data consistency across platforms.
Setting Up Your Salesforce Sandbox Account for API Integration
Before you can start interacting with the Salesforce Sandbox API, you'll need to set up a Salesforce Developer Edition account. This account provides access to a sandbox environment where you can safely test and develop your applications.
Step-by-Step Guide to Creating a Salesforce Developer Edition Account
-
Sign Up for a Developer Edition Account:
Visit the Salesforce Developer Edition sign-up page and fill out the registration form. You'll receive an email with a link to verify your account.
-
Log In to Your Salesforce Account:
Once your account is verified, log in to Salesforce using your credentials. This will give you access to the Salesforce Developer Console.
Creating a Connected App for OAuth Authentication
To interact with the Salesforce Sandbox API, you'll need to set up a connected app to handle OAuth authentication. This process will provide you with the necessary client ID and client secret.
-
Navigate to Setup:
In the Salesforce dashboard, click on the gear icon in the top right corner and select "Setup."
-
Create a New Connected App:
In the Quick Find box, type "App Manager" and select it. Click "New Connected App" to start the setup process.
-
Configure the Connected App:
- Enter a name for your app and provide your email address.
- Under "API (Enable OAuth Settings)," check the box for "Enable OAuth Settings."
- Set the "Callback URL" to a valid URL where you want Salesforce to redirect after authentication.
- Select the OAuth scopes your application requires, such as "Full access" or "Access and manage your data."
-
Save and Retrieve Credentials:
Click "Save" to create the connected app. You'll receive a client ID and client secret, which you'll use to authenticate API requests.
With your Salesforce Developer Edition account and connected app set up, you're ready to start making API calls to the Salesforce Sandbox environment. This setup ensures a secure and efficient way to develop and test your integrations.

sbb-itb-96038d7
Making API Calls to Salesforce Sandbox Using JavaScript
With your Salesforce Developer Edition account and connected app ready, you can now proceed to make API calls to the Salesforce Sandbox. This section will guide you through the process of creating or updating records using JavaScript, ensuring seamless integration with the Salesforce environment.
Setting Up Your JavaScript Environment
Before making API calls, ensure you have a working JavaScript environment. You can use Node.js for server-side scripting or a browser-based environment for client-side scripting. For this tutorial, we'll focus on Node.js.
- Ensure you have Node.js installed. You can download it from the official Node.js website.
- Initialize a new Node.js project by running
npm init -yin your terminal. - Install the
axioslibrary to handle HTTP requests by runningnpm install axios.
Authenticating with Salesforce Sandbox Using OAuth 2.0
To interact with the Salesforce API, you'll need to authenticate using OAuth 2.0. This involves obtaining an access token using your client ID and client secret.
// Import the axios library
const axios = require('axios');

// Define your Salesforce credentials
const clientId = 'YOUR_CLIENT_ID';
const clientSecret = 'YOUR_CLIENT_SECRET';
const username = 'YOUR_SALESFORCE_USERNAME';
const password = 'YOUR_SALESFORCE_PASSWORD';
const token = 'YOUR_SECURITY_TOKEN';

// Define the Salesforce token URL
const tokenUrl = 'https://login.salesforce.com/services/oauth2/token';

// Function to get access token
async function getAccessToken() {
    try {
        const response = await axios.post(tokenUrl, null, {
            params: {
                grant_type: 'password',
                client_id: clientId,
                client_secret: clientSecret,
                username: username,
                password: password + token
            }
        });
        return response.data.access_token;
    } catch (error) {
        console.error('Error obtaining access token:', error);
    }
}
Creating or Updating Records in Salesforce Sandbox
Once you have the access token, you can create or update records in Salesforce. Below is an example of how to create a new record.
// Function to create a new Salesforce record
async function createRecord(accessToken) {
    try {
        const response = await axios.post('https://yourInstance.salesforce.com/services/data/vXX.X/sobjects/Account/', {
            Name: 'New Account Name'
        }, {
            headers: {
                'Authorization': `Bearer ${accessToken}`,
                'Content-Type': 'application/json'
            }
        });
        console.log('Record created successfully:', response.data);
    } catch (error) {
        console.error('Error creating record:', error.response.data);
    }
}

// Example usage
getAccessToken().then(accessToken => {
    createRecord(accessToken);
});
Replace yourInstance with your Salesforce instance URL and vXX.X with the appropriate API version.
Handling API Responses and Errors
It's crucial to handle API responses and errors effectively. Check the response status codes to determine the success or failure of your requests. Salesforce provides detailed error messages that can help you troubleshoot issues.
- Success: A status code of
201indicates that the record was created successfully. - Error: Common error codes include
400for bad requests and401for unauthorized access. Refer to the Salesforce error codes documentation for more details.
By following these steps, you can efficiently create or update records in Salesforce Sandbox using JavaScript, enhancing your application's integration capabilities.
Conclusion and Best Practices for Salesforce Sandbox API Integration
Integrating with the Salesforce Sandbox API using JavaScript provides developers with a robust way to automate and streamline data management processes. By following the steps outlined in this guide, you can efficiently create or update records, ensuring data consistency and enhancing productivity.
Best Practices for Secure and Efficient Salesforce Sandbox API Usage
- Securely Store Credentials: Always store your client ID, client secret, and access tokens securely. Consider using environment variables or secure vaults to protect sensitive information.
- Handle Rate Limiting: Salesforce imposes API rate limits to ensure fair usage. Monitor your API calls and implement retry logic to handle rate limit errors gracefully. Refer to the Salesforce rate limiting documentation for more details.
- Standardize Data Fields: Ensure that data fields are standardized across systems to maintain consistency. This practice helps in avoiding data discrepancies and simplifies data integration.
- Monitor API Usage: Regularly monitor your API usage and logs to identify any anomalies or issues. This proactive approach helps in maintaining the health and performance of your integrations.
Enhance Your Integration Strategy with Endgrate
While integrating with Salesforce Sandbox API can be highly beneficial, managing multiple integrations can become complex and time-consuming. Endgrate offers a unified API solution that simplifies integration processes, allowing you to focus on your core product development.
With Endgrate, you can build once for each use case and leverage a single API endpoint to connect with multiple platforms, including Salesforce. This approach not only saves time and resources but also provides an intuitive integration experience for your customers.
Explore how Endgrate can transform your integration strategy by visiting Endgrate's website and discover the benefits of outsourcing your integration needs.
Read More
- https://endgrate.com/provider/salesforce-sandbox
- https://help.salesforce.com/s/articleView?id=sf.create_test_instance.htm&type=5
- https://developer.salesforce.com/docs/atlas.en-us.api_rest.meta/api_rest/intro_oauth_and_connected_apps.htm
- https://developer.salesforce.com/docs/atlas.en-us.api_rest.meta/api_rest/quickstart_dev_org.htm
- https://developer.salesforce.com/docs/atlas.en-us.api_rest.meta/api_rest/resources_list.htm
Ready to get started?
