Using the SendGrid API to Create or Update Contacts (with Python examples)

Introduction to SendGrid API for Contact Management
SendGrid, a cloud-based email delivery service, is renowned for its robust email infrastructure and reliable delivery capabilities. It empowers businesses to send transactional and marketing emails with ease, ensuring high deliverability rates and comprehensive analytics.
For developers, integrating with SendGrid's API offers the opportunity to automate and enhance email communication processes. By leveraging the SendGrid API, developers can efficiently manage contact lists, personalize email content, and track email performance metrics.
An example use case for integrating with the SendGrid API is to create or update contact information within a marketing campaign. This allows businesses to maintain up-to-date customer data, ensuring that email communications are targeted and relevant.
Setting Up Your SendGrid Test Account for API Integration
Before you can start using the SendGrid API to manage contacts, you need to set up a SendGrid account. This will allow you to generate the necessary API key for authentication and access the API endpoints.
Creating a SendGrid Account
If you don't already have a SendGrid account, follow these steps to create one:
- Visit the SendGrid website and click on the "Sign Up" button.
- Choose the free plan to start with, which provides access to essential features and allows you to send up to 100 emails per day.
- Fill in the required information, including your email address and password, and complete the registration process.
- Once registered, verify your email address by clicking the link sent to your inbox.
Generating a SendGrid API Key
After setting up your account, you need to generate an API key to authenticate your API requests. Follow these steps:
- Log in to your SendGrid account and navigate to the "Settings" section in the left-hand menu.
- Click on "API Keys" and then "Create API Key."
- Provide a name for your API key, such as "Contact Management Key."
- Select the permissions you need. For managing contacts, ensure you have the appropriate scopes selected.
- Click "Create & View" to generate your API key. Make sure to copy and store it securely, as you won't be able to view it again.
Testing Your SendGrid API Key
To ensure your API key is working correctly, you can perform a simple test:
import requests

url = "https://api.sendgrid.com/v3/marketing/contacts"
headers = {
    "Authorization": "Bearer YOUR_API_KEY",
    "Content-Type": "application/json"
}

response = requests.get(url, headers=headers)

if response.status_code == 200:
    print("API Key is working correctly.")
else:
    print("There was an issue with the API Key.")
Replace YOUR_API_KEY with the API key you generated. Run the code to verify that your API key is valid and can access the SendGrid API.
With your SendGrid account and API key set up, you're ready to start integrating the SendGrid API into your applications for efficient contact management.
sbb-itb-96038d7
Making API Calls to SendGrid for Contact Management Using Python
To interact with the SendGrid API for creating or updating contacts, you'll need to use Python to make HTTP requests. This section will guide you through the process of setting up your environment, writing the code, and handling responses effectively.
Setting Up Your Python Environment for SendGrid API Integration
Before making API calls, ensure you have Python installed on your machine. This tutorial uses Python 3.11.1. Additionally, you'll need the requests library to handle HTTP requests. Install it using pip:
pip install requestsCreating or Updating Contacts with SendGrid API Using Python
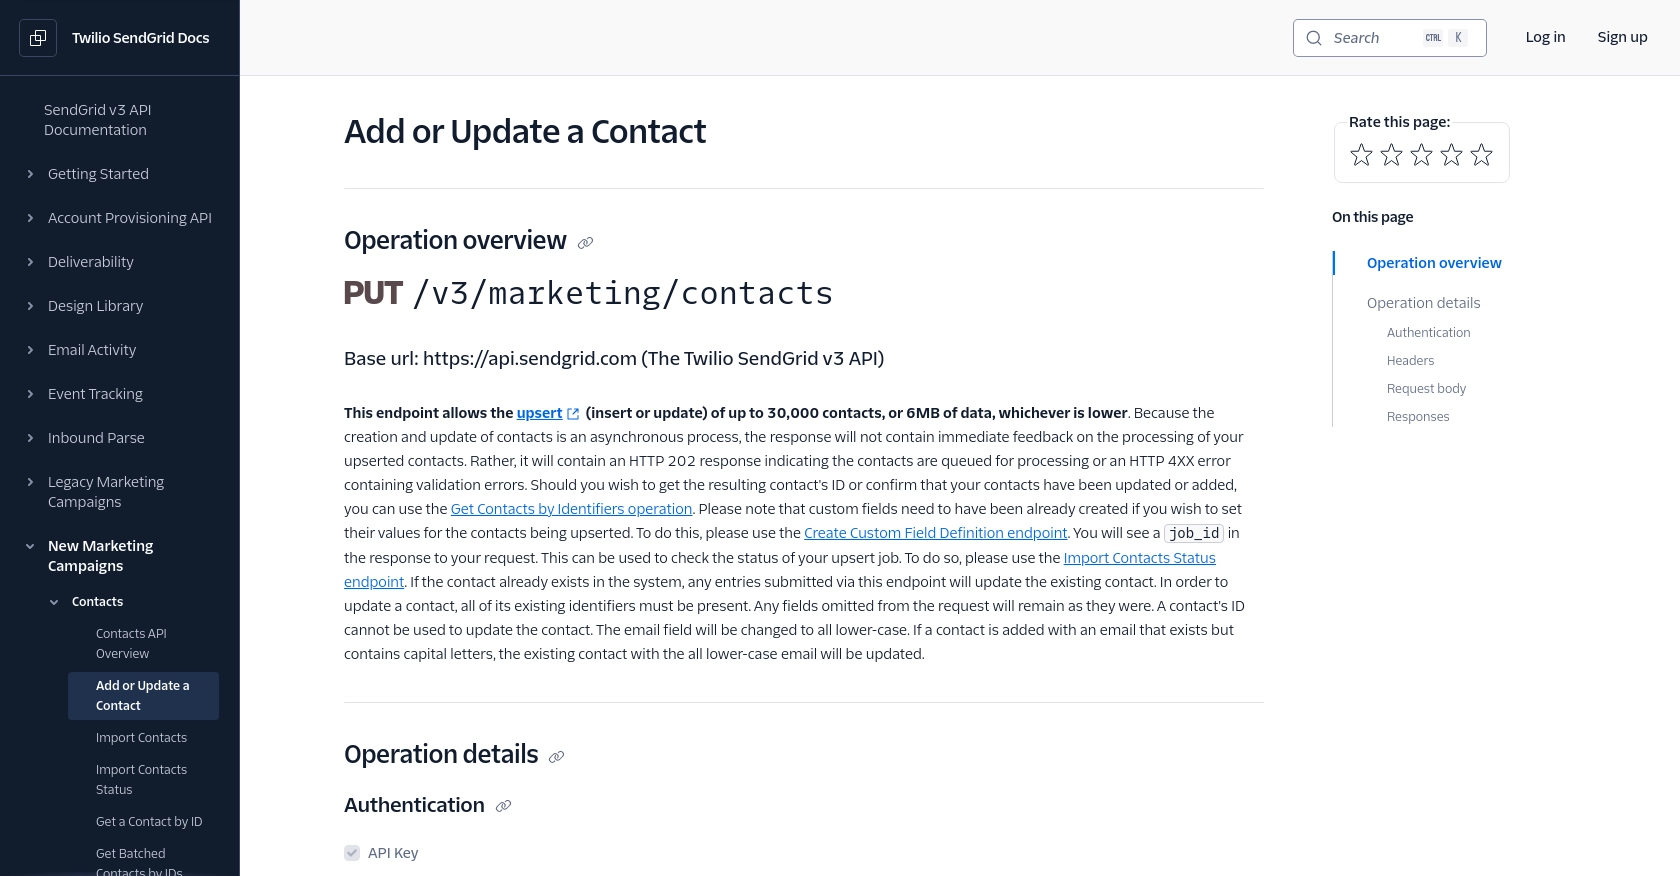
To create or update contacts, you'll use the SendGrid API endpoint. Here's a step-by-step guide to writing the code:
import requests

# Define the API endpoint and headers
url = "https://api.sendgrid.com/v3/marketing/contacts"
headers = {
    "Authorization": "Bearer YOUR_API_KEY",
    "Content-Type": "application/json"
}

# Define the contact data
data = {
    "contacts": [
        {
            "email": "example@example.com",
            "first_name": "John",
            "last_name": "Doe",
            "custom_fields": {
                "w1": "coffee"
            }
        }
    ]
}

# Make the PUT request to create or update contacts
response = requests.put(url, json=data, headers=headers)

# Check the response status
if response.status_code == 202:
    print("Contacts are queued for processing.")
else:
    print(f"Error: {response.status_code} - {response.json()}")
Replace YOUR_API_KEY with your actual API key. This code sends a PUT request to the SendGrid API, which queues the contact data for processing. The response status code 202 indicates that the request was successful and the contacts are being processed.
Handling SendGrid API Responses and Errors
After making the API call, it's crucial to handle responses and potential errors effectively:
- If the response status code is
202, the contacts are successfully queued for processing. - If you encounter a
4XXerror, it indicates a client-side issue, such as invalid data or authentication errors. Check the response message for details. - For rate limiting, note that SendGrid allows a specific number of requests per period. If you exceed this, you'll receive a
429status code. Refer to the SendGrid rate limits documentation for more information.
By following these steps, you can efficiently manage contacts using the SendGrid API, ensuring your email marketing campaigns are up-to-date and targeted.
Conclusion and Best Practices for Using the SendGrid API for Contact Management
Integrating the SendGrid API into your applications offers a powerful way to manage contacts efficiently, ensuring that your email marketing campaigns are both targeted and effective. By following the steps outlined in this guide, you can seamlessly create or update contact information, keeping your data accurate and up-to-date.
Best Practices for Secure and Efficient SendGrid API Integration
- Secure API Key Storage: Always store your API keys securely. Avoid hardcoding them in your source code. Instead, use environment variables or secure vaults to manage sensitive information.
- Handle Rate Limits: Be mindful of SendGrid's rate limits to avoid disruptions in service. Implement logic to handle
429status codes gracefully and consider using exponential backoff strategies for retries. For more details, refer to the SendGrid rate limits documentation. - Data Validation: Ensure that the data you send to the API is validated and sanitized to prevent errors and maintain data integrity.
- Monitor API Usage: Regularly monitor your API usage and performance. Use logging and analytics tools to track API calls and identify any issues promptly.
Enhancing Your Integration with Endgrate
If managing multiple integrations becomes overwhelming, consider leveraging Endgrate to streamline your processes. Endgrate provides a unified API endpoint that connects to various platforms, including SendGrid, allowing you to focus on your core product while outsourcing integration complexities. By building once for each use case, you can save time and resources, providing an intuitive integration experience for your customers.
For more information on how Endgrate can simplify your integration needs, visit Endgrate.
Read More
- https://endgrate.com/provider/sendgrid
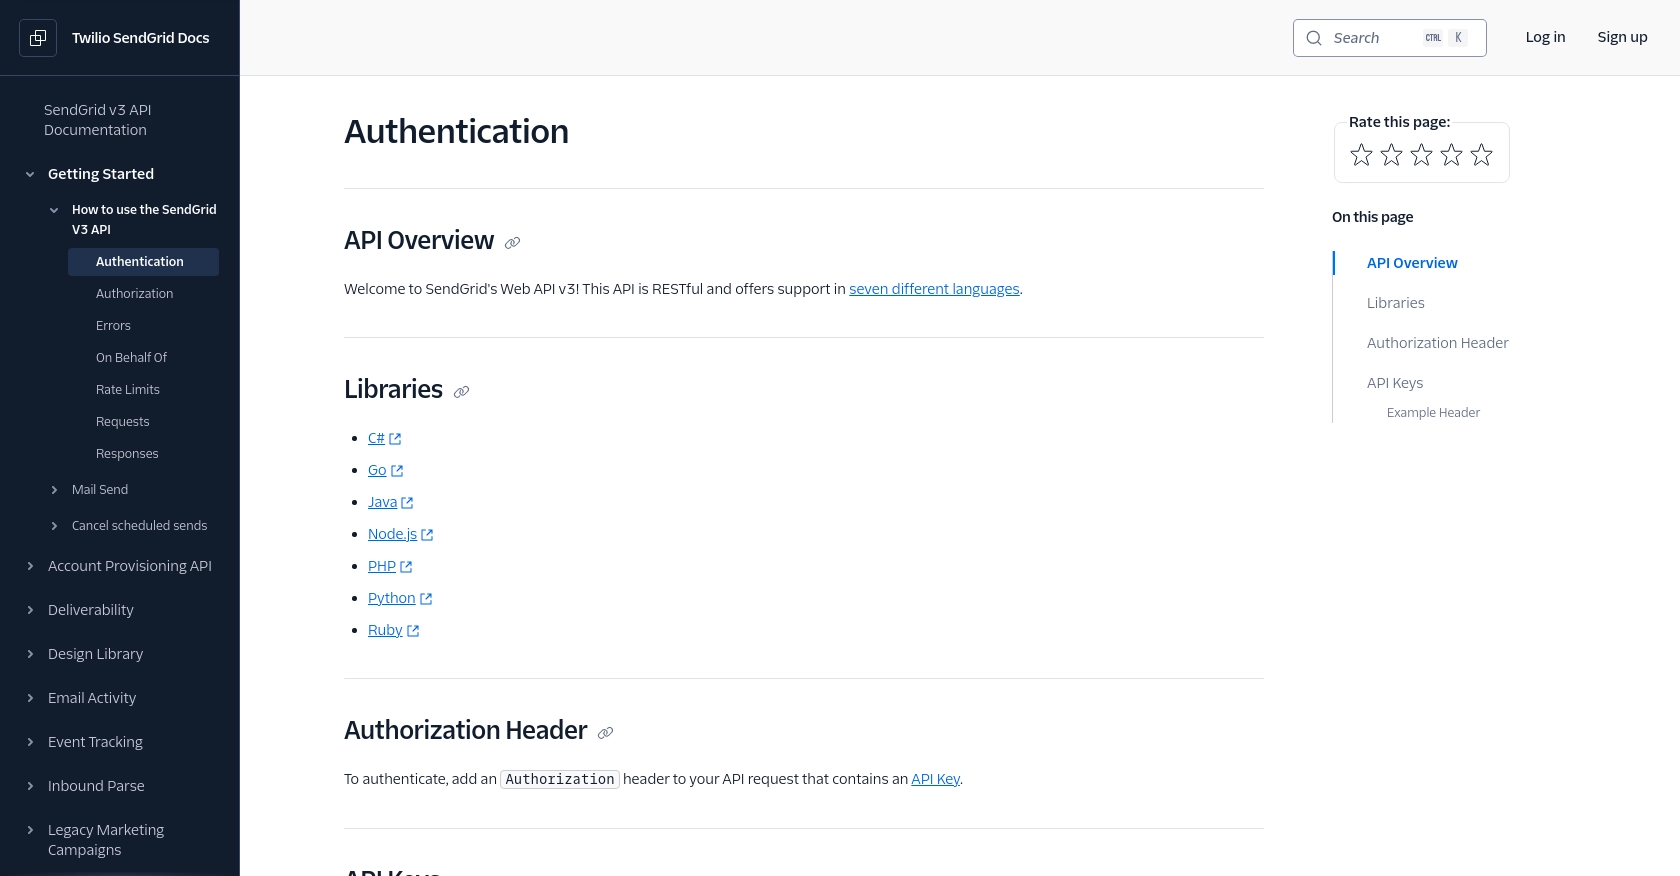
- https://www.twilio.com/docs/sendgrid/api-reference/how-to-use-the-sendgrid-v3-api/authentication
- https://www.twilio.com/docs/sendgrid/api-reference/how-to-use-the-sendgrid-v3-api/authorization
- https://www.twilio.com/docs/sendgrid/api-reference/how-to-use-the-sendgrid-v3-api/rate-limits
- https://www.twilio.com/docs/sendgrid/api-reference/contacts/add-or-update-a-contact

Ready to get started?
