Using the SendGrid API to Send Emails (with Python examples)

Introduction to SendGrid Email API
SendGrid is a cloud-based email delivery service that provides reliable and scalable email solutions for businesses of all sizes. It offers a robust API that allows developers to send transactional and marketing emails with ease, ensuring high deliverability rates and comprehensive analytics.
Integrating with SendGrid's API can significantly enhance your application's email capabilities. For example, developers can automate email notifications for user sign-ups, password resets, or promotional campaigns, all while maintaining control over the email content and delivery.
This article will guide you through using the SendGrid API with Python to send emails efficiently. You'll learn how to set up your SendGrid account, authenticate API requests, and implement email-sending functionality in your Python applications.
Setting Up Your SendGrid Account for API Access
Before you can start sending emails using the SendGrid API, you'll need to set up your SendGrid account and obtain the necessary API key for authentication. Follow these steps to get started:
Create a SendGrid Account
If you don't already have a SendGrid account, you can sign up for a free trial on the SendGrid website. The free plan allows you to send up to 100 emails per day, which is perfect for testing and development purposes.
Generate a SendGrid API Key
Once your account is set up, you'll need to generate an API key to authenticate your API requests. Here's how:
- Log in to your SendGrid account.
- Navigate to the "Settings" section in the left-hand menu and click on "API Keys."
- Click the "Create API Key" button.
- Enter a name for your API key, such as "Python Email App."
- Select the permissions you need. For sending emails, choose "Full Access" or customize the permissions as required.
- Click "Create & View" to generate your API key.
- Copy the API key and store it securely. You won't be able to view it again.
Configure Your Environment
To keep your API key secure, it's best to store it in an environment variable. You can do this by adding the following line to your .env file:
SENDGRID_API_KEY=your_api_key_hereMake sure to replace your_api_key_here with the actual API key you generated.
Install Required Python Packages
To interact with the SendGrid API using Python, you'll need to install the SendGrid Python library. Run the following command in your terminal:
pip install sendgridWith your SendGrid account set up and your environment configured, you're now ready to start sending emails using the SendGrid API in your Python applications.

sbb-itb-96038d7
Sending Emails with the SendGrid API Using Python
Now that your SendGrid account is set up and your environment is configured, you can start sending emails using the SendGrid API in Python. This section will guide you through the process of making an API call to send an email.
Setting Up Your Python Environment for SendGrid API
Before making the API call, ensure you have Python 3.x installed on your machine. You should also have the SendGrid Python library installed, as mentioned earlier. If not, run the following command:
pip install sendgridCreating a Python Script to Send Emails with SendGrid
Create a new Python file named send_email.py and add the following code to it:
import os
from sendgrid import SendGridAPIClient
from sendgrid.helpers.mail import Mail

# Load your SendGrid API key from an environment variable
api_key = os.getenv('SENDGRID_API_KEY')

# Create a Mail object with the necessary details
message = Mail(
    from_email='from@example.com',
    to_emails='to@example.com',
    subject='Hello from SendGrid',
    html_content='This is a test email sent using SendGrid API'
)

try:
    # Initialize the SendGrid client with your API key
    sg = SendGridAPIClient(api_key)
    # Send the email
    response = sg.send(message)
    print(f"Email sent successfully! Status code: {response.status_code}")
except Exception as e:
    print(f"An error occurred: {e}")
Replace from@example.com and to@example.com with the actual sender and recipient email addresses. Ensure the sender email is verified in your SendGrid account.
Running Your Python Script to Send an Email
To send the email, run the script from your terminal:
python send_email.pyIf successful, you should see a message indicating the email was sent, along with the status code.
Handling SendGrid API Responses and Errors
Check the response status code to verify the success of your API call. A status code of 202 indicates the email was accepted for delivery. If you encounter errors, refer to the error message for troubleshooting. Common errors include:
- 401 Unauthorized: Ensure your API key is correct and has the necessary permissions.
- 403 Forbidden: Verify that the sender email is verified in your SendGrid account.
- 429 Too Many Requests: You have exceeded the rate limit. Refer to the rate limits documentation for more information.
For more detailed error information, refer to the SendGrid Mail Send API documentation.

Conclusion and Best Practices for Using SendGrid API with Python
Integrating SendGrid's API into your Python applications can greatly enhance your email capabilities, providing a reliable and scalable solution for sending transactional and marketing emails. By following the steps outlined in this guide, you can efficiently set up your SendGrid account, authenticate API requests, and implement email-sending functionality.
Best Practices for Secure and Efficient Email Integration
- Secure API Key Management: Always store your SendGrid API key in a secure environment variable to prevent unauthorized access.
- Handle Rate Limits: Be mindful of SendGrid's rate limits to avoid disruptions. Implement logic to handle
429 Too Many Requestserrors gracefully. Refer to the rate limits documentation for more details. - Verify Sender Emails: Ensure that all sender email addresses are verified in your SendGrid account to prevent
403 Forbiddenerrors. - Monitor API Responses: Regularly check API response codes to ensure successful email delivery and troubleshoot any issues promptly.
- Optimize Email Content: Use SendGrid's dynamic templates and personalization features to create engaging and personalized email content.
Enhance Your Integration Experience with Endgrate
While integrating with SendGrid's API offers powerful email capabilities, managing multiple integrations can be complex and time-consuming. Endgrate simplifies this process by providing a unified API endpoint for various platforms, including SendGrid. By leveraging Endgrate, you can:
- Save time and resources by outsourcing integrations and focusing on your core product development.
- Build once for each use case instead of multiple times for different integrations.
- Offer an intuitive and seamless integration experience for your customers.
Explore how Endgrate can streamline your integration processes by visiting Endgrate's website.
Read More
- https://endgrate.com/provider/sendgrid
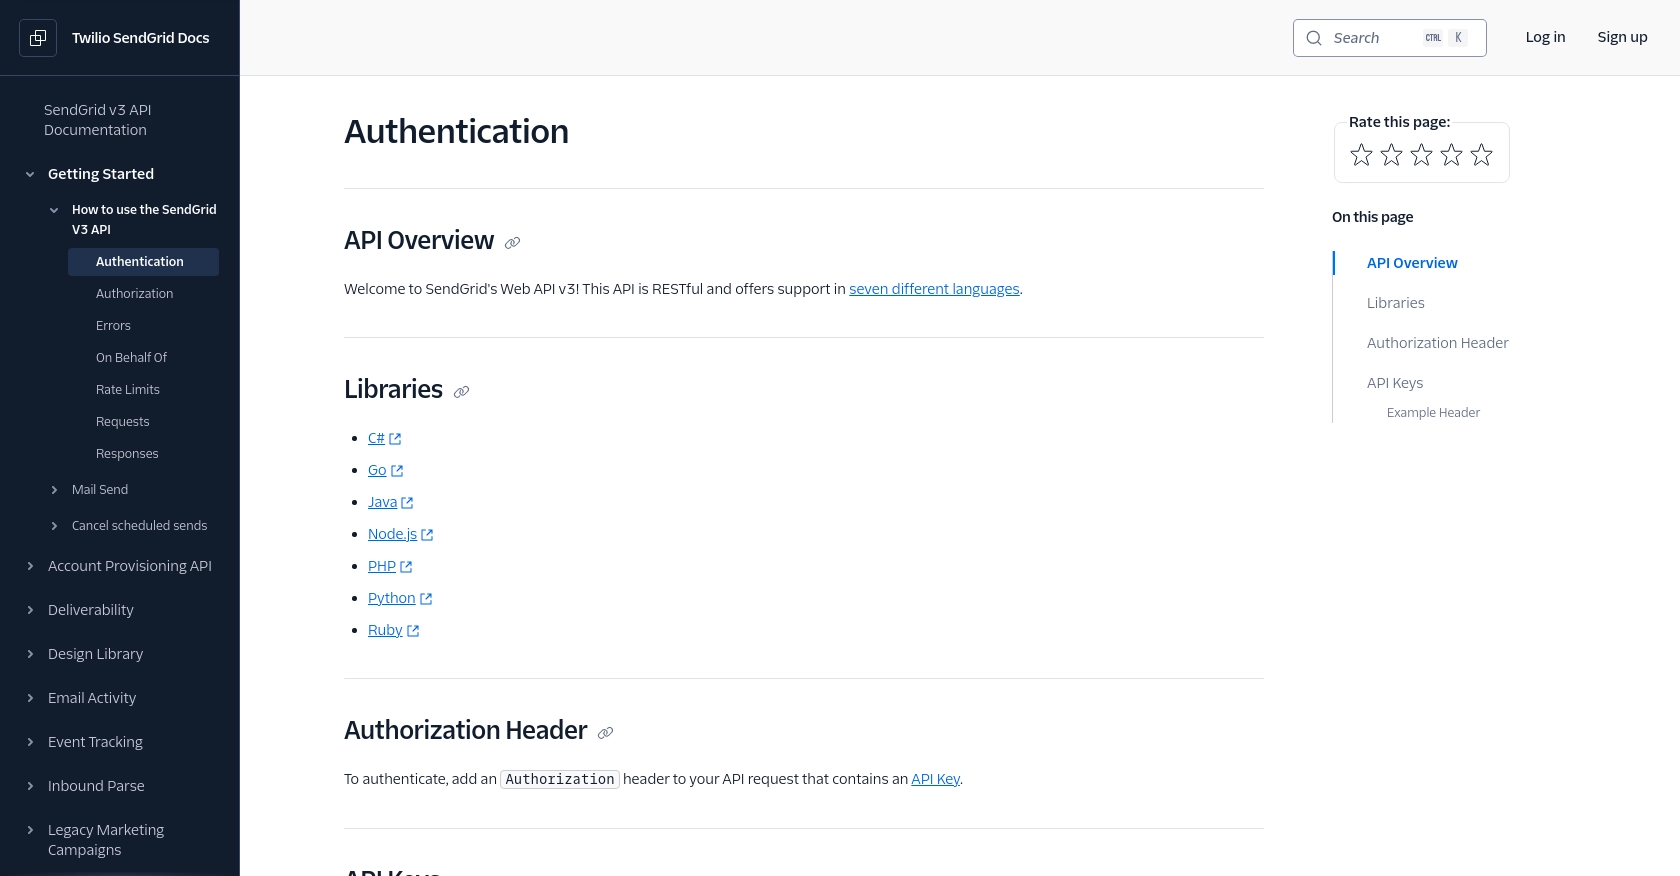
- https://www.twilio.com/docs/sendgrid/api-reference/how-to-use-the-sendgrid-v3-api/authentication
- https://www.twilio.com/docs/sendgrid/api-reference/how-to-use-the-sendgrid-v3-api/authorization
- https://www.twilio.com/docs/sendgrid/api-reference/how-to-use-the-sendgrid-v3-api/rate-limits
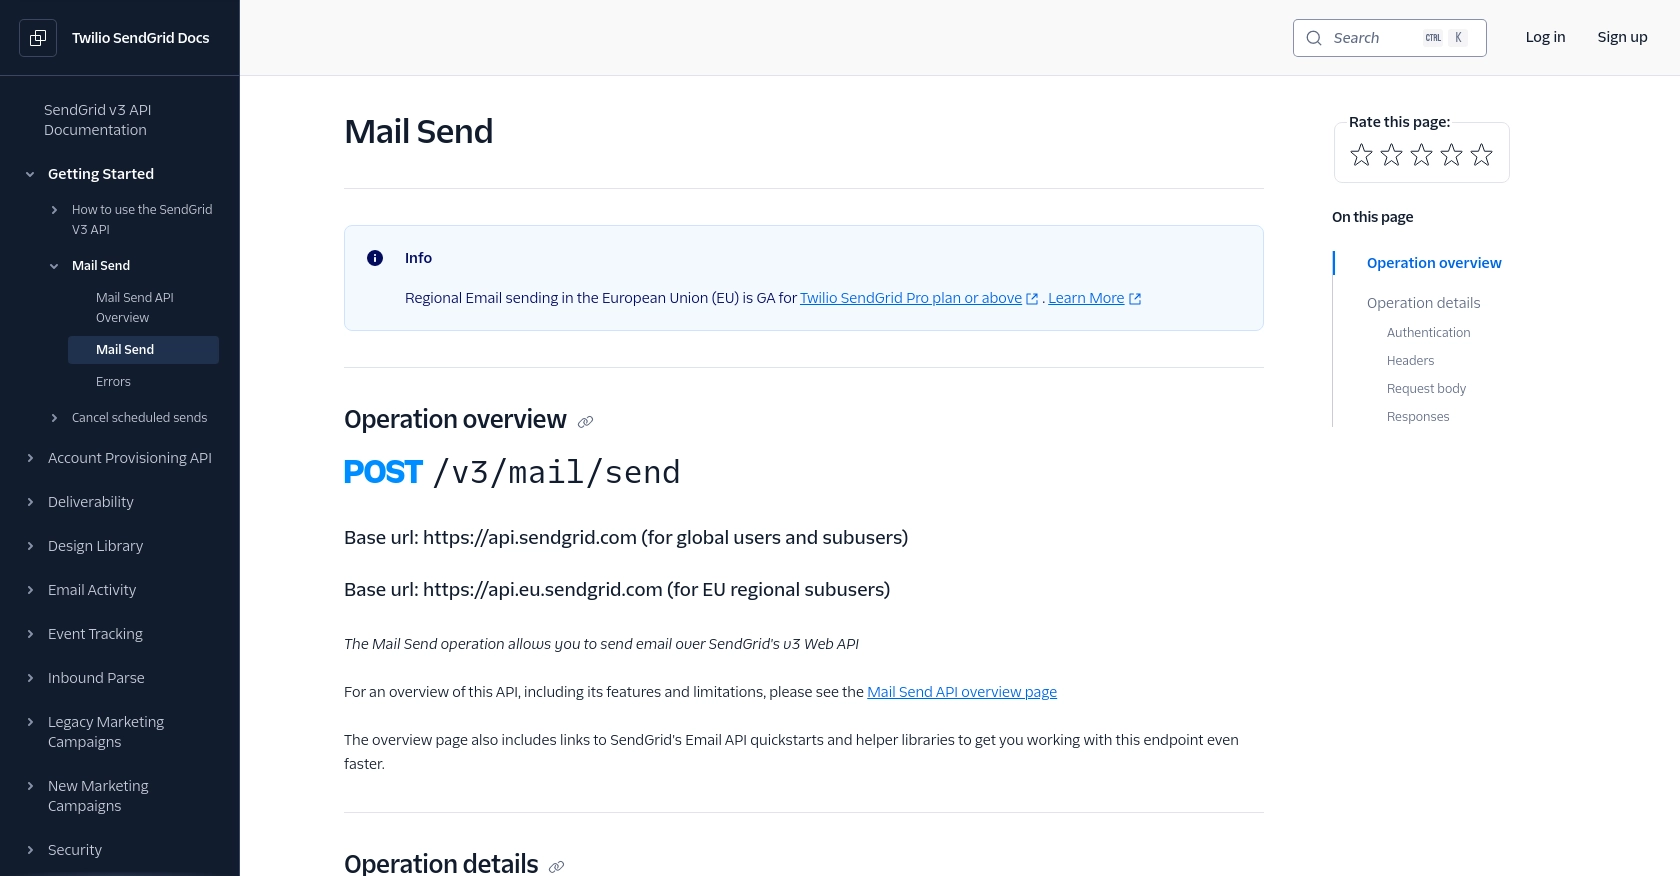
- https://www.twilio.com/docs/sendgrid/api-reference/mail-send/mail-send
Ready to get started?

