Using the Shopify API to Create or Update Custom Collections in Python

Introduction to Shopify API for Custom Collections
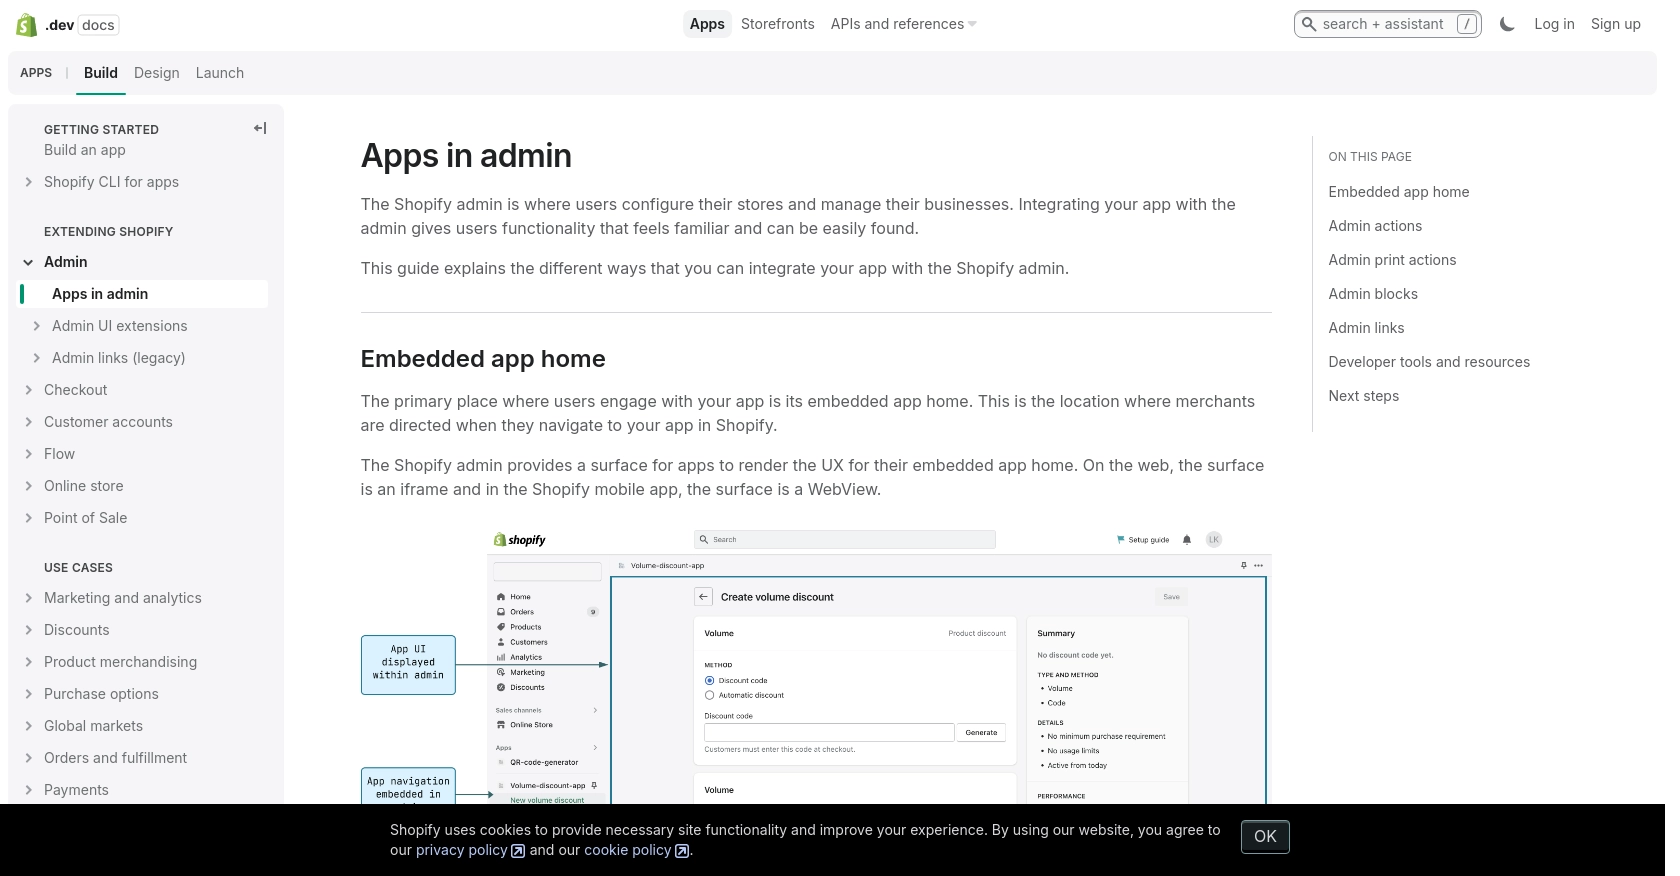
Shopify is a leading e-commerce platform that empowers businesses to create and manage online stores with ease. It offers a robust set of tools and APIs that allow developers to extend its functionality and integrate with various services. One of the key features of Shopify is its ability to manage product collections, which helps merchants organize their products for better browsing and sales optimization.
Integrating with Shopify's API enables developers to automate the management of custom collections, which are manually curated groups of products. This can be particularly useful for businesses that frequently update their product offerings or run seasonal promotions. For example, a developer might use the Shopify API to automatically create or update a custom collection for a holiday sale, ensuring that the latest products are featured prominently on the store's front page.
Setting Up Your Shopify Test or Sandbox Account
Before you can start integrating with the Shopify API to manage custom collections, you'll need to set up a Shopify test or sandbox account. This environment allows you to safely develop and test your application without affecting a live store.
Creating a Shopify Partner Account
To begin, you'll need a Shopify Partner account, which provides access to development stores where you can test your app. Follow these steps to create one:
- Visit the Shopify Partners page and sign up for a free account.
- Fill out the necessary information and submit your application.
- Once approved, log in to your Shopify Partner dashboard.
Setting Up a Shopify Development Store
With your Partner account ready, you can now create a development store:
- In the Shopify Partner dashboard, navigate to the Stores section.
- Click on Add store and select Development store.
- Fill in the store details, including store name, password, and other required fields.
- Click Save to create your development store.
This development store will serve as your sandbox environment for testing API interactions.
Creating a Shopify App for OAuth Authentication
Since the Shopify API uses OAuth for authentication, you'll need to create an app to obtain the necessary credentials:
- In your Shopify Partner dashboard, go to the Apps section and click on Create app.
- Select Custom app and provide a name for your app.
- Under App setup, configure the required scopes for managing collections, such as
write_productsandread_products. - Click Create app to generate your app credentials, including the client ID and client secret.
Generating Access Tokens for API Requests
With your app created, you can now generate access tokens to authenticate API requests:
- Use the OAuth flow to exchange your client ID and client secret for an access token. Refer to the Shopify authentication documentation for detailed instructions.
- Include the access token in the
X-Shopify-Access-Tokenheader for all API requests.
With your Shopify test account and app set up, you're ready to start integrating with the Shopify API to create or update custom collections.
sbb-itb-96038d7
How to Make Shopify API Calls to Create or Update Custom Collections Using Python
To interact with the Shopify API for creating or updating custom collections, you'll need to use Python. This section will guide you through the process, including setting up your environment, writing the code, and handling potential errors.
Setting Up Your Python Environment for Shopify API Integration
Before making API calls, ensure you have Python installed on your machine. This tutorial uses Python 3.11.1. Additionally, you'll need the requests library to handle HTTP requests.
- Install Python from the official Python website if you haven't already.
- Use the following command to install the
requestslibrary:
pip install requestsCreating or Updating Shopify Custom Collections with Python
With your environment set up, you can now write a Python script to create or update custom collections in Shopify. Below is a sample code snippet to help you get started:
import requests
# Define the API endpoint and headers
store_name = "your-development-store"
access_token = "your_access_token"
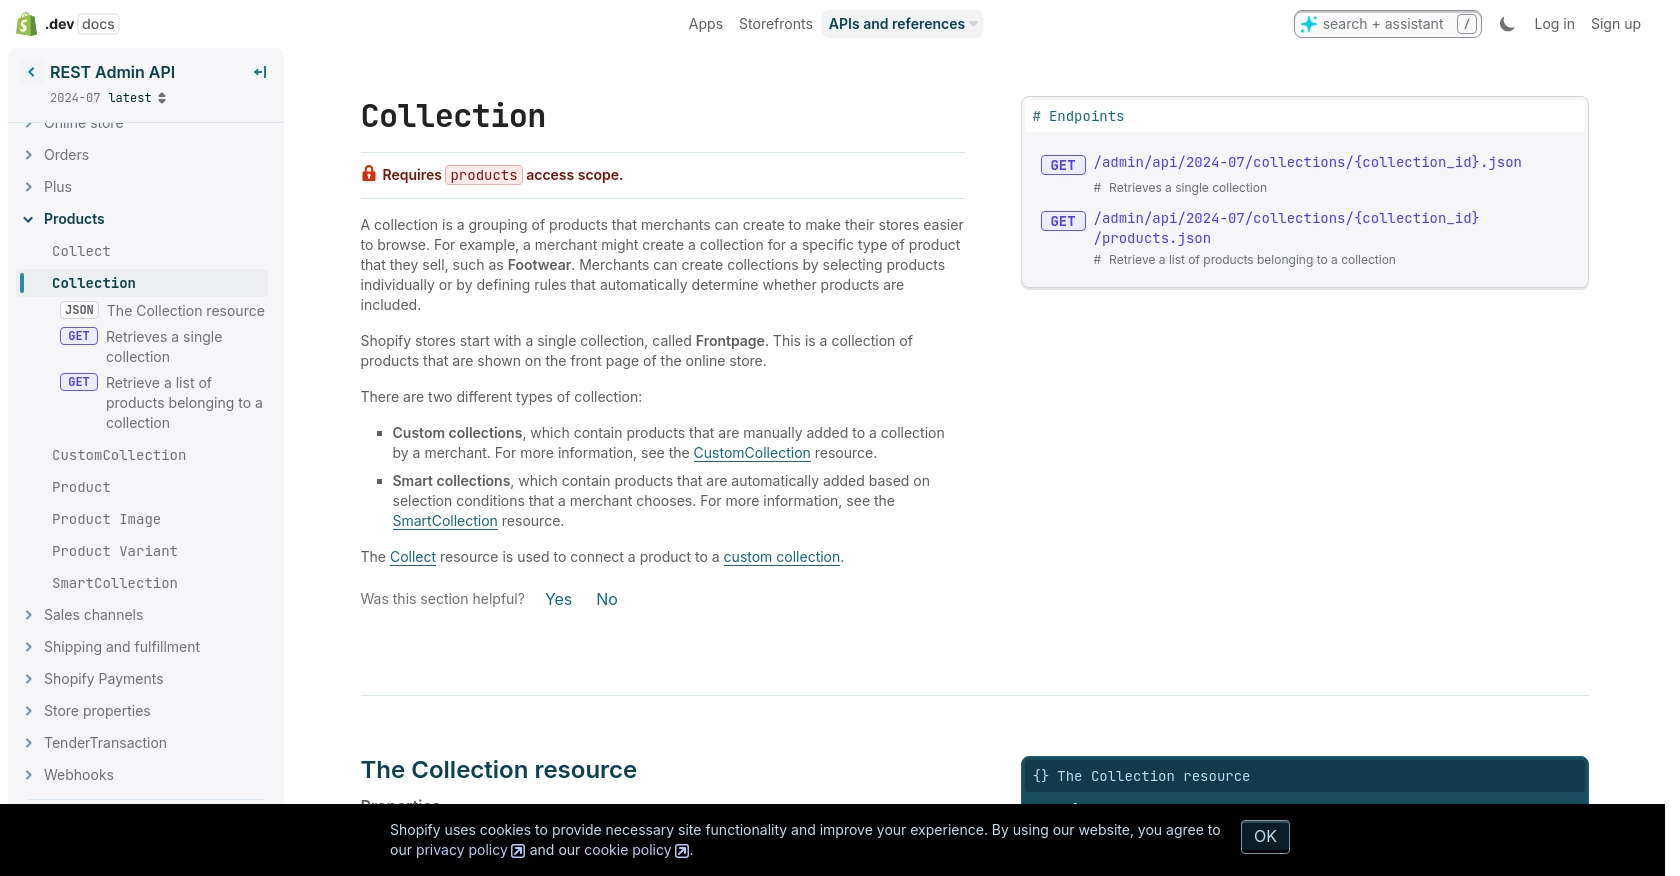
endpoint = f"https://{store_name}.myshopify.com/admin/api/2024-07/custom_collections.json"
headers = {
"Content-Type": "application/json",
"X-Shopify-Access-Token": access_token
}
# Define the collection data
collection_data = {
"custom_collection": {
"title": "Holiday Sale",
"body_html": "Exclusive holiday sale collection
",
"published": True
}
}
# Make a POST request to create the collection
response = requests.post(endpoint, json=collection_data, headers=headers)
# Check the response status
if response.status_code == 201:
print("Custom collection created successfully.")
else:
print(f"Failed to create collection: {response.status_code} - {response.text}")
Replace your-development-store and your_access_token with your actual store name and access token. The script sends a POST request to the Shopify API to create a new custom collection titled "Holiday Sale".
Verifying the API Call Success in Shopify Sandbox
After running the script, you can verify the success of the API call by checking the Shopify admin panel of your development store. Navigate to the Collections section to see if the new collection appears.
Handling Errors and Shopify API Error Codes
When making API calls, it's crucial to handle potential errors. Shopify API may return various status codes indicating the success or failure of your request. Here are some common error codes:
- 401 Unauthorized: Incorrect authentication credentials.
- 403 Forbidden: Incorrect access scopes.
- 404 Not Found: The requested resource was not found.
- 429 Too Many Requests: Rate limit exceeded. Retry after the specified time.
For more detailed information on error codes, refer to the Shopify API documentation.
Conclusion and Best Practices for Shopify API Integration
Integrating with the Shopify API to manage custom collections can significantly enhance the efficiency and functionality of your e-commerce operations. By automating the creation and updating of collections, you can ensure that your store remains dynamic and responsive to market trends and customer needs.
Best Practices for Secure and Efficient Shopify API Usage
- Secure Storage of Credentials: Always store your API credentials, such as access tokens, securely. Avoid hardcoding them in your scripts and consider using environment variables or secure vaults.
- Handle Rate Limiting: Shopify imposes a rate limit of 40 requests per app per store per minute. Implement logic to handle the
429 Too Many Requestserror by checking theRetry-Afterheader and pausing requests accordingly. For more details, refer to the Shopify API documentation. - Data Standardization: Ensure that your data fields are consistent and standardized across your application to prevent errors and maintain data integrity.
- Monitor API Changes: Shopify's API is versioned, with updates released regularly. Stay informed about changes by reviewing the API documentation to ensure compatibility and take advantage of new features.
Streamlining Integration with Endgrate
While building custom integrations with the Shopify API can be rewarding, it can also be time-consuming and complex. Endgrate offers a solution by providing a unified API endpoint that simplifies the integration process across multiple platforms, including Shopify. By using Endgrate, you can focus on your core product development while outsourcing the intricacies of API integrations.
Explore how Endgrate can help you save time and resources by visiting Endgrate and discover a more efficient way to manage your integrations.
Read More

Ready to get started?
