Using the Shopify API to Get Collections in PHP

Introduction to Shopify API Integration
Shopify is a leading e-commerce platform that empowers businesses to create and manage their online stores with ease. With a wide array of features, Shopify enables merchants to sell products, manage inventory, and process payments seamlessly. Its robust API allows developers to extend Shopify's capabilities, creating custom solutions tailored to specific business needs.
Integrating with the Shopify API can significantly enhance a store's functionality by automating tasks and accessing valuable data. For example, developers might want to retrieve collections of products to display them dynamically on a website or app. This can be particularly useful for showcasing seasonal collections or featured products, ensuring that customers always see the most relevant offerings.
In this article, we will explore how to use PHP to interact with the Shopify API to retrieve collections. This guide will provide step-by-step instructions, making it easier for developers to integrate Shopify's powerful features into their applications.
Setting Up Your Shopify Test Account for API Integration
Before diving into the Shopify API integration using PHP, it's essential to set up a test account. This allows you to safely experiment with API calls without affecting a live store. Shopify provides a development store option for this purpose, which is free and ideal for testing and development.
Creating a Shopify Development Store
- Visit the Shopify Partners page and sign up for a free account if you haven't already.
- Once logged in, navigate to the "Stores" section in your Shopify Partner Dashboard.
- Click on "Add store" and select "Development store" from the options.
- Fill in the necessary details, such as store name and password, and click "Save" to create your development store.
Your development store is now ready, and you can use it to test API interactions without any risk to a live environment.
Setting Up OAuth for Shopify API Authentication
Shopify uses OAuth for API authentication, ensuring secure access to store data. Follow these steps to set up OAuth for your app:
- In your Shopify Partner Dashboard, go to the "Apps" section and click "Create app."
- Enter your app's name and select the development store you created earlier.
- Under "App setup," note down the API key and API secret key, as these will be used for authentication.
- Set the "App URL" and "Allowed redirection URL(s)" to your application's URL where you handle OAuth callbacks.
- Under "Scopes," request the necessary permissions for accessing collections. For retrieving collections, ensure you have the "read_products" scope.
- Save your app settings.
With OAuth configured, you can now authenticate your app to access the Shopify API securely.
Generating Access Tokens for Shopify API Requests
To make API requests, you'll need an access token. Here's how to generate one:
- Direct your users to the following URL to install your app:
https://{shop}.myshopify.com/admin/oauth/authorize?client_id={API_key}&scope=read_products&redirect_uri={redirect_uri} - Upon successful installation, Shopify will redirect to your specified redirect URI with a temporary code.
- Exchange this code for a permanent access token by making a POST request to
https://{shop}.myshopify.com/admin/oauth/access_tokenwith the following parameters:client_id: Your API keyclient_secret: Your API secret keycode: The temporary code received
$ch = curl_init();
curl_setopt($ch, CURLOPT_URL, "https://{shop}.myshopify.com/admin/oauth/access_token");
curl_setopt($ch, CURLOPT_POST, 1);
curl_setopt($ch, CURLOPT_POSTFIELDS, http_build_query([
    'client_id' => '{API_key}',
    'client_secret' => '{API_secret}',
    'code' => '{code}'
]));
curl_setopt($ch, CURLOPT_RETURNTRANSFER, true);
$response = curl_exec($ch);
curl_close($ch);
$accessToken = json_decode($response, true)['access_token'];
Store this access token securely, as it will be used in the headers of your API requests to authenticate your app.
sbb-itb-96038d7
Making API Calls to Retrieve Shopify Collections Using PHP
With your Shopify development store and OAuth authentication set up, you can now proceed to make API calls to retrieve collections. This section will guide you through the process of using PHP to interact with the Shopify API and fetch collection data.
PHP Prerequisites and Setup for Shopify API Integration
Before making API calls, ensure that your development environment is ready. You'll need:
- PHP 7.4 or higher
- cURL extension enabled in PHP
These prerequisites will allow you to execute HTTP requests and handle JSON responses effectively.
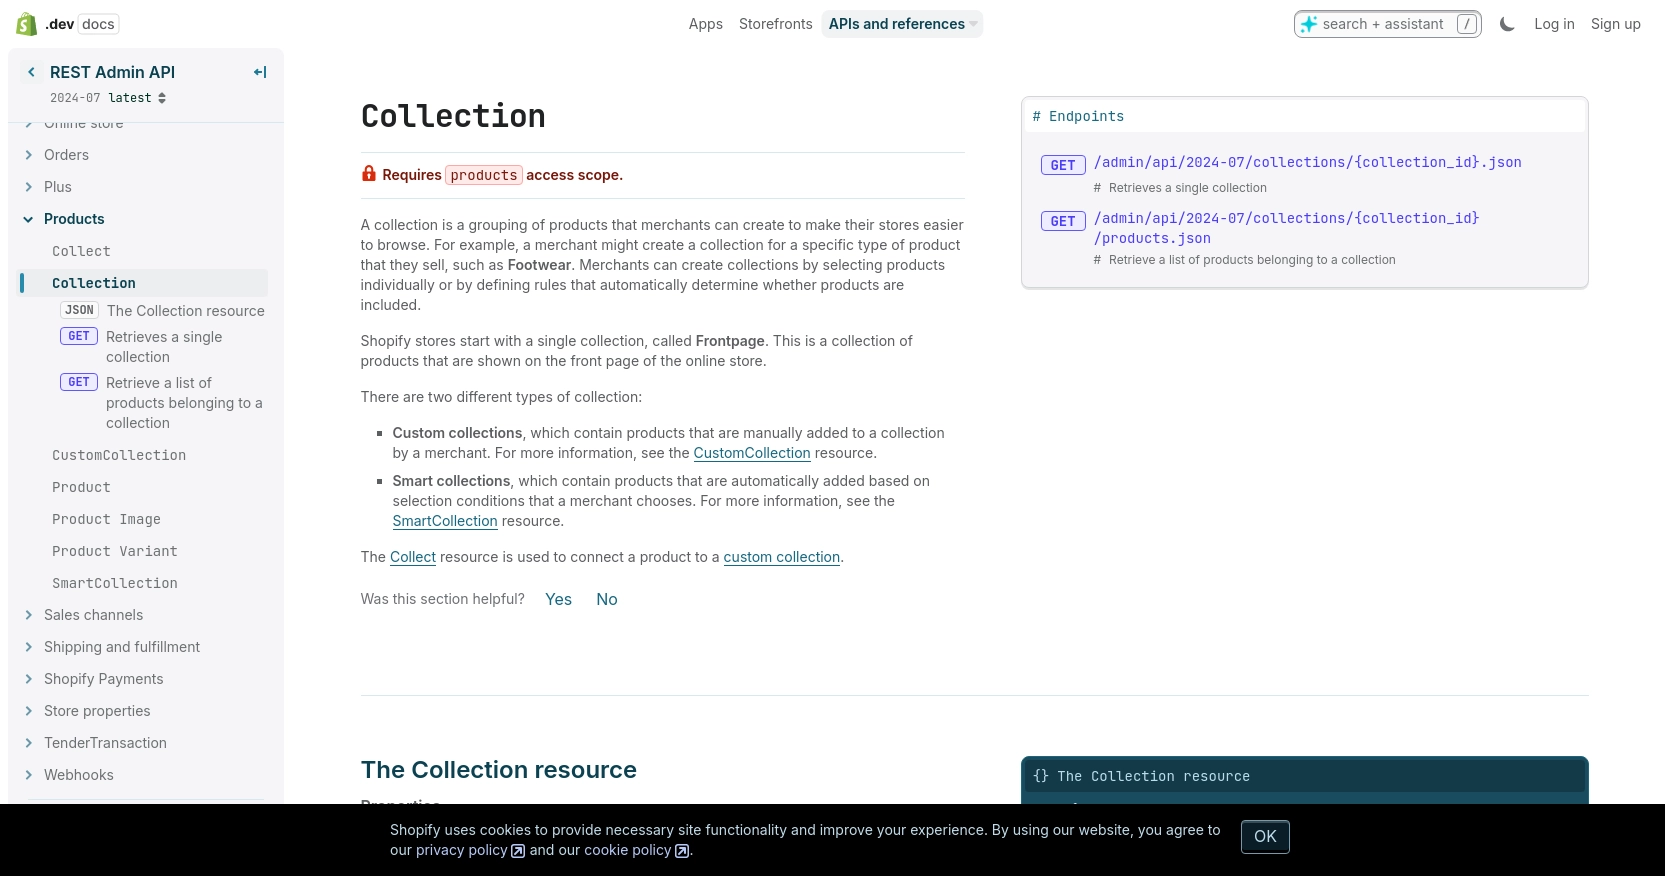
Fetching Shopify Collections with PHP
To retrieve collections from your Shopify store, you'll use the Shopify API endpoint for collections. Here's a step-by-step guide:
- Set the API endpoint URL for retrieving collections. You'll need your store's name and the API version:
$shop = 'your-development-store';
$apiVersion = '2024-07';
$endpoint = "https://{$shop}.myshopify.com/admin/api/{$apiVersion}/collections.json";
- Prepare the headers for the API request, including the access token obtained during OAuth authentication:
$headers = [
    "Content-Type: application/json",
    "X-Shopify-Access-Token: {$accessToken}"
];
- Use cURL to make a GET request to the Shopify API:
$ch = curl_init();
curl_setopt($ch, CURLOPT_URL, $endpoint);
curl_setopt($ch, CURLOPT_HTTPHEADER, $headers);
curl_setopt($ch, CURLOPT_RETURNTRANSFER, true);
$response = curl_exec($ch);
curl_close($ch);
- Decode the JSON response to access the collection data:
$collections = json_decode($response, true);
foreach ($collections['collections'] as $collection) {
    echo "Collection ID: " . $collection['id'] . "\n";
    echo "Title: " . $collection['title'] . "\n";
    echo "Handle: " . $collection['handle'] . "\n\n";
}
This code will output the ID, title, and handle of each collection in your Shopify store. You can further customize the output to suit your needs.
Verifying Successful API Requests and Handling Errors
After executing the API call, it's crucial to verify the success of the request. Check the HTTP status code returned by the API:
$httpCode = curl_getinfo($ch, CURLINFO_HTTP_CODE);
if ($httpCode == 200) {
    echo "Request successful!";
} else {
    echo "Error: " . $httpCode;
}
Refer to the Shopify API documentation for details on error codes and their meanings. Common errors include 401 Unauthorized and 429 Too Many Requests, which indicate authentication issues or rate limit exceedance, respectively.
By following these steps, you can efficiently retrieve collections from Shopify using PHP, enabling dynamic display and management of product collections in your applications.
Conclusion and Best Practices for Shopify API Integration Using PHP
Integrating with the Shopify API using PHP offers a powerful way to enhance your e-commerce platform by automating tasks and accessing valuable data. By following the steps outlined in this guide, you can efficiently retrieve collections and leverage Shopify's robust features to improve your store's functionality.
Best Practices for Secure and Efficient Shopify API Usage
- Secure Storage of Access Tokens: Ensure that access tokens are stored securely, using environment variables or secure vaults, to prevent unauthorized access.
- Handle Rate Limiting: Be mindful of Shopify's rate limits, which allow 40 requests per app per store per minute. Implement logic to handle 429 Too Many Requests errors by pausing and retrying after the specified time.
- Data Standardization: Standardize and transform data fields as needed to maintain consistency across your application and improve data handling efficiency.
- Error Handling: Implement comprehensive error handling to manage different HTTP status codes and ensure a robust integration experience.
Streamline Your Integration Process with Endgrate
While building integrations manually can be rewarding, it can also be time-consuming and complex. Endgrate offers a streamlined solution by providing a single API endpoint that connects to multiple platforms, including Shopify. This allows you to focus on your core product while outsourcing integrations, saving time and resources.
With Endgrate, you can build once for each use case and enjoy an intuitive integration experience for your customers. Explore how Endgrate can simplify your integration needs by visiting Endgrate.
Read More

Ready to get started?
