Using the Shopify API to Get Products (with PHP examples)

Introduction to Shopify API Integration
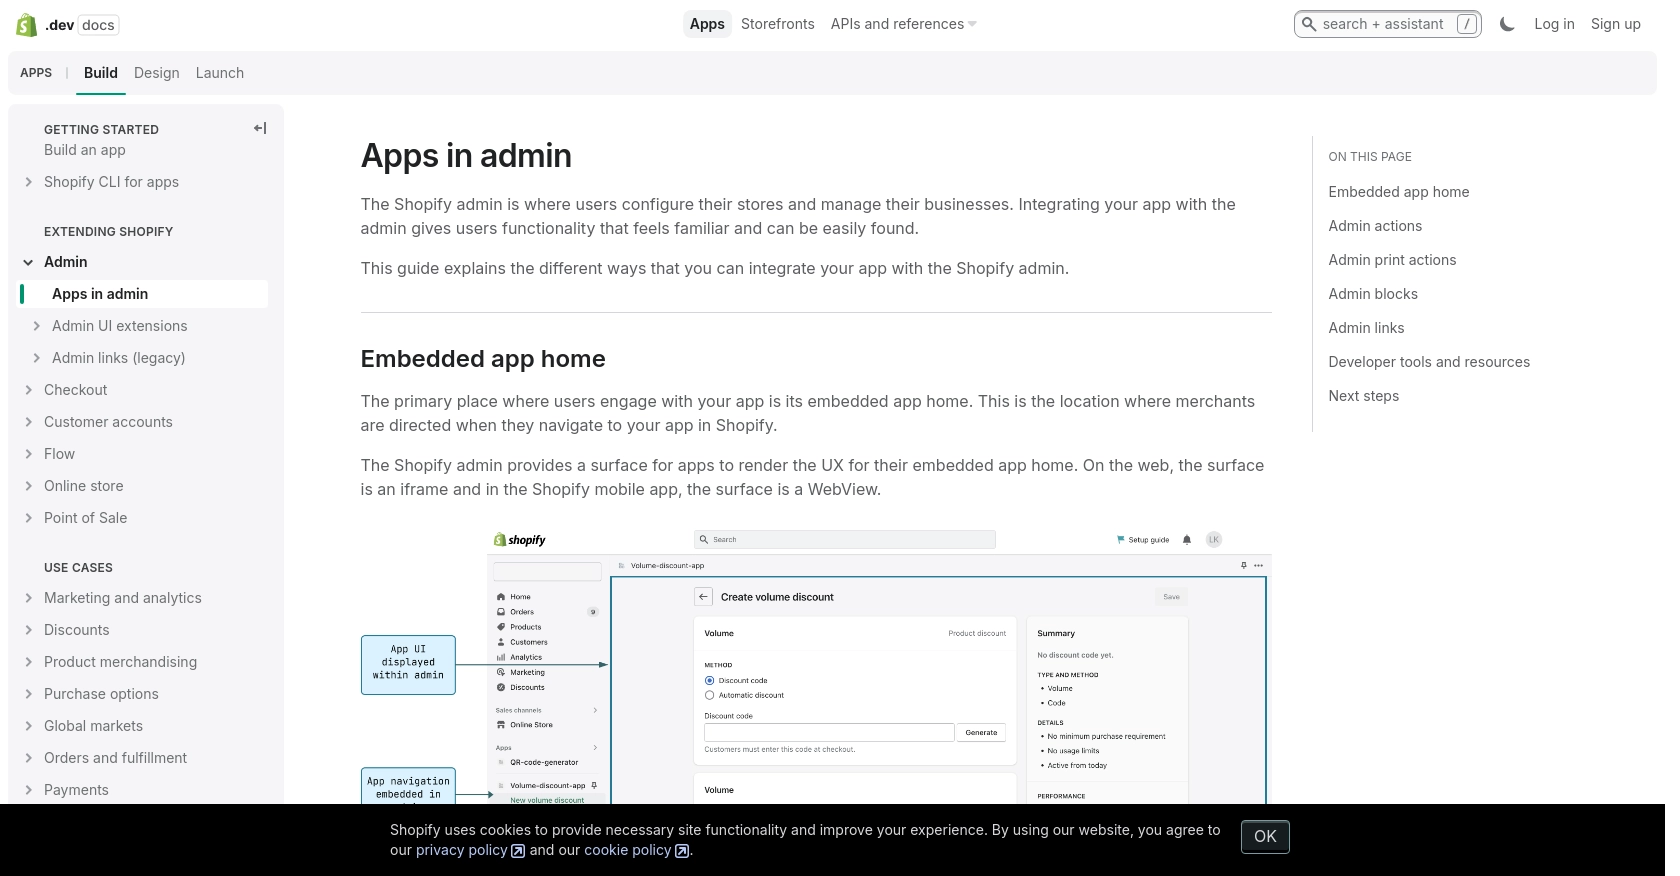
Shopify is a leading e-commerce platform that enables businesses to create and manage online stores with ease. It offers a comprehensive suite of tools for managing products, orders, and customer relationships, making it a popular choice for businesses looking to establish a robust online presence.
Integrating with the Shopify API allows developers to automate and enhance various aspects of store management. For example, you can use the Shopify API to retrieve product information, enabling you to synchronize inventory data with other systems or display product details on external platforms.
This article will guide you through the process of using PHP to interact with the Shopify API, specifically focusing on retrieving product data. By following this tutorial, developers can efficiently access and manage product information within their Shopify stores.
Setting Up Your Shopify Test Account for API Access
Before you can start interacting with the Shopify API using PHP, you'll need to set up a test or sandbox account. This will allow you to safely experiment with API calls without affecting a live store. Shopify provides a development environment where you can create a test store to simulate real-world scenarios.
Creating a Shopify Partner Account
To begin, you'll need to create a Shopify Partner account. This account will give you access to the Shopify Partner Dashboard, where you can manage your test stores and apps.
- Visit the Shopify Partners page and sign up for a free account.
- Fill in the required details and submit the form to create your account.
Setting Up a Shopify Development Store
Once your Partner account is ready, you can create a development store. This store acts as a sandbox environment where you can test your API integrations.
- Log in to your Shopify Partner Dashboard.
- Navigate to the "Stores" section and click on "Add store."
- Select "Development store" and fill in the necessary details, such as store name and login credentials.
- Click "Save" to create your development store.
Creating a Shopify App for OAuth Authentication
Shopify uses OAuth for authentication, which requires you to create an app to obtain the necessary credentials.
- In your Shopify Partner Dashboard, go to the "Apps" section and click "Create app."
- Enter the app name and select the development store you created earlier.
- Under "App credentials," note down the API key and API secret key. These will be used for authenticating API requests.
- Configure the app's "Redirect URLs" to handle OAuth callbacks.
- Set the required API scopes to access product information, such as
read_products. - Save your app settings.
With your Shopify development store and app set up, you're now ready to start making API calls to retrieve product data using PHP.
sbb-itb-96038d7
Making Shopify API Calls to Retrieve Product Data Using PHP
To interact with the Shopify API and retrieve product data, you'll need to use PHP to make HTTP requests. This section will guide you through the necessary steps, including setting up your PHP environment, writing the code to make API calls, and handling responses.
Setting Up Your PHP Environment for Shopify API Integration
Before making API calls, ensure you have the following prerequisites installed on your machine:
- PHP 7.4 or higher
- Composer for managing dependencies
You'll also need to install the Guzzle HTTP client, which simplifies making HTTP requests in PHP. Run the following command to install Guzzle:
composer require guzzlehttp/guzzleWriting PHP Code to Retrieve Products from Shopify
With your environment set up, you can now write the PHP code to interact with the Shopify API. Create a file named get_shopify_products.php and add the following code:
require 'vendor/autoload.php';
use GuzzleHttp\Client;
$client = new Client();
$storeName = 'your-development-store';
$accessToken = 'your_access_token';
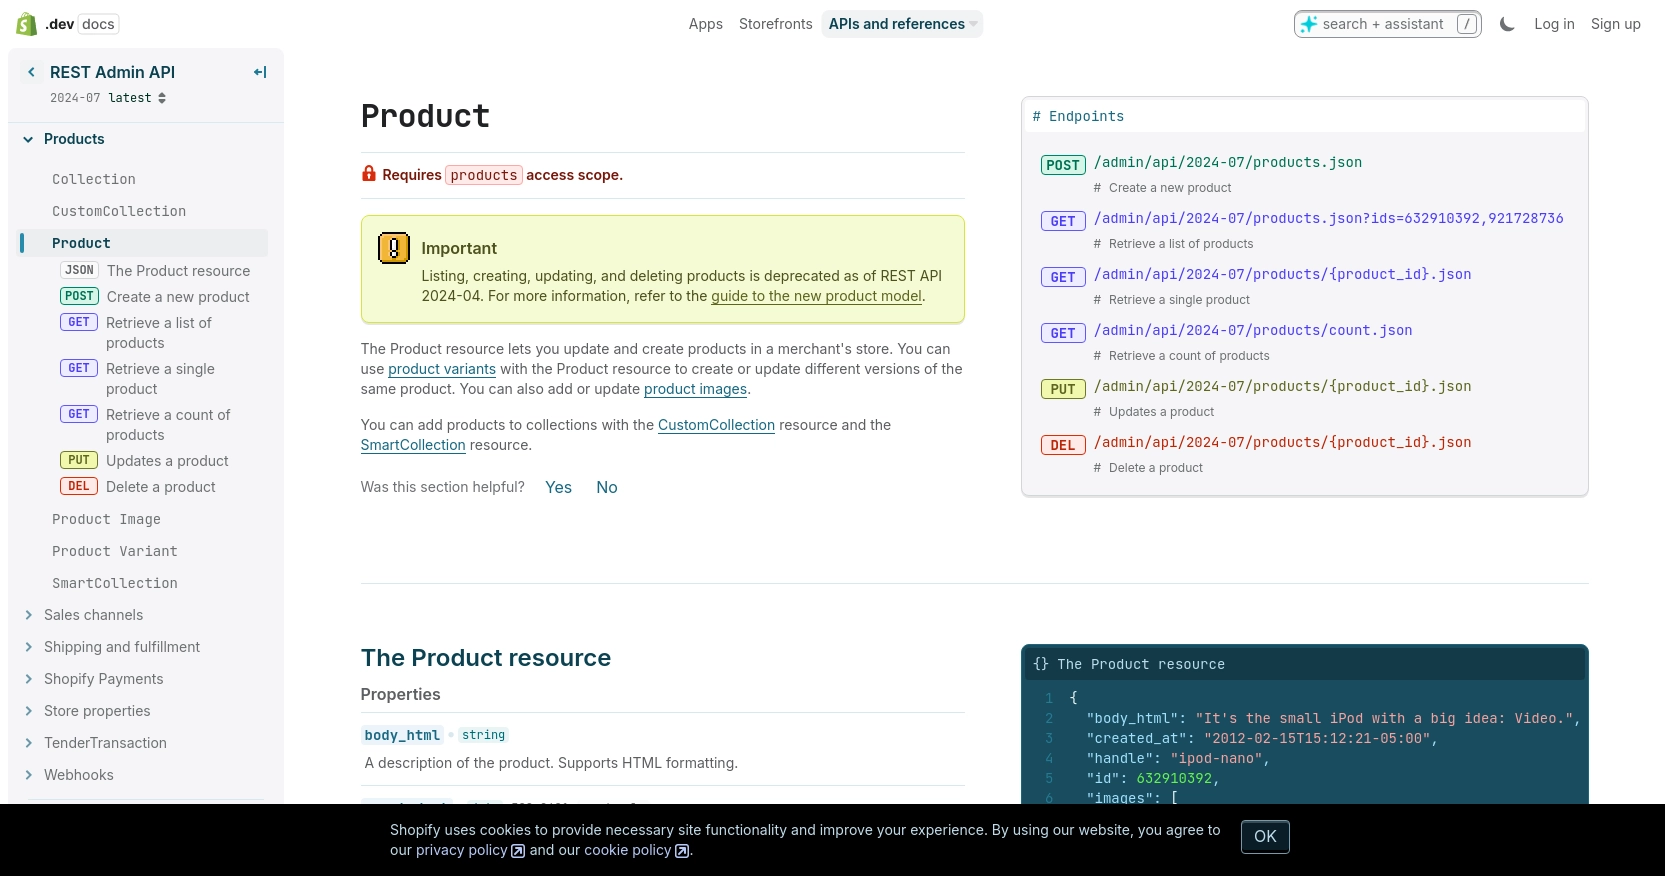
$response = $client->request('GET', "https://{$storeName}.myshopify.com/admin/api/2024-07/products.json", [
'headers' => [
'X-Shopify-Access-Token' => $accessToken,
'Content-Type' => 'application/json'
]
]);
if ($response->getStatusCode() === 200) {
$products = json_decode($response->getBody(), true);
foreach ($products['products'] as $product) {
echo "Product ID: " . $product['id'] . "\n";
echo "Title: " . $product['title'] . "\n";
echo "Vendor: " . $product['vendor'] . "\n\n";
}
} else {
echo "Failed to retrieve products. Status code: " . $response->getStatusCode();
}
Replace your-development-store and your_access_token with your actual store name and access token.
Understanding the Shopify API Response
When you run the script, it sends a GET request to the Shopify API endpoint to retrieve a list of products. If successful, the response will include product details such as ID, title, and vendor. You can verify the output by checking the products listed in your Shopify development store.
Handling Shopify API Errors and Rate Limits
It's crucial to handle potential errors and adhere to Shopify's rate limits. If the API returns a 429 status code, it means you've exceeded the rate limit of 40 requests per minute. In such cases, you should implement a retry mechanism with a delay.
Additionally, handle other error codes like 401 (Unauthorized) and 403 (Forbidden) by checking your authentication credentials and access scopes. For more details on error codes, refer to the Shopify API documentation.
Conclusion and Best Practices for Shopify API Integration Using PHP
Integrating with the Shopify API using PHP provides a powerful way to manage and automate your e-commerce operations. By retrieving product data, you can synchronize inventory, enhance product displays, and streamline various business processes. However, it's essential to follow best practices to ensure a secure and efficient integration.
Best Practices for Secure and Efficient Shopify API Usage
- Secure Storage of Credentials: Always store your API credentials securely. Use environment variables or secure vaults to keep your API keys and tokens safe from unauthorized access.
- Handle Rate Limits Gracefully: Shopify imposes a rate limit of 40 requests per minute. Implement retry mechanisms with exponential backoff to handle 429 status codes effectively. This ensures your application remains responsive even when limits are reached.
- Optimize Data Handling: When retrieving large datasets, consider using pagination to manage data efficiently. This reduces memory usage and improves performance.
- Monitor and Log API Calls: Keep track of your API usage by logging requests and responses. This helps in debugging issues and optimizing API interactions.
- Regularly Update API Versions: Shopify's API is versioned, with updates released quarterly. Ensure your application uses the latest supported version to take advantage of new features and improvements.
Enhancing Your Integration with Endgrate
While integrating with Shopify's API directly is powerful, managing multiple integrations can become complex. Endgrate simplifies this process by providing a unified API endpoint that connects to various platforms, including Shopify. By using Endgrate, you can:
- Save time and resources by outsourcing integrations, allowing you to focus on your core product development.
- Build once for each use case instead of multiple times for different integrations, reducing redundancy and maintenance efforts.
- Offer an intuitive integration experience for your customers, enhancing user satisfaction and engagement.
Explore how Endgrate can streamline your integration needs by visiting Endgrate's website and discover the benefits of a unified integration approach.
Read More

Ready to get started?
