Using the Snowflake API to Create Or Update Records in Javascript

Introduction to Snowflake API Integration
Snowflake is a cloud-based data warehousing platform renowned for its scalability, flexibility, and performance. It enables businesses to store, manage, and analyze vast amounts of data efficiently. Snowflake's unique architecture allows for seamless data sharing and collaboration, making it a popular choice for organizations looking to leverage data-driven insights.
Developers may want to integrate with Snowflake's API to automate data operations, such as creating or updating records in their data warehouse. For example, a developer might use the Snowflake API to update customer records in real-time as new data becomes available from various sources, ensuring that the data warehouse always reflects the most current information.
Setting Up Your Snowflake Test Account for API Integration
Before diving into Snowflake API integration, it's essential to set up a test account. Snowflake offers a free trial that allows developers to explore its features and test API interactions without any initial cost. This setup will enable you to authenticate and make API calls effectively.
Creating a Snowflake Free Trial Account
To begin, visit the Snowflake signup page and register for a free trial account. Follow the on-screen instructions to complete the registration process. Once your account is created, you'll receive an email with login details and further instructions.
Configuring OAuth for Snowflake API Authentication
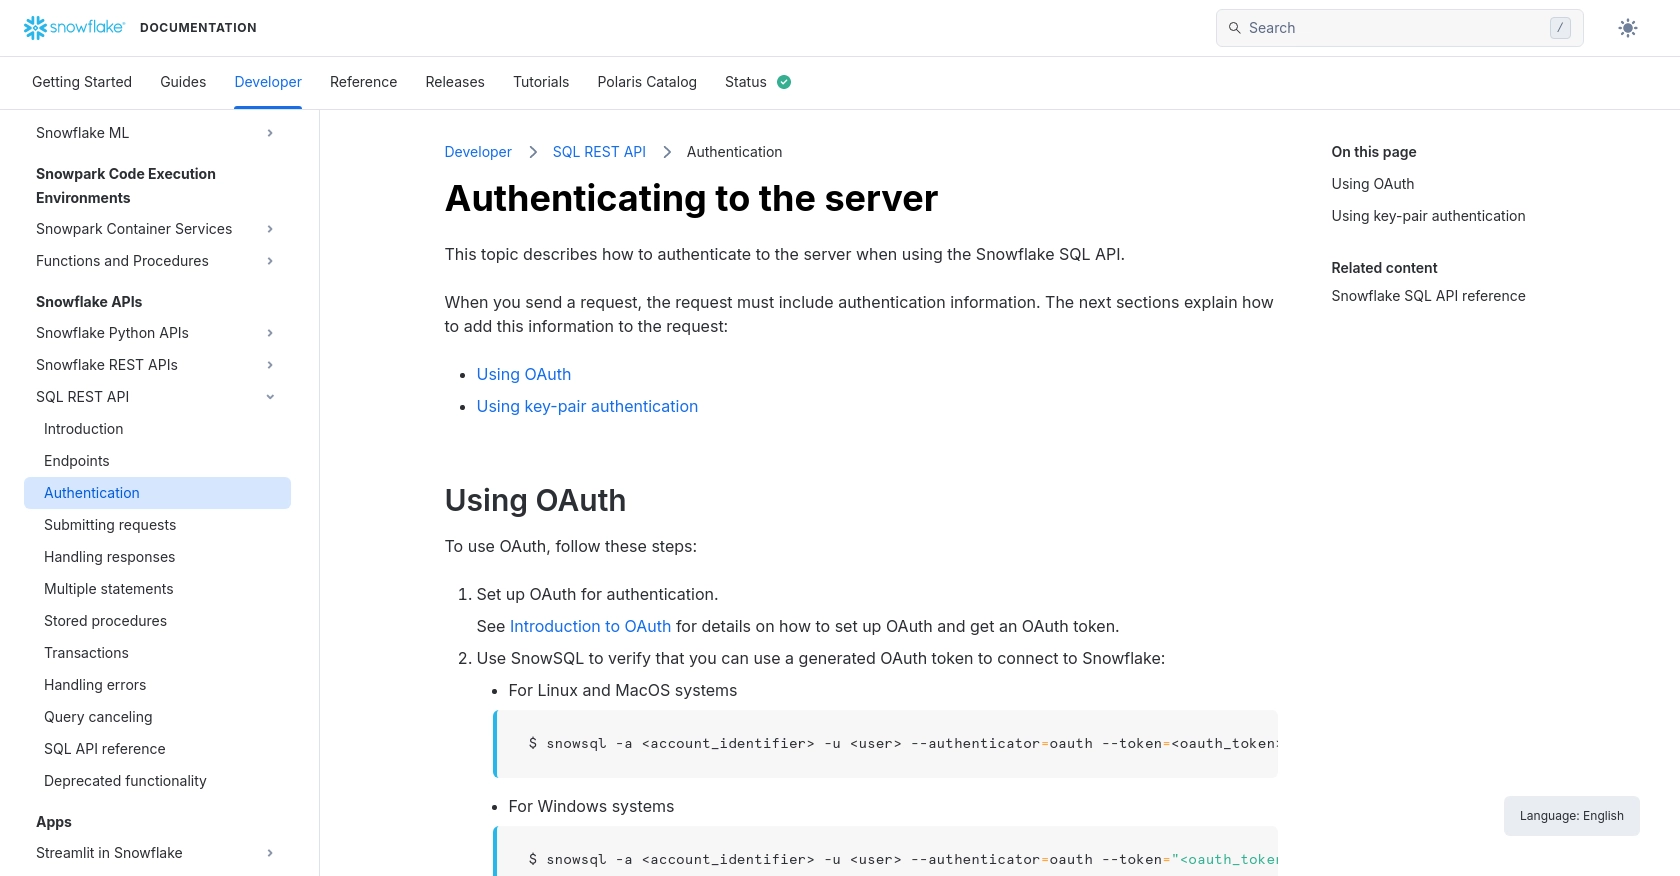
Snowflake uses OAuth for secure API authentication. Follow these steps to set up OAuth and obtain the necessary credentials:
- Log in to your Snowflake account and navigate to the OAuth settings in the user interface.
- Create a new OAuth client by providing the required details, such as client name and redirect URI.
- Once the client is created, note down the Client ID and Client Secret. These will be used to generate the OAuth token.
- Use a tool like cURL or Postman to request an OAuth token. The request should include the client ID, client secret, and other necessary parameters.
- Upon successful authentication, you'll receive an OAuth token. This token will be used in the Authorization header for API requests.
For detailed instructions on setting up OAuth, refer to the Snowflake Documentation.
Generating and Storing API Credentials Securely
It's crucial to store your API credentials securely to prevent unauthorized access. Consider the following best practices:
- Use environment variables to store sensitive information like client ID, client secret, and OAuth tokens.
- Implement access controls to restrict who can view or modify these credentials.
- Regularly rotate your OAuth tokens and client secrets to enhance security.
By following these steps, you'll be well-prepared to authenticate and interact with the Snowflake API using JavaScript.

sbb-itb-96038d7
Making API Calls to Snowflake Using JavaScript
To interact with the Snowflake API using JavaScript, you'll need to set up your environment and write code that can send requests to the Snowflake endpoints. This section will guide you through the necessary steps, including setting up your JavaScript environment, writing the code to create or update records, and handling responses and errors.
Setting Up Your JavaScript Environment for Snowflake API Integration
Before making API calls, ensure you have Node.js installed on your machine. Node.js provides the runtime environment for executing JavaScript code outside a web browser. You can download and install it from the official Node.js website.
Once Node.js is installed, you can use npm (Node Package Manager) to install the required dependencies. For this tutorial, you'll need the axios library to handle HTTP requests. Run the following command in your terminal:
npm install axios
Writing JavaScript Code to Create or Update Records in Snowflake
With your environment set up, you can now write the JavaScript code to interact with the Snowflake API. Below is an example of how to create or update records using the axios library:
const axios = require('axios');

// Set the API endpoint and headers
const endpoint = 'https://.snowflakecomputing.com/api/v2/statements/';
const headers = {
  'Authorization': 'Bearer Your_OAuth_Token',
  'Content-Type': 'application/json'
};

// Define the SQL statement to create or update records
const sqlStatement = {
  statement: 'INSERT INTO your_table (column1, column2) VALUES (value1, value2)'
};

// Make a POST request to the Snowflake API
axios.post(endpoint, sqlStatement, { headers })
  .then(response => {
    console.log('Record created/updated successfully:', response.data);
  })
  .catch(error => {
    console.error('Error creating/updating record:', error.response ? error.response.data : error.message);
  });
Replace Your_OAuth_Token with the OAuth token you obtained during authentication, and customize the SQL statement to match your specific use case.
Verifying API Request Success and Handling Errors
After executing the API call, you should verify that the request was successful. You can do this by checking the response data returned by the Snowflake API. If the request is successful, the response will contain details about the executed statement.
In case of errors, the Snowflake API will return specific HTTP response codes. According to the Snowflake Documentation, common error codes include:
- 408: Request timeout. This occurs if the statement execution exceeds the specified timeout period.
- 422: Unprocessable entity. This indicates an error occurred during statement execution.
Ensure your code handles these errors gracefully by logging them and implementing retry logic if necessary.
Best Practices for Snowflake API Integration
When integrating with the Snowflake API, it's essential to follow best practices to ensure security, efficiency, and maintainability. Here are some key recommendations:
- Secure Credential Management: Always store your OAuth tokens and API credentials securely using environment variables or secret management tools. Avoid hardcoding sensitive information in your codebase.
- Handle Rate Limiting: Be aware of any rate limits imposed by the Snowflake API. Implement logic to handle rate limit responses gracefully, such as exponential backoff or retry mechanisms.
- Data Standardization: Ensure that the data being sent to Snowflake is standardized and validated to prevent errors during API calls. This includes checking data types and formats.
- Error Handling: Implement robust error handling to manage different HTTP response codes. Log errors for monitoring and debugging purposes, and consider implementing retry logic for transient errors.
Streamlining Your Integration Process with Endgrate
Integrating with multiple platforms can be complex and time-consuming. Endgrate simplifies this process by providing a unified API endpoint that connects to various platforms, including Snowflake. By using Endgrate, you can:
- Save Time and Resources: Focus on your core product development while Endgrate handles the integration complexities.
- Build Once, Deploy Everywhere: Create a single integration that works across multiple platforms, reducing the need for redundant code.
- Enhance Customer Experience: Provide your users with a seamless and intuitive integration experience.
Explore how Endgrate can transform your integration strategy by visiting Endgrate and discover the benefits of a streamlined, efficient integration process.
Read More
Ready to get started?
