Using the Snowflake API to Create Or Update Records in Python

Introduction to Snowflake API Integration
Snowflake is a powerful cloud-based data warehousing platform that enables businesses to store, process, and analyze large volumes of data with ease. Its unique architecture and scalability make it a preferred choice for organizations looking to leverage data-driven insights.
Integrating with Snowflake's API allows developers to automate data management tasks, such as creating or updating records, directly from their applications. For example, a developer might use the Snowflake API to update customer records in real-time as new data is collected from various sources, ensuring that the data warehouse always reflects the most current information.
Setting Up Your Snowflake Test or Sandbox Account
Before you can start integrating with the Snowflake API, you'll need to set up a test or sandbox account. This will allow you to safely experiment with API calls without affecting your production data.
Creating a Snowflake Account
If you don't already have a Snowflake account, you can sign up for a free trial on the Snowflake website. This trial provides access to a sandbox environment where you can test API interactions.
- Visit the Snowflake website and click on the "Start for Free" button.
- Follow the on-screen instructions to create your account.
- Once your account is set up, log in to access your Snowflake dashboard.
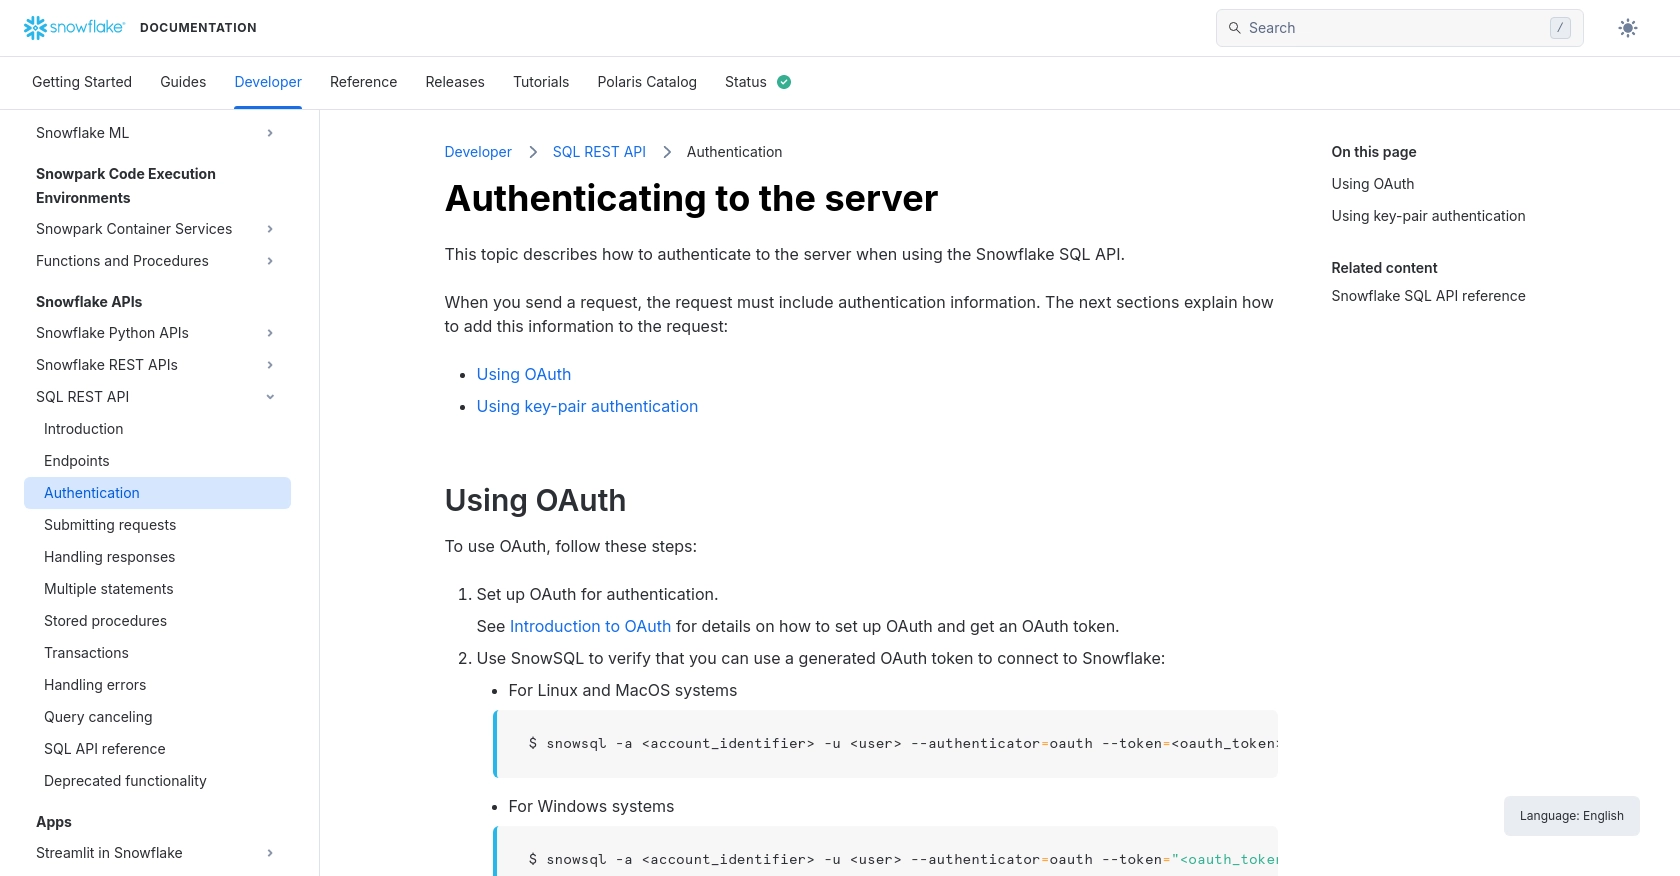
Setting Up OAuth for Snowflake API Authentication
Snowflake uses OAuth for API authentication, which requires you to create an app and generate an OAuth token. Follow these steps to set up OAuth:
- In your Snowflake dashboard, navigate to the "Integrations" section.
- Create a new OAuth app by providing the necessary details such as app name and redirect URL.
- Once the app is created, note down the client ID and client secret.
- Generate an OAuth token by following the instructions in the Snowflake Documentation.
- Use SnowSQL to verify your OAuth token:
$ snowsql -a <account_identifier> -u <user> --authenticator=oauth --token=<oauth_token>
Obtaining the API Endpoint
To interact with the Snowflake API, you'll need the correct API endpoint. The endpoint is structured as follows:
https://<account_identifier>.snowflakecomputing.com/api/v2/statements/Replace <account_identifier> with your specific account identifier, which you can find in your Snowflake dashboard.
sbb-itb-96038d7
Making API Calls to Snowflake Using Python
To interact with the Snowflake API using Python, you'll need to ensure you have the correct environment set up. This section will guide you through the process of making API calls to create or update records in Snowflake.
Setting Up Your Python Environment for Snowflake API Integration
Before making API calls, ensure you have Python installed on your machine. This tutorial uses Python 3.11.1. You'll also need to install the necessary dependencies.
- Install Python 3.11.1 from the official Python website.
- Use pip to install the required libraries:
pip install requests pyjwt cryptographyGenerating a JWT for Snowflake API Authentication
Snowflake requires a JSON Web Token (JWT) for authentication. Here's how to generate one using Python:
from datetime import timedelta, timezone, datetime
import jwt
import base64
import hashlib
from cryptography.hazmat.primitives.serialization import load_pem_private_key, Encoding, PublicFormat
from cryptography.hazmat.backends import default_backend

# Load your private key
with open('path/to/your/rsa_key.p8', 'rb') as pem_in:
    pemlines = pem_in.read()
    private_key = load_pem_private_key(pemlines, None, default_backend())

# Generate the public key fingerprint
public_key_raw = private_key.public_key().public_bytes(Encoding.DER, PublicFormat.SubjectPublicKeyInfo)
sha256hash = hashlib.sha256()
sha256hash.update(public_key_raw)
public_key_fp = 'SHA256:' + base64.b64encode(sha256hash.digest()).decode('utf-8')

# Create the JWT payload
account = "".upper()
user = "".upper()
qualified_username = f"{account}.{user}"
now = datetime.now(timezone.utc)
lifetime = timedelta(minutes=59)
payload = {
    "iss": f"{qualified_username}.{public_key_fp}",
    "sub": qualified_username,
    "iat": now,
    "exp": now + lifetime
}

# Generate the JWT
token = jwt.encode(payload, key=private_key, algorithm="RS256")
if isinstance(token, bytes):
    token = token.decode('utf-8')
Executing Snowflake API Calls to Create or Update Records
With the JWT generated, you can now make API calls to Snowflake. Here's an example of how to create or update records:
import requests

# Define the API endpoint and headers
endpoint = "https://.snowflakecomputing.com/api/v2/statements/"
headers = {
    "Authorization": f"Bearer {token}",
    "Content-Type": "application/json"
}

# Define the SQL statement to execute
sql_statement = {
    "statement": "INSERT INTO your_table (column1, column2) VALUES ('value1', 'value2')"
}

# Make the API call
response = requests.post(endpoint, json=sql_statement, headers=headers)

# Check the response
if response.status_code == 200:
    print("Record created or updated successfully.")
else:
    print(f"Failed to execute statement. Status code: {response.status_code}")
    print(response.json())
Replace <account_identifier> with your Snowflake account identifier and update the SQL statement as needed for your use case.
Handling Errors in Snowflake API Calls
When making API calls, it's crucial to handle potential errors. Snowflake may return specific HTTP response codes if an error occurs:
- 408: Request timeout. This occurs if the statement execution exceeds the specified timeout period.
- 422: Unprocessable entity. This indicates an error occurred during statement execution.
For more details on handling errors, refer to the Snowflake Documentation.
Best Practices for Snowflake API Integration
When integrating with the Snowflake API, it's essential to follow best practices to ensure security, efficiency, and reliability. Here are some key recommendations:
- Securely Store Credentials: Always store your OAuth tokens and private keys securely. Use environment variables or secure vaults to manage sensitive information.
- Handle Rate Limiting: Be mindful of Snowflake's rate limits to avoid throttling. Implement exponential backoff strategies to manage retries effectively.
- Standardize Data Fields: Ensure consistent data formats when creating or updating records to maintain data integrity across your applications.
Leveraging Endgrate for Streamlined Snowflake Integrations
Integrating with multiple platforms can be complex and time-consuming. Endgrate simplifies this process by providing a unified API endpoint that connects to various services, including Snowflake. This allows developers to focus on their core product while outsourcing integration complexities.
With Endgrate, you can build once for each use case and leverage an intuitive integration experience for your customers. Explore how Endgrate can enhance your integration strategy by visiting Endgrate.
Conclusion
Integrating with the Snowflake API using Python offers a powerful way to automate data management tasks and keep your data warehouse up-to-date. By following the steps outlined in this guide, you can efficiently create or update records in Snowflake. Remember to adhere to best practices for security and performance, and consider leveraging tools like Endgrate to streamline your integration efforts.
Read More

Ready to get started?
