Using the Wrike API to Get Tasks (with Python examples)
Introduction to Wrike API
Wrike is a versatile project management and collaboration platform that empowers teams to streamline workflows, manage tasks, and enhance productivity. With its robust set of features, Wrike is a popular choice for businesses aiming to optimize project delivery and team collaboration.
Integrating with the Wrike API allows developers to access and manipulate task data programmatically, enabling automation and customization of workflows. For example, a developer might use the Wrike API to retrieve tasks and analyze project progress, ensuring timely completion and resource allocation.
Setting Up Your Wrike Sandbox Account for API Integration
Before diving into the Wrike API, it's essential to set up a sandbox account. This allows you to test API interactions without affecting live data. Wrike offers a free trial that developers can use to explore its features and capabilities.
Creating a Wrike Free Trial Account
To get started, visit the Wrike Free Trial page and sign up for an account. Follow the on-screen instructions to complete the registration process. Once your account is set up, you'll have access to a sandbox environment where you can test API calls.
Setting Up OAuth 2.0 for Wrike API Authentication
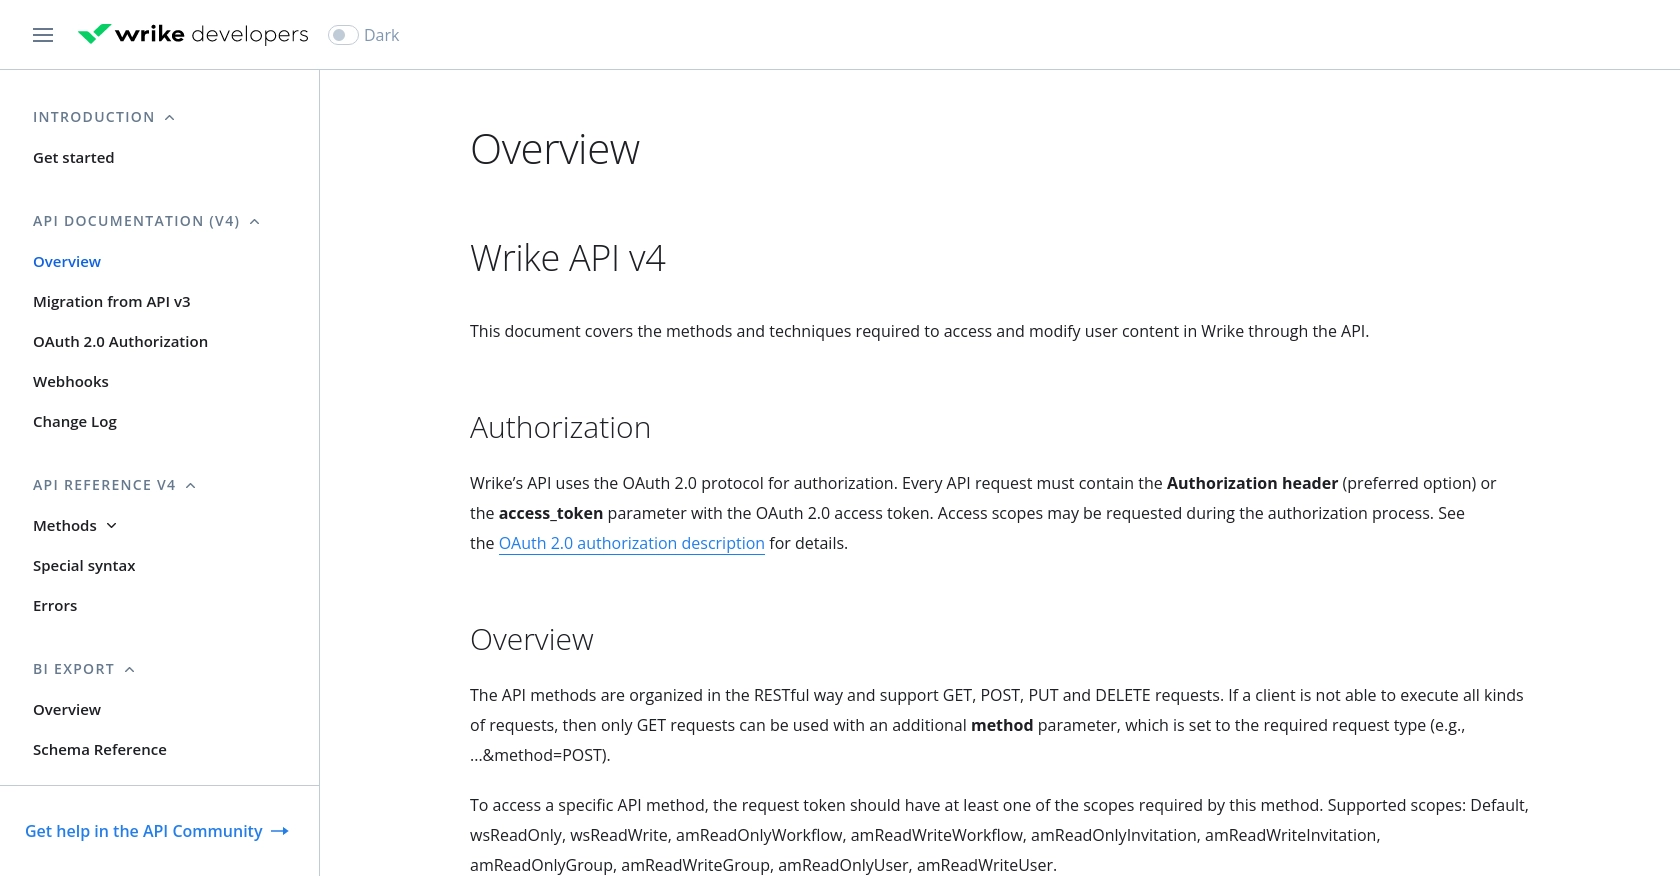
The Wrike API uses OAuth 2.0 for authentication, which requires you to create an app within your Wrike account. This app will provide the necessary credentials, such as the client ID and client secret, to authenticate API requests.
- Log in to your Wrike account and navigate to the Apps & Integrations section.
- Click on Create New App and fill in the required details, such as the app name and description.
- Under Redirect URIs, specify the URI where users will be redirected after authentication.
- Once the app is created, note down the Client ID and Client Secret. These will be used in your API requests.
For more detailed information on OAuth 2.0 setup, refer to the Wrike OAuth 2.0 documentation.
Generating Access Tokens for API Requests
With your app set up, you can now generate access tokens to authenticate your API requests. Follow these steps:
- Direct users to the Wrike authorization URL, including your client ID and redirect URI.
- Upon user consent, Wrike will redirect to your specified URI with an authorization code.
- Exchange this authorization code for an access token by making a POST request to Wrike's token endpoint, including your client ID, client secret, and authorization code.
For a comprehensive guide on generating access tokens, visit the Wrike OAuth 2.0 documentation.
sbb-itb-96038d7
Making API Calls to Retrieve Tasks from Wrike Using Python
To interact with the Wrike API and retrieve tasks, you'll need to use Python, a versatile programming language known for its simplicity and readability. This section will guide you through the process of setting up your environment, making API calls, and handling responses effectively.
Setting Up Your Python Environment for Wrike API Integration
Before making API calls, ensure you have the following prerequisites installed on your machine:
- Python 3.11.1 or later
- The Python package installer, pip
Once these are installed, open your terminal or command prompt and install the requests library, which will be used to make HTTP requests:
pip install requestsFetching Tasks from Wrike API Using Python
Now that your environment is ready, you can proceed to write the Python script to fetch tasks from the Wrike API. Create a file named get_wrike_tasks.py and add the following code:
import requests
# Set the API endpoint and headers
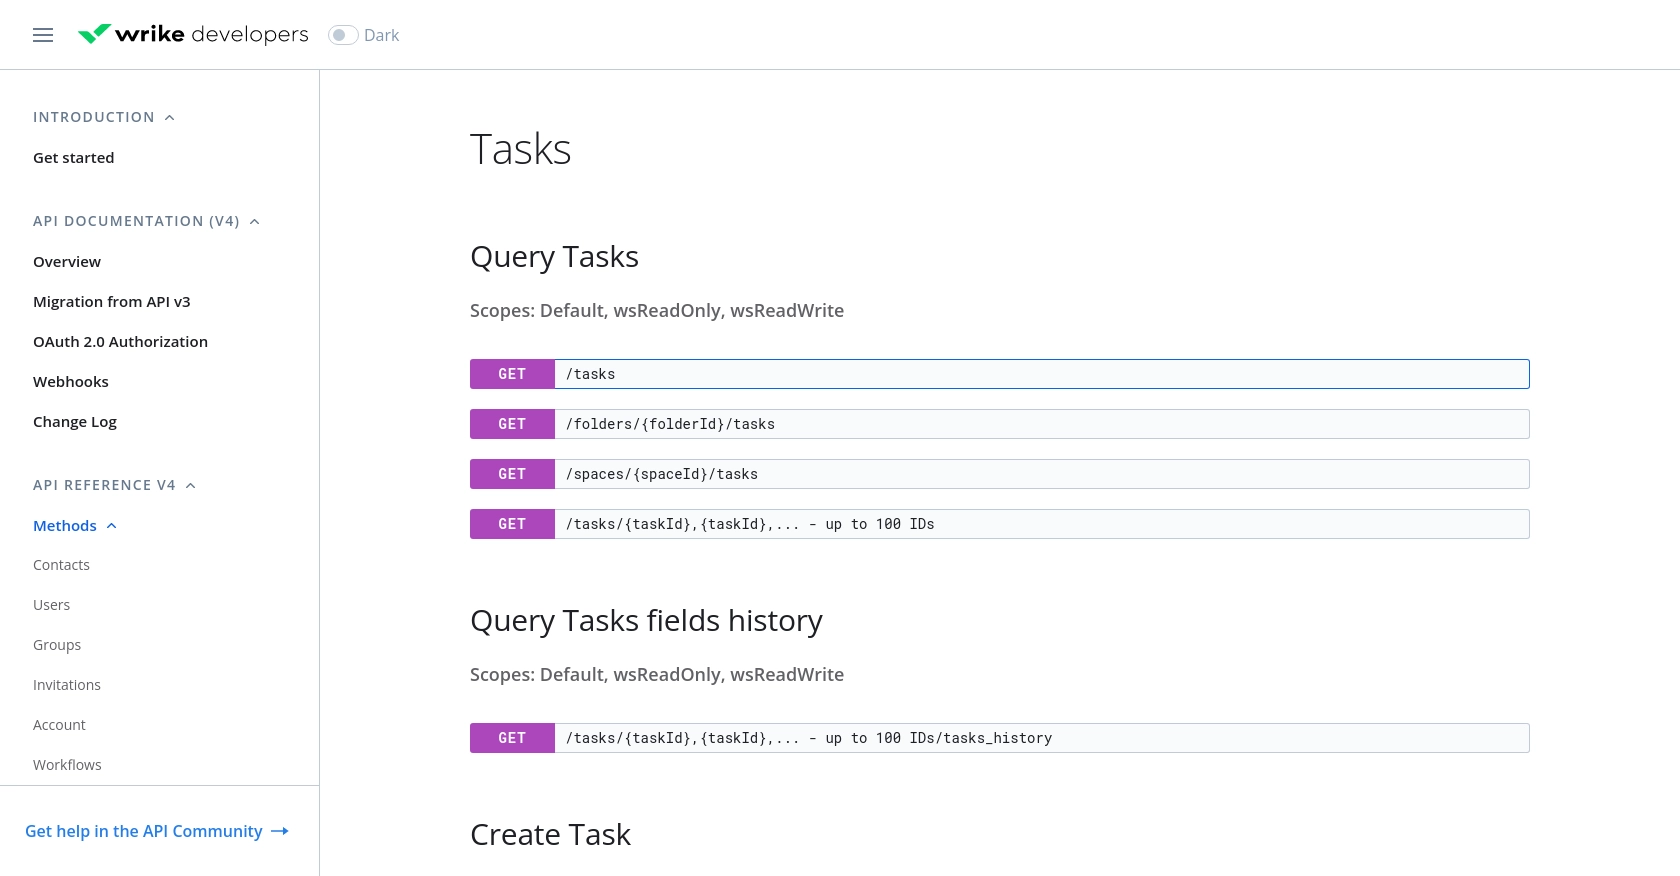
endpoint = "https://www.wrike.com/api/v4/tasks"
headers = {"Authorization": "Bearer Your_Access_Token"}
# Make a GET request to the API
response = requests.get(endpoint, headers=headers)
# Check if the request was successful
if response.status_code == 200:
# Parse the JSON data from the response
data = response.json()
# Loop through the tasks and print their information
for task in data['data']:
print(f"Task ID: {task['id']}, Title: {task['title']}")
else:
print(f"Failed to fetch tasks. Status code: {response.status_code}")
Replace Your_Access_Token with the access token you obtained during the OAuth 2.0 setup.
Understanding the Wrike API Response and Handling Errors
When you run the script, it sends a GET request to the Wrike API to fetch tasks. If successful, it prints the task IDs and titles. If the request fails, it outputs an error message with the status code.
For detailed error handling, refer to the Wrike API error documentation. Common error codes include:
- 400 Bad Request: The request was invalid or cannot be served.
- 401 Unauthorized: Authentication failed or user does not have permissions.
- 403 Forbidden: The request is understood, but it has been refused.
- 404 Not Found: The requested resource could not be found.
Verifying API Call Success in Wrike Sandbox
To ensure the API call was successful, log in to your Wrike sandbox account and verify that the tasks retrieved match those in your account. This confirms that the integration is working as expected.
For more information on making API calls and handling responses, visit the Wrike API documentation.
Best Practices for Wrike API Integration
When integrating with the Wrike API, it's crucial to follow best practices to ensure security, efficiency, and maintainability. Here are some key recommendations:
- Securely Store Credentials: Always store your client ID, client secret, and access tokens securely. Avoid hardcoding them in your source code. Use environment variables or secure vaults to manage sensitive information.
- Handle Rate Limiting: The Wrike API may impose rate limits to prevent abuse. Implement logic to handle HTTP 429 Too Many Requests responses by retrying after a specified delay. For more details, refer to the Wrike API documentation.
- Optimize API Calls: Use filtering and pagination to minimize the amount of data retrieved in each API call. This reduces load on both your application and the Wrike servers.
- Standardize Data Fields: When processing task data, ensure that fields are standardized and consistent with your application's data model. This simplifies data manipulation and integration with other systems.
Streamlining Integrations with Endgrate
Building and maintaining multiple integrations can be time-consuming and complex. Endgrate offers a solution by providing a unified API endpoint that connects to various platforms, including Wrike. This allows you to:
- Save Time and Resources: Focus on your core product by outsourcing integration development to Endgrate.
- Build Once, Use Everywhere: Develop a single integration for each use case and apply it across multiple platforms.
- Enhance User Experience: Provide your customers with a seamless and intuitive integration experience.
Explore how Endgrate can simplify your integration needs by visiting Endgrate's website.
Read More

Ready to get started?
