Using the Zapier API to Push Data in Python
Introduction to Zapier Integration for Data Automation
Zapier is a powerful automation tool that connects various apps and services, enabling seamless data transfer and workflow automation without the need for complex coding. It supports a wide range of applications, making it a versatile choice for businesses looking to streamline their operations.
Developers may want to integrate with Zapier to automate data workflows between different platforms. For example, using the Zapier API, a developer can push data from a custom application into a CRM system, ensuring that customer information is always up-to-date and reducing manual data entry.
This article will guide you through using Python to interact with the Zapier API, allowing you to efficiently push data and automate processes across your applications.
Setting Up Your Zapier Test or Sandbox Account for API Integration
Before you can start pushing data using the Zapier API, you'll need to set up a test or sandbox account. This will allow you to experiment with the API without affecting your live data. Follow these steps to get started:
Create a Zapier Account
If you don't already have a Zapier account, you can sign up for a free account on the Zapier website. This account will give you access to the Zapier Platform where you can build and test your integrations.
- Visit the Zapier sign-up page.
- Fill in the required information and follow the prompts to create your account.
- Once your account is created, log in to access the Zapier dashboard.
Set Up a Zapier Sandbox Environment
Zapier provides a sandbox environment for developers to test their integrations. This environment mimics the live environment but allows you to test without impacting real data.
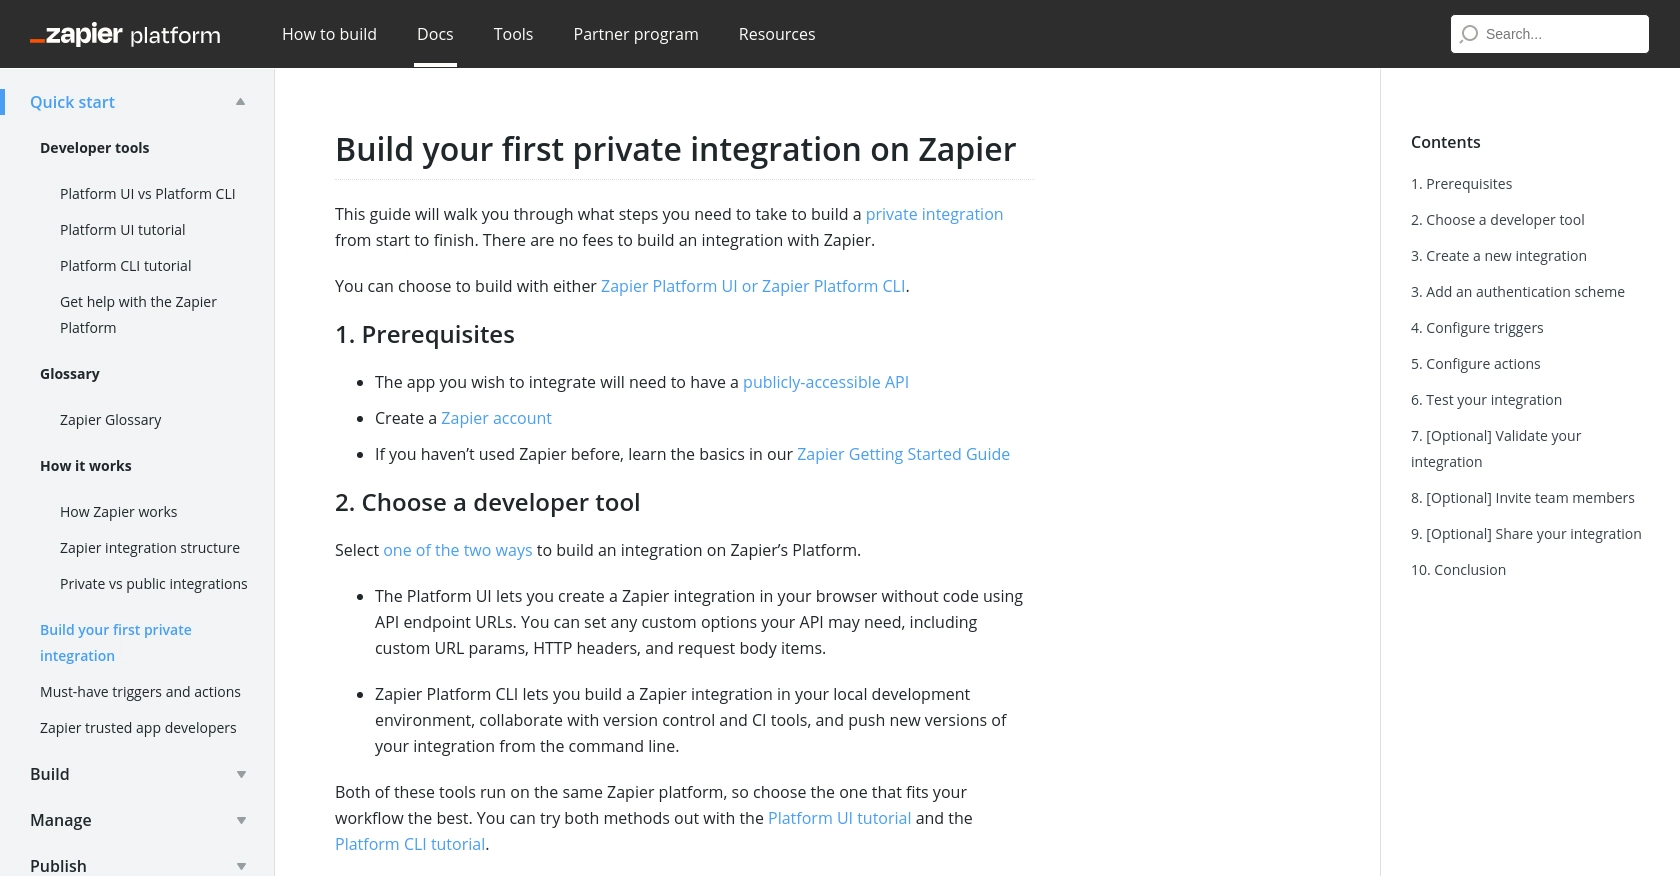
- Navigate to the Zapier Platform.
- Click on "Create a new integration" to start setting up your sandbox.
- Select "Private: I’m building an integration for personal use or to explore the Zapier platform" as your intended audience.
Configure Zapier Authentication
Authentication is crucial for interacting with the Zapier API. Zapier supports several authentication methods, including OAuth v2, API Key, and Session Authentication. For this tutorial, we'll focus on setting up OAuth v2 authentication.
- In the Zapier Platform, go to the "Authentication" section.
- Select "Add authentication with OAuth v2" from the options.
- Follow the prompts to configure your OAuth settings, including client ID and client secret.
- Ensure that your redirect URI is correctly set to handle authentication callbacks.
For more detailed instructions, refer to the Zapier authentication documentation.
Test Your Zapier Integration
Once your sandbox account and authentication are set up, it's time to test your integration.
- Create a test Zap in the Zapier dashboard using your integration.
- Use the test API call feature to ensure your authentication and data flow are working as expected.
- Check the response data to verify successful authentication and data handling.
Testing your integration thoroughly ensures that your API calls will function correctly when you move to a live environment.
sbb-itb-96038d7
Making API Calls with Python to Push Data to Zapier
To effectively push data to Zapier using Python, you'll need to set up your environment and write code that interacts with the Zapier API. This section will guide you through the necessary steps, including setting up Python, installing dependencies, and writing the code to make API calls.
Setting Up Your Python Environment for Zapier API Integration
Before you start coding, ensure you have the correct version of Python and necessary libraries installed. For this tutorial, we'll use Python 3.11.1 and the requests library to handle HTTP requests.
- Ensure Python 3.11.1 is installed on your machine. You can download it from the official Python website.
- Install the
requestslibrary using pip:
pip install requestsWriting Python Code to Push Data to Zapier
With your environment set up, you can now write the code to push data to Zapier. Below is an example of how to make a POST request to the Zapier API using Python.
import requests

# Define the Zapier webhook URL
zapier_webhook_url = "https://hooks.zapier.com/hooks/catch/123456/abcdef"

# Define the data payload to send
data_payload = {
    "name": "John Doe",
    "email": "johndoe@example.com",
    "message": "Hello, Zapier!"
}

# Make the POST request to Zapier
response = requests.post(zapier_webhook_url, json=data_payload)

# Check if the request was successful
if response.status_code == 200:
    print("Data pushed to Zapier successfully!")
else:
    print(f"Failed to push data. Status code: {response.status_code}")
Replace zapier_webhook_url with your actual Zapier webhook URL. The data_payload dictionary contains the data you want to send to Zapier.
Verifying Successful Data Push to Zapier
After running your script, verify that the data was successfully pushed to Zapier:
- Check the response status code. A status code of 200 indicates success.
- Log in to your Zapier account and navigate to the Zap that receives the data to confirm it was processed correctly.
Handling Errors and Troubleshooting Zapier API Calls
When making API calls, it's essential to handle potential errors. Here are some common HTTP error codes and their meanings:
- 400 Bad Request: The request was malformed. Check your data payload and URL.
- 401 Unauthorized: Authentication failed. Verify your credentials.
- 404 Not Found: The endpoint URL is incorrect. Double-check the URL.
- 500 Internal Server Error: An error occurred on the server. Try again later.
For more detailed error handling, refer to the Zapier authentication documentation.
Conclusion and Best Practices for Using Zapier API with Python
Integrating with the Zapier API using Python can significantly enhance your workflow automation by enabling seamless data transfer between various applications. By following the steps outlined in this guide, you can efficiently push data to Zapier and automate processes across your platforms.
Best Practices for Secure and Efficient Zapier API Integration
- Securely Store Credentials: Always store your API credentials securely, using environment variables or a secure vault, to prevent unauthorized access.
- Handle Rate Limiting: Be mindful of Zapier's rate limits to avoid throttling. Implement retry logic with exponential backoff to manage API call limits effectively.
- Standardize Data Formats: Ensure that data fields are standardized and consistent across different applications to facilitate smooth integration and data processing.
Leverage Endgrate for Streamlined Integration Management
While building integrations with Zapier can be straightforward, managing multiple integrations across various platforms can become complex. Endgrate offers a unified API solution that simplifies integration management, allowing you to focus on your core product development. By using Endgrate, you can:
- Save time and resources by outsourcing integration management.
- Build once for each use case, reducing redundancy across different integrations.
- Provide an intuitive integration experience for your customers.
Explore how Endgrate can enhance your integration strategy by visiting Endgrate.
Read More
- https://endgrate.com/provider/zapier
- https://platform.zapier.com/quickstart/build-private-integration
- https://platform.zapier.com/build/auth
- https://platform.zapier.com/manage/sharing
- https://platform.zapier.com/build/trigger
- https://platform.zapier.com/build/action
- https://platform.zapier.com/build/test-auth
- https://platform.zapier.com/publish/integration-checks-reference

Ready to get started?
