Using the Zendesk Sell API to Get Users (with Python examples)

Introduction to Zendesk Sell API
Zendesk Sell is a powerful sales CRM platform designed to enhance productivity and streamline sales processes for businesses. It offers a comprehensive suite of tools that help sales teams manage leads, contacts, and deals efficiently. With its user-friendly interface and robust features, Zendesk Sell is a popular choice for businesses looking to optimize their sales operations.
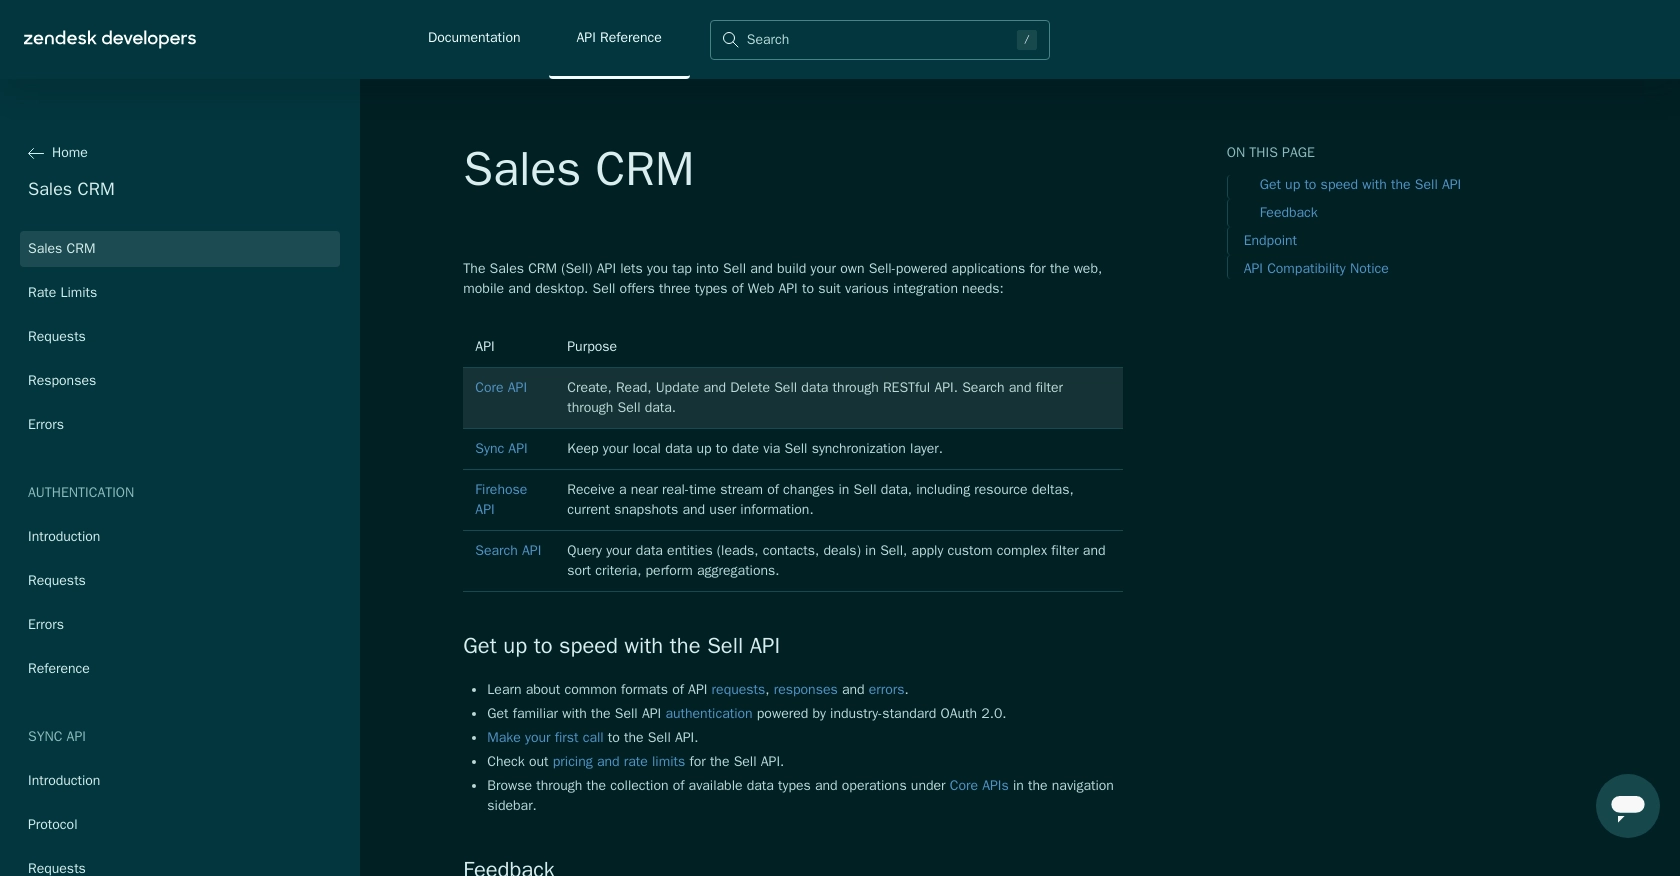
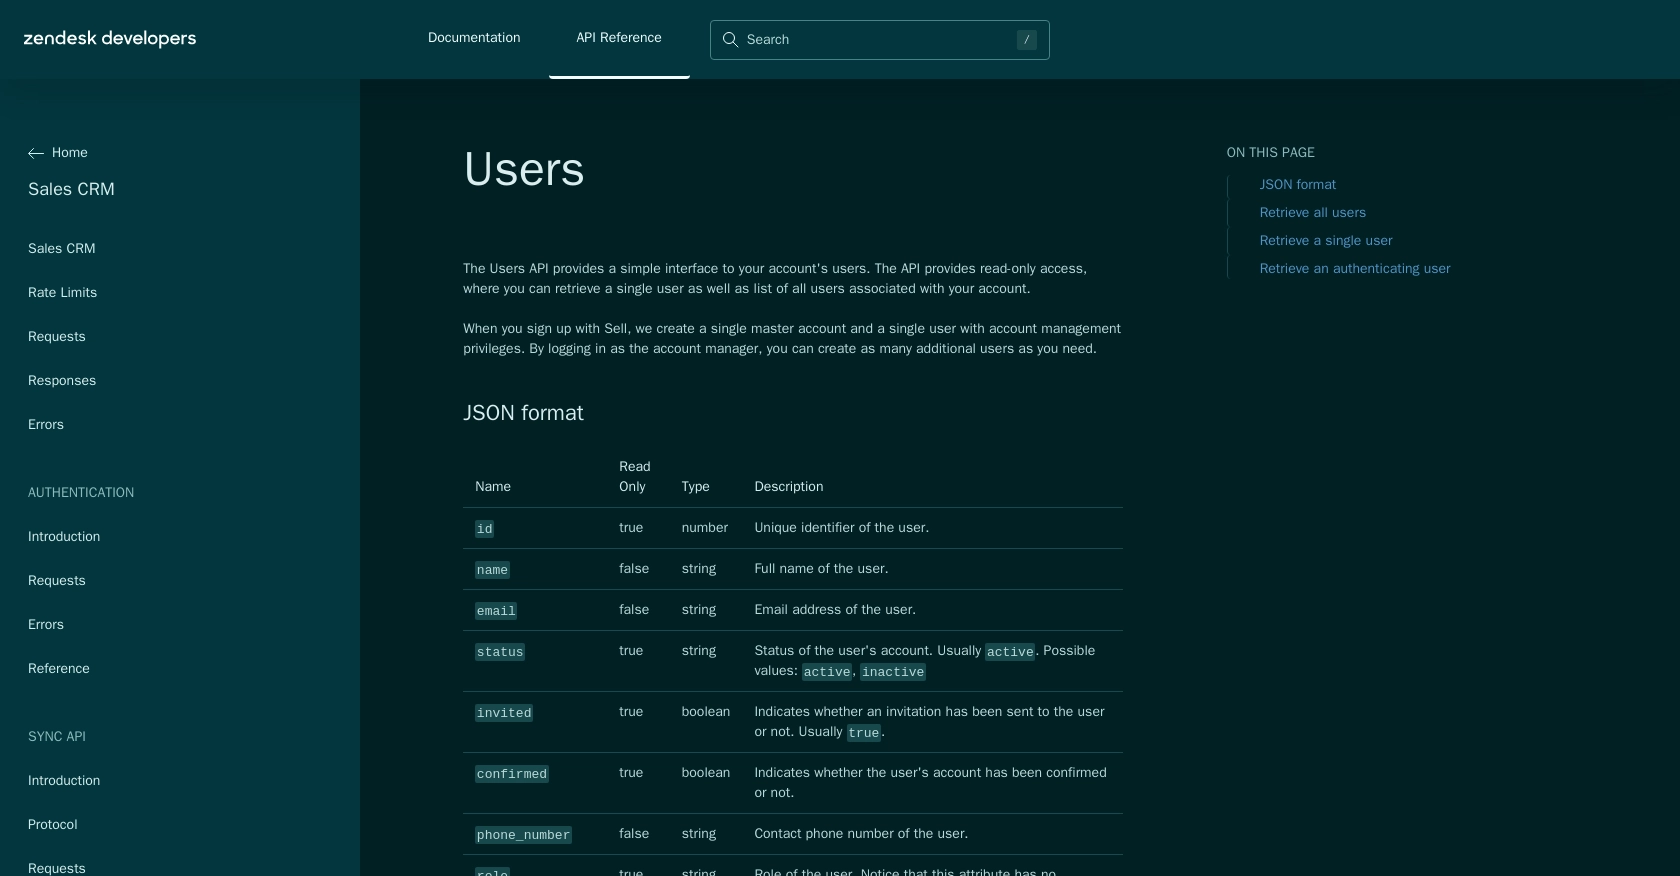
Integrating with the Zendesk Sell API allows developers to access and manage user data, enabling seamless integration with other systems and applications. For example, a developer might use the Zendesk Sell API to retrieve user information and synchronize it with a custom reporting tool, providing sales teams with real-time insights into their performance.
Setting Up Your Zendesk Sell Test Account
Before you can start interacting with the Zendesk Sell API, you'll need to set up a test or sandbox account. This will allow you to safely experiment with API calls without affecting live data.
Creating a Zendesk Sell Account
If you don't already have a Zendesk Sell account, you can sign up for a free trial on the Zendesk Sell website. Follow the instructions to create your account. Once your account is set up, you can log in to access the Zendesk Sell dashboard.
Setting Up OAuth Authentication for Zendesk Sell API
The Zendesk Sell API uses OAuth 2.0 for authentication, which provides a secure way to authorize API requests. Follow these steps to set up OAuth authentication:
- Register Your Application: Go to the Zendesk Sell dashboard and navigate to the Settings section. Under Integrations, select API & Apps and click on Create API Client.
- Fill in Application Details: Provide the necessary information such as the application name, description, and redirect URL. The redirect URL is where users will be redirected after they authorize your application.
- Get Client ID and Client Secret: Once your application is registered, you'll receive a Client ID and Client Secret. Make sure to store these securely as they are required for OAuth authentication.
Generating an Access Token
To interact with the Zendesk Sell API, you'll need an access token. Follow these steps to generate one:
- Authorization Request: Direct the user to the Zendesk Sell authorization endpoint with the necessary query parameters, including
client_id,response_type=code, andredirect_uri. - Exchange Authorization Code for Access Token: After the user authorizes your application, they will be redirected to your specified redirect URI with an authorization code. Use this code to request an access token from the token endpoint.
import requests

# Set the token endpoint and headers
token_url = "https://api.getbase.com/oauth2/token"
headers = {"Content-Type": "application/x-www-form-urlencoded"}

# Set the payload with client credentials and authorization code
payload = {
    "grant_type": "authorization_code",
    "client_id": "Your_Client_ID",
    "client_secret": "Your_Client_Secret",
    "redirect_uri": "Your_Redirect_URI",
    "code": "Authorization_Code"
}

# Request the access token
response = requests.post(token_url, headers=headers, data=payload)
access_token = response.json().get("access_token")
print("Access Token:", access_token)
Replace Your_Client_ID, Your_Client_Secret, Your_Redirect_URI, and Authorization_Code with your actual values.
With your access token in hand, you're now ready to make API calls to Zendesk Sell. In the next section, we'll explore how to retrieve user data using Python.

sbb-itb-96038d7
Making API Calls to Retrieve Users from Zendesk Sell Using Python
With your access token ready, you can now proceed to make API calls to Zendesk Sell to retrieve user data. This section will guide you through the process of setting up your Python environment, making the API call, and handling the response.
Setting Up Your Python Environment for Zendesk Sell API
To interact with the Zendesk Sell API using Python, ensure you have the following prerequisites:
- Python 3.11.1 or later
- The Python package installer
pip
Install the requests library, which is essential for making HTTP requests:
pip install requestsRetrieving Users from Zendesk Sell API
To retrieve users, you'll need to make a GET request to the Zendesk Sell API endpoint. Here's how you can do it using Python:
import requests

# Set the API endpoint and headers
url = "https://api.getbase.com/v2/users"
headers = {
    "Accept": "application/json",
    "Authorization": "Bearer Your_Access_Token"
}

# Make a GET request to the API
response = requests.get(url, headers=headers)

# Check if the request was successful
if response.status_code == 200:
    users = response.json().get("items", [])
    for user in users:
        print(f"User ID: {user['data']['id']}, Name: {user['data']['name']}")
else:
    print("Failed to retrieve users:", response.status_code, response.text)
Replace Your_Access_Token with the actual access token you obtained earlier.
Verifying API Call Success and Handling Errors
After running the script, you should see a list of users printed in the console. If the request fails, the script will output the error code and message. Common error codes include:
- 401 Unauthorized: The access token is missing or invalid.
- 429 Too Many Requests: The rate limit has been exceeded. Zendesk Sell allows up to 36,000 requests per hour.
For more detailed error handling, refer to the Zendesk Sell API error documentation.
Checking Results in Zendesk Sell Sandbox
To verify that the API call succeeded, you can log into your Zendesk Sell sandbox account and check the list of users. The data returned by the API should match the users displayed in your account.
By following these steps, you can efficiently retrieve user data from Zendesk Sell using Python, enabling seamless integration with your applications.

Conclusion and Best Practices for Using Zendesk Sell API with Python
Integrating with the Zendesk Sell API using Python offers a powerful way to manage user data and streamline sales processes. By following the steps outlined in this guide, developers can efficiently retrieve user information and integrate it with other systems, enhancing productivity and providing valuable insights.
Best Practices for Secure and Efficient Zendesk Sell API Integration
- Secure Storage of Credentials: Always store your Client ID, Client Secret, and access tokens securely. Consider using environment variables or secure vaults to protect sensitive information.
- Handling Rate Limits: Be mindful of Zendesk Sell's rate limit of 36,000 requests per hour. Implement caching strategies and optimize API calls to avoid hitting the limit. If you receive a 429 error, implement exponential backoff to retry requests.
- Data Transformation and Standardization: Ensure that data retrieved from the API is transformed and standardized to fit your application's requirements. This may involve mapping fields or converting data formats.
Explore More with Endgrate for Seamless Integration Solutions
While integrating with the Zendesk Sell API can be straightforward, managing multiple integrations across different platforms can become complex. Endgrate offers a unified API solution that simplifies integration processes, allowing you to focus on your core product development.
With Endgrate, you can build once for each use case and leverage a single API endpoint to connect with multiple platforms, including Zendesk Sell. This not only saves time and resources but also provides an intuitive integration experience for your customers.
Visit Endgrate to learn more about how you can streamline your integration processes and enhance your application's capabilities.
Read More
- https://endgrate.com/provider/zendesksell
- https://developer.zendesk.com/api-reference/sales-crm/introduction/
- https://developer.zendesk.com/api-reference/sales-crm/rate-limits/
- https://developer.zendesk.com/api-reference/sales-crm/requests/
- https://developer.zendesk.com/api-reference/sales-crm/errors/
- https://developer.zendesk.com/api-reference/sales-crm/authentication/introduction/
- https://developer.zendesk.com/api-reference/sales-crm/authentication/requests/#client-authentication
- https://developer.zendesk.com/api-reference/sales-crm/resources/users/
Ready to get started?
