Using the Zendesk Support API to Get Tickets in Javascript
Introduction to Zendesk Support API
Zendesk Support is a robust customer service platform that enables businesses to manage customer interactions across various channels, including email, chat, and social media. It provides a comprehensive suite of tools designed to enhance customer support efficiency and improve customer satisfaction.
Developers often integrate with the Zendesk Support API to automate ticket management and streamline support operations. By leveraging the API, developers can programmatically access and manipulate ticket data, enabling features such as automated ticket creation, retrieval, and updates.
For example, using the Zendesk Support API, a developer can retrieve a list of support tickets to analyze customer issues and trends, helping businesses to proactively address common problems and improve service quality.
Setting Up Your Zendesk Support Test Account
Before you can start using the Zendesk Support API, you need to set up a test or sandbox account. This will allow you to safely experiment with API calls without affecting your live data.
Creating a Zendesk Support Sandbox Account
If you don't already have a Zendesk account, you can sign up for a free trial or a sandbox account. Follow these steps:
- Visit the Zendesk registration page and fill out the required information to create an account.
- Once your account is created, log in to the Zendesk Admin Center.
- Navigate to Sandbox under the Manage section to set up a sandbox environment.
Registering Your Application for OAuth Authentication
Since the Zendesk API uses OAuth for authentication, you'll need to register your application to obtain the necessary credentials:
- In the Zendesk Admin Center, go to Apps and integrations > APIs > Zendesk API.
- Click on the OAuth Clients tab and then click Add OAuth client.
- Fill in the required fields such as Client Name, Description, and Redirect URLs.
- After saving, copy the Client ID and Client Secret for use in your application.
For more details on OAuth setup, refer to the Zendesk OAuth documentation.
Generating an OAuth Access Token
To interact with the Zendesk Support API, you'll need an OAuth access token:
- Direct users to the Zendesk authorization page using the following URL format:
- Handle the user's authorization decision and retrieve the authorization code from the redirect URL.
- Exchange the authorization code for an access token by making a POST request to:
- Include the required parameters such as grant_type, code, client_id, and client_secret in the request body.
https://{subdomain}.zendesk.com/oauth/authorizations/new?response_type=code&client_id={your_client_id}&redirect_uri={your_redirect_url}&scope=read%20writehttps://{subdomain}.zendesk.com/oauth/tokensOnce you have the access token, you can use it to authenticate API requests by including it in the Authorization header as follows:
Authorization: Bearer {access_token}For more information on OAuth flows, see the Zendesk Developer Docs.
sbb-itb-96038d7
Making API Calls to Retrieve Zendesk Support Tickets Using JavaScript
To interact with the Zendesk Support API and retrieve tickets, you need to set up your JavaScript environment. This section will guide you through the necessary steps, including setting up your development environment, writing the code to make API calls, and handling responses and errors.
Setting Up Your JavaScript Environment for Zendesk Support API
Before making API calls, ensure you have the following prerequisites:
- Node.js installed on your machine. You can download it from Node.js official website.
- A code editor like Visual Studio Code.
- Axios library for making HTTP requests. Install it using npm:
npm install axiosWriting JavaScript Code to Retrieve Zendesk Support Tickets
Now that your environment is set up, you can write the JavaScript code to retrieve tickets from Zendesk Support:
const axios = require('axios');

// Replace with your Zendesk subdomain and access token
const subdomain = 'your_subdomain';
const accessToken = 'your_access_token';

// Set the API endpoint
const endpoint = `https://${subdomain}.zendesk.com/api/v2/tickets.json`;

// Set the request headers
const headers = {
    'Content-Type': 'application/json',
    'Authorization': `Bearer ${accessToken}`
};

// Make a GET request to the Zendesk Support API
axios.get(endpoint, { headers })
    .then(response => {
        // Handle successful response
        console.log('Tickets retrieved:', response.data.tickets);
    })
    .catch(error => {
        // Handle errors
        if (error.response) {
            console.error('Error:', error.response.status, error.response.data);
        } else {
            console.error('Error:', error.message);
        }
    });
In this code, replace your_subdomain and your_access_token with your actual Zendesk subdomain and OAuth access token. The code uses Axios to make a GET request to the Zendesk Support API endpoint for tickets.
Verifying API Call Success and Handling Errors
After running the code, you should see the list of tickets printed in the console if the request is successful. To verify the success:
- Check the console output for the list of tickets.
- Log in to your Zendesk Support sandbox account to ensure the tickets match the retrieved data.
If there are errors, the code will log the error status and message. Common errors include:
- 401 Unauthorized: Check if your access token is correct and has the necessary permissions.
- 429 Too Many Requests: You have exceeded the rate limit. Refer to the Zendesk rate limits documentation for more details.
For more information on handling errors, refer to the Zendesk Developer Docs.
Best Practices for Using the Zendesk Support API
When working with the Zendesk Support API, it's essential to follow best practices to ensure efficient and secure integration. Here are some recommendations:
- Securely Store Credentials: Always store your OAuth credentials securely. Avoid hardcoding them in your source code. Use environment variables or secure vaults to manage sensitive information.
- Handle Rate Limiting: Be mindful of Zendesk's rate limits. Implement logic to handle
429 Too Many Requestserrors by waiting for the specifiedRetry-Afterinterval before retrying requests. For more details, refer to the Zendesk rate limits documentation. - Data Standardization: Ensure that data retrieved from Zendesk is standardized and transformed as needed to fit your application's requirements. This can help maintain consistency and improve data processing efficiency.
Enhancing Your Integration Experience with Endgrate
Integrating with multiple platforms can be complex and time-consuming. Endgrate simplifies this process by providing a unified API endpoint that connects to various platforms, including Zendesk Support. With Endgrate, you can:
- Save Time and Resources: Focus on your core product while Endgrate handles the integration complexities.
- Build Once, Deploy Anywhere: Develop your integration logic once and apply it across multiple platforms, reducing redundancy and effort.
- Deliver a Seamless Experience: Offer your customers an intuitive and efficient integration experience with minimal setup.
Explore how Endgrate can streamline your integration processes by visiting Endgrate's website.
Read More
- https://endgrate.com/provider/zendesksupport
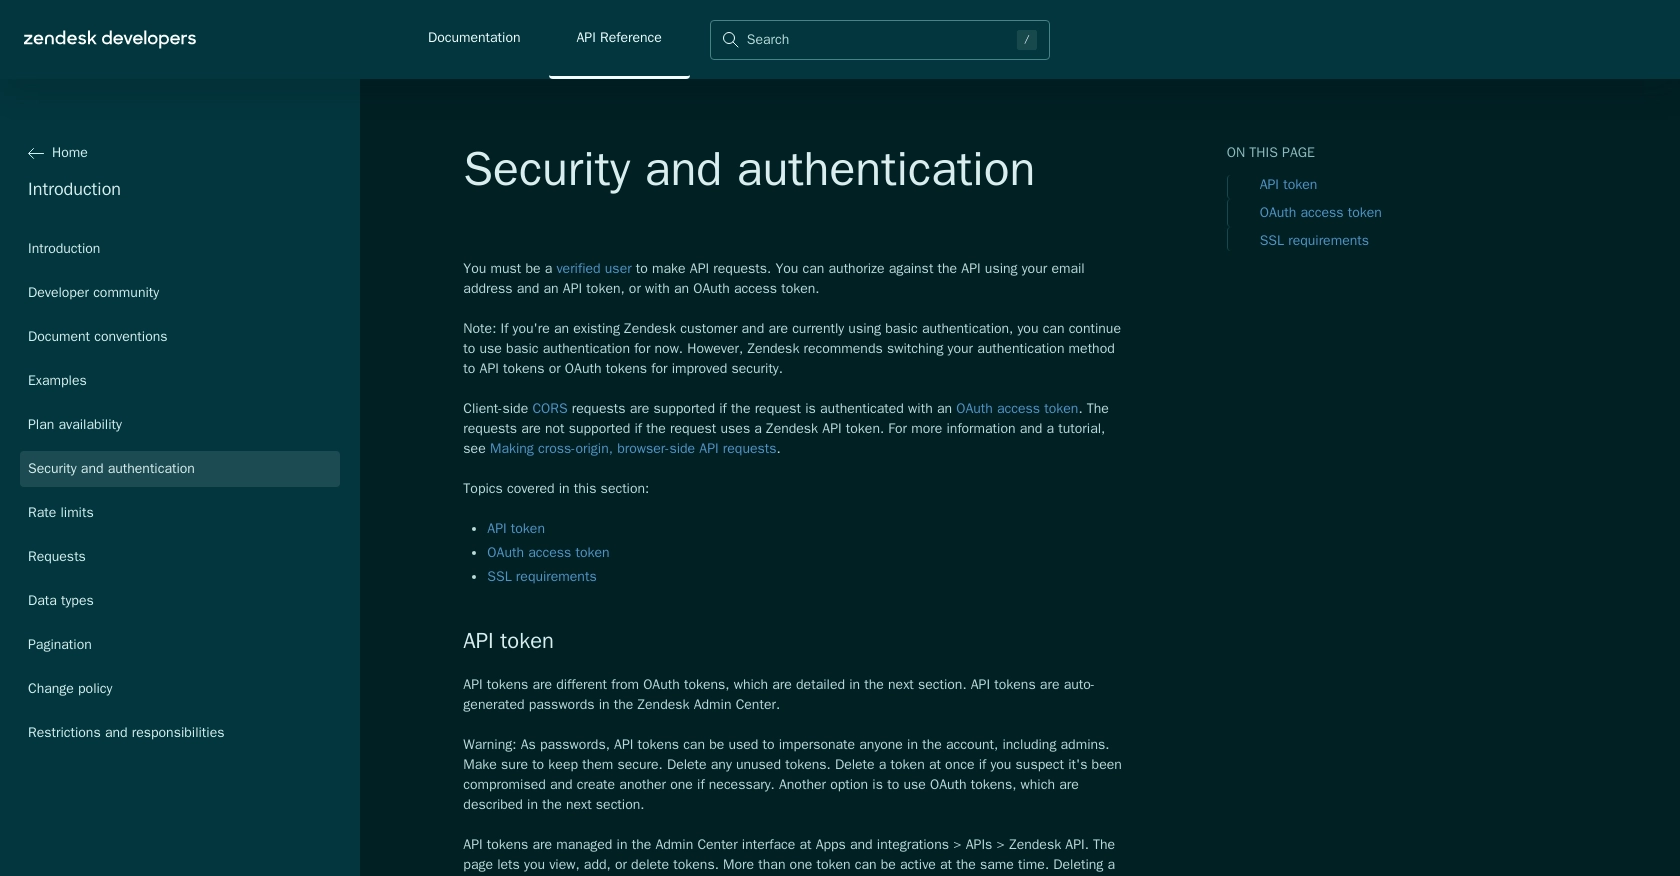
- https://developer.zendesk.com/api-reference/introduction/security-and-auth/
- https://support.zendesk.com/hc/en-us/articles/4408845965210-Using-OAuth-authentication-with-your-application
- https://developer.zendesk.com/api-reference/introduction/rate-limits/
- https://developer.zendesk.com/api-reference/introduction/pagination/
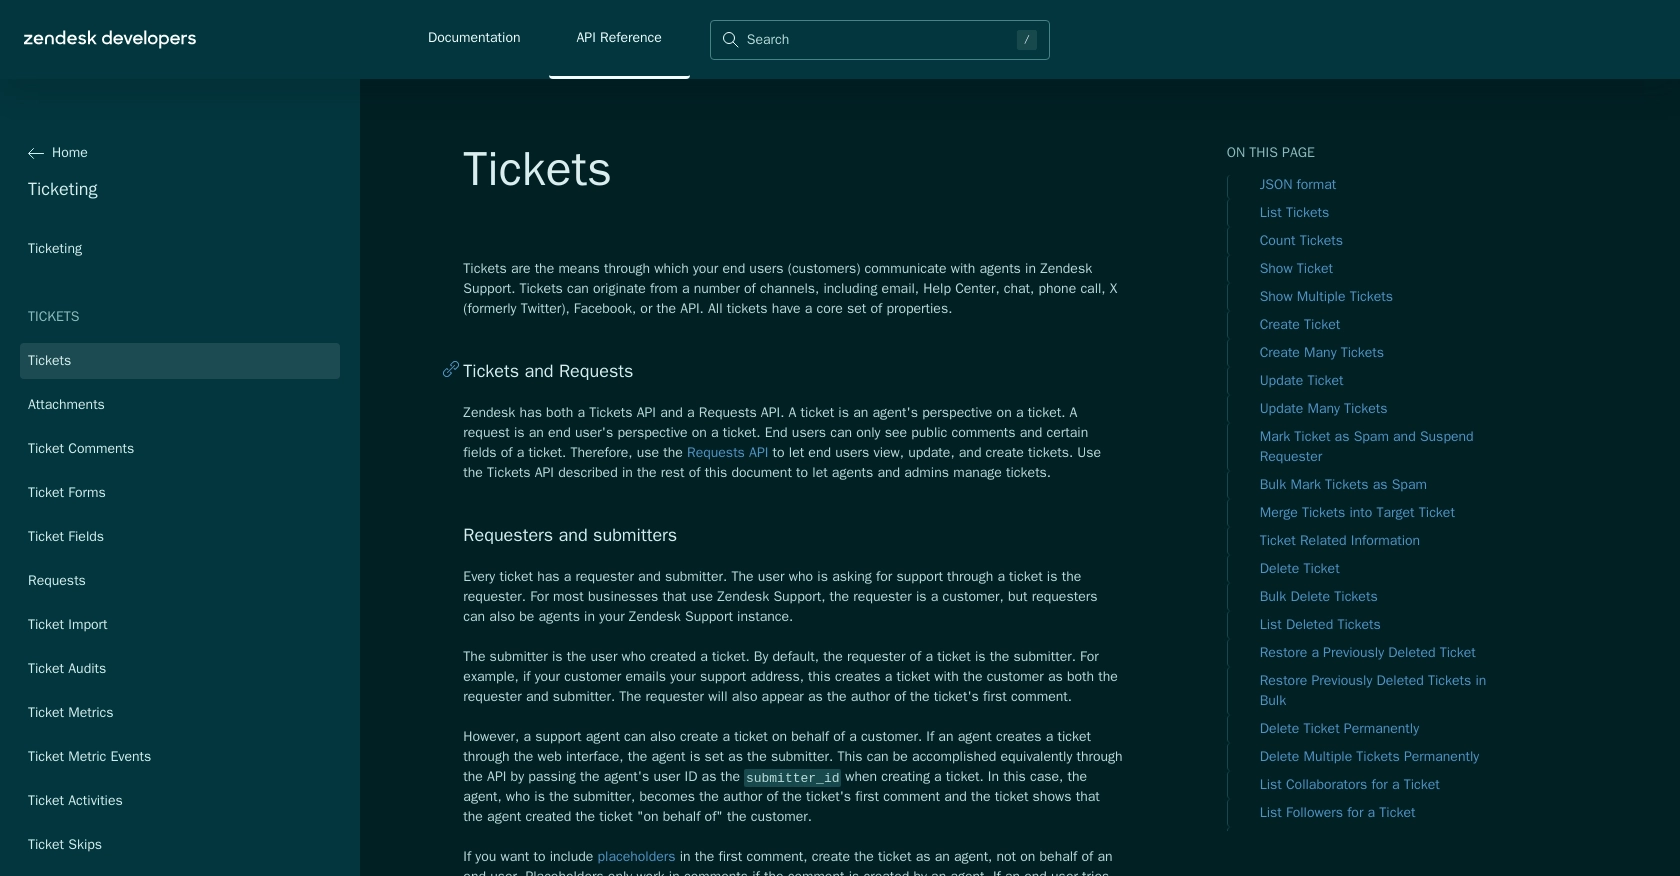
- https://developer.zendesk.com/api-reference/ticketing/tickets/tickets/

Ready to get started?
