Using the Salesflare API to Create or Update Accounts in Javascript
Introduction to Salesflare API Integration
Salesflare is a powerful CRM platform designed to simplify sales processes for small and medium-sized businesses. It offers a range of features including contact management, email tracking, and workflow automation, making it an essential tool for sales teams looking to enhance their productivity and efficiency.
Integrating with Salesflare's API allows developers to automate and streamline various CRM tasks, such as creating or updating account information. For example, a developer might use the Salesflare API to automatically update account details from an external data source, ensuring that the CRM always contains the most current information.
Setting Up Your Salesflare Test Account
Before you can start integrating with the Salesflare API, you need to set up a test account. This will allow you to safely experiment with API calls without affecting live data.
Creating a Salesflare Account
If you don't already have a Salesflare account, you can sign up for a free trial on the Salesflare website. This trial will give you access to the necessary features to test the API integration.
- Visit the Salesflare website.
- Click on the "Try for Free" button.
- Follow the on-screen instructions to create your account.
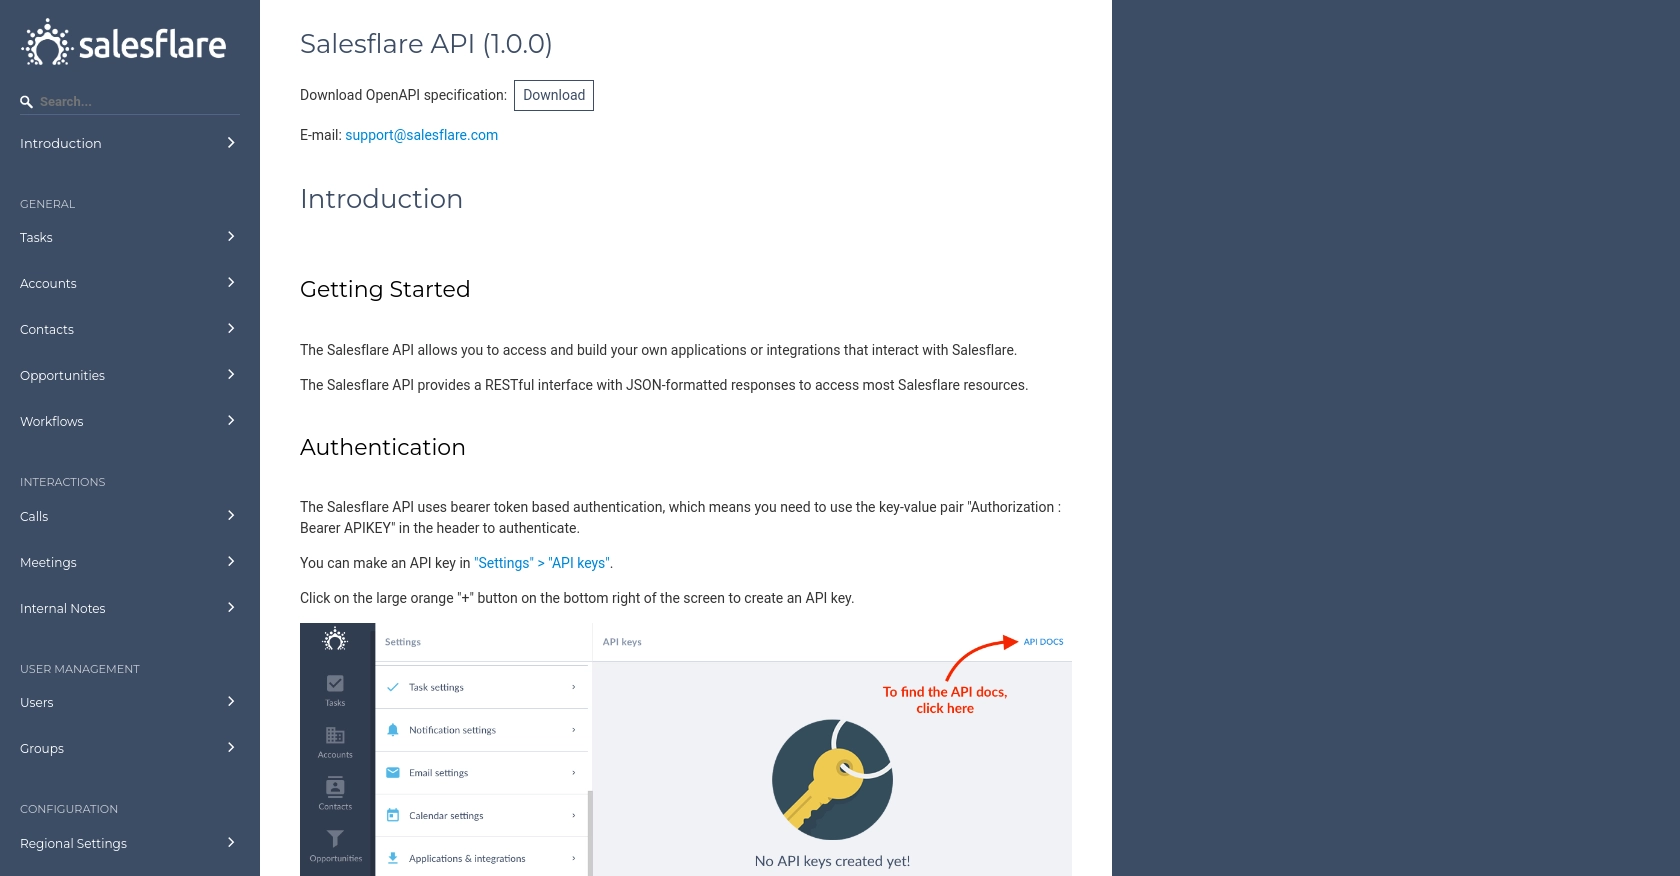
Generating Your Salesflare API Key
Salesflare uses API key-based authentication to secure API requests. Follow these steps to generate your API key:
- Log in to your Salesflare account.
- Navigate to the "Settings" section from the dashboard.
- Find the "API Keys" tab and click on it.
- Click on "Generate New API Key" and give it a descriptive name.
- Copy the generated API key and store it securely, as you will need it to authenticate your API requests.
With your API key ready, you're now set to start making API calls to Salesflare. Ensure that you keep your API key confidential to prevent unauthorized access to your account.
sbb-itb-96038d7
Making API Calls to Salesflare Using JavaScript
To interact with the Salesflare API using JavaScript, you'll need to set up your environment and write code to create or update accounts. This section will guide you through the necessary steps, including setting up your JavaScript environment, writing the code, and handling responses and errors.
Setting Up Your JavaScript Environment
Before making API calls, ensure you have the following prerequisites:
- Node.js installed on your machine. You can download it from the official Node.js website.
- A code editor, such as Visual Studio Code, to write and manage your JavaScript files.
Once Node.js is installed, you can use npm (Node Package Manager) to install the Axios library, which simplifies making HTTP requests:
npm install axiosCreating or Updating Accounts with Salesflare API
With your environment set up, you can now write the JavaScript code to create or update accounts in Salesflare. Below is an example of how to perform these actions using Axios:
const axios = require('axios');

// Set your Salesflare API key
const apiKey = 'Your_API_Key';

// Define the API endpoint for creating or updating accounts
const endpoint = 'https://api.salesflare.com/accounts';

// Function to create or update an account
async function createOrUpdateAccount(accountData) {
    try {
        const response = await axios.post(endpoint, accountData, {
            headers: {
                'Authorization': `Bearer ${apiKey}`,
                'Content-Type': 'application/json'
            }
        });
        console.log('Account successfully created or updated:', response.data);
    } catch (error) {
        console.error('Error creating or updating account:', error.response ? error.response.data : error.message);
    }
}

// Example account data
const accountData = {
    name: 'Example Company',
    email: 'contact@example.com',
    phone: '123-456-7890'
};

// Call the function with the account data
createOrUpdateAccount(accountData);
In this code, replace Your_API_Key with the API key you generated earlier. The accountData object contains the details of the account you wish to create or update. You can modify this object to include additional fields as needed.
Verifying API Call Success and Handling Errors
After executing the code, you should verify that the account has been created or updated in your Salesflare test account. Log in to your Salesflare dashboard and check the accounts section to confirm the changes.
If the API call fails, the error handling in the code will log the error message to the console. Common issues include incorrect API keys or malformed request data. Ensure your API key is correct and that the account data is properly formatted.
Best Practices for Salesflare API Integration
When integrating with the Salesflare API, consider the following best practices:
- Store your API key securely and avoid hardcoding it in your source code.
- Implement error handling to manage API rate limits and other potential issues.
- Regularly update your API integration to accommodate any changes in the Salesflare API.
For more detailed information on error codes and rate limits, refer to the Salesflare API documentation.
Conclusion and Best Practices for Salesflare API Integration
Integrating with the Salesflare API using JavaScript can significantly enhance your CRM capabilities by automating account management tasks. By following the steps outlined in this guide, you can efficiently create or update accounts, ensuring your CRM data remains accurate and up-to-date.
To optimize your integration with Salesflare, consider the following best practices:
- Secure API Key Management: Store your API key securely, using environment variables or secure vaults, to prevent unauthorized access.
- Handle API Rate Limits: Implement logic to manage API rate limits effectively, ensuring your application can handle responses gracefully without exceeding limits.
- Data Standardization: Ensure that data fields are standardized and validated before making API calls to maintain data integrity.
- Regular Updates: Stay informed about updates to the Salesflare API and adjust your integration accordingly to leverage new features and improvements.
By adhering to these practices, you can build a robust integration that enhances your sales processes and improves overall efficiency.
Streamline Your Integrations with Endgrate
While integrating with Salesflare is a powerful way to enhance your CRM, managing multiple integrations can be complex and time-consuming. Endgrate offers a unified API solution that simplifies the integration process across various platforms, including Salesflare.
With Endgrate, you can:
- Save time and resources by outsourcing integrations, allowing you to focus on your core product development.
- Build once for each use case instead of multiple times for different integrations, reducing redundancy.
- Provide an intuitive integration experience for your customers, enhancing user satisfaction.
Explore how Endgrate can streamline your integration efforts by visiting Endgrate and discover a more efficient way to manage your API integrations.
Read More

Ready to get started?
